Drawing Chairs
I had to be shown too
I am going to be sharing the design and build process as Aspen and I proceed through the bench we are making. One part of the process has stood out as essential to getting the piece into an actual buildable form. Orthographic Projection. Please don’t click away to watch cat videos, it isn’t that hard! Yes, chairs are notoriously difficult to draw, especially in a way that truly shows what it will look like complete. But I think you will be surprised by how quickly you can render one.
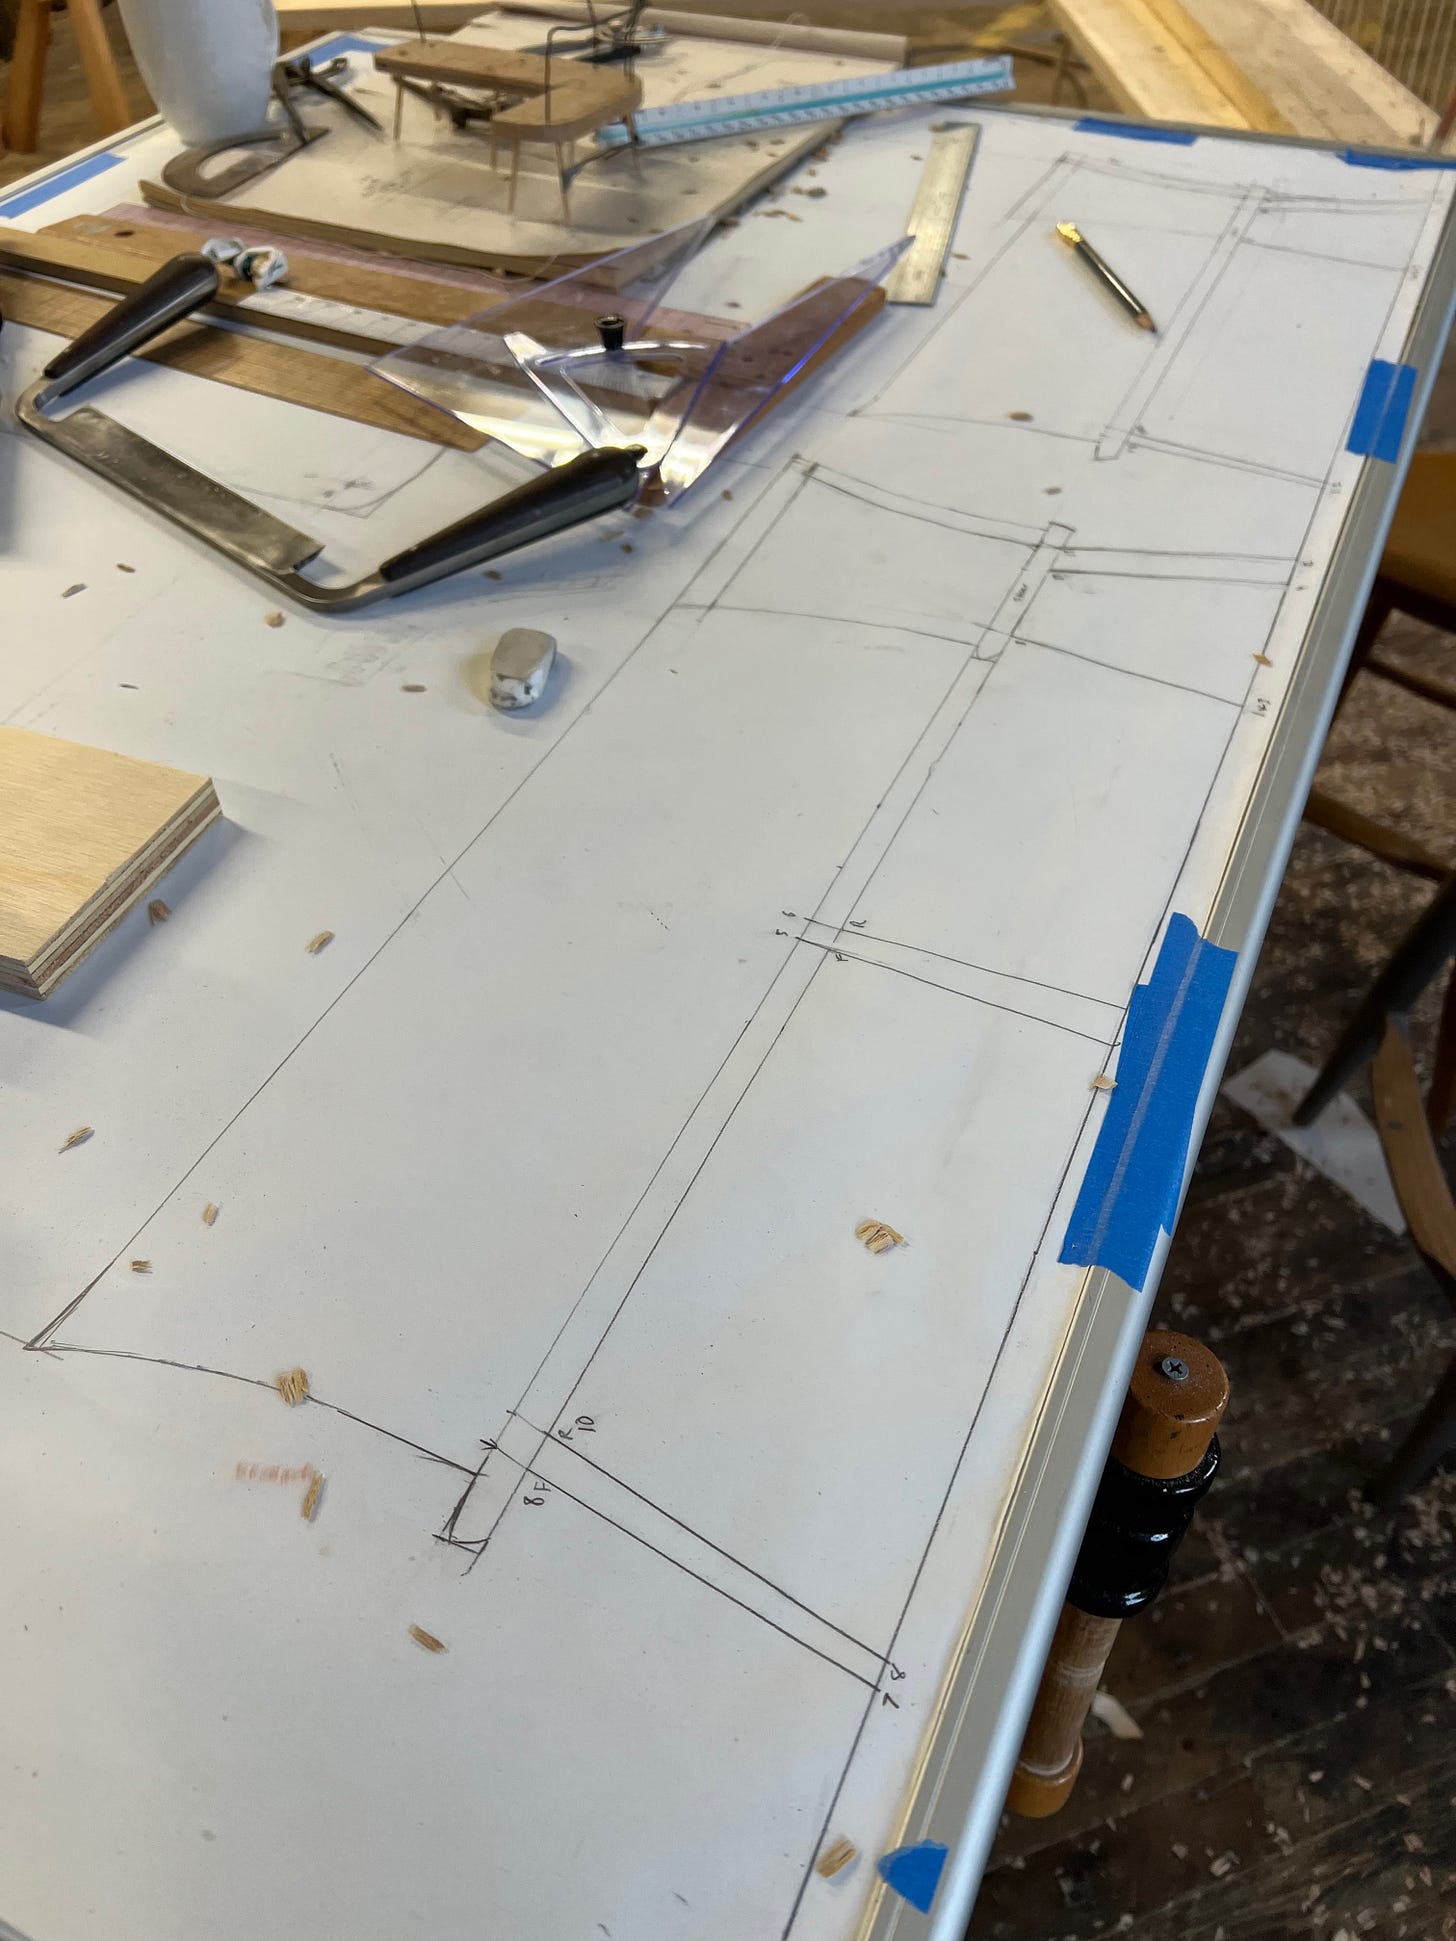
I never rely solely on a drawing for my information, it takes lots of physical models. But all the tape, string and wire in the world doesn’t get me the information I need to make a chair. Orthographic views aren’t just static depictions, it’s a way to get one view “talking” to the others. I think it also helps build the ability to visualize from drawings, which is invaluable to designing chairs, because nothing is faster or easier to iterate than a drawing. If you think you can’t draw, don’t worry, it’s all stick figures and rulers. Once I get my stick form, I usually like to flesh out the drawing with some mass and details to help get a better understanding of the proportions and overall impact of the design.
Here is original fleshed out ortho drawing of my Temple Chair. You can see how I derive or assign the critical angles I want for the chair.
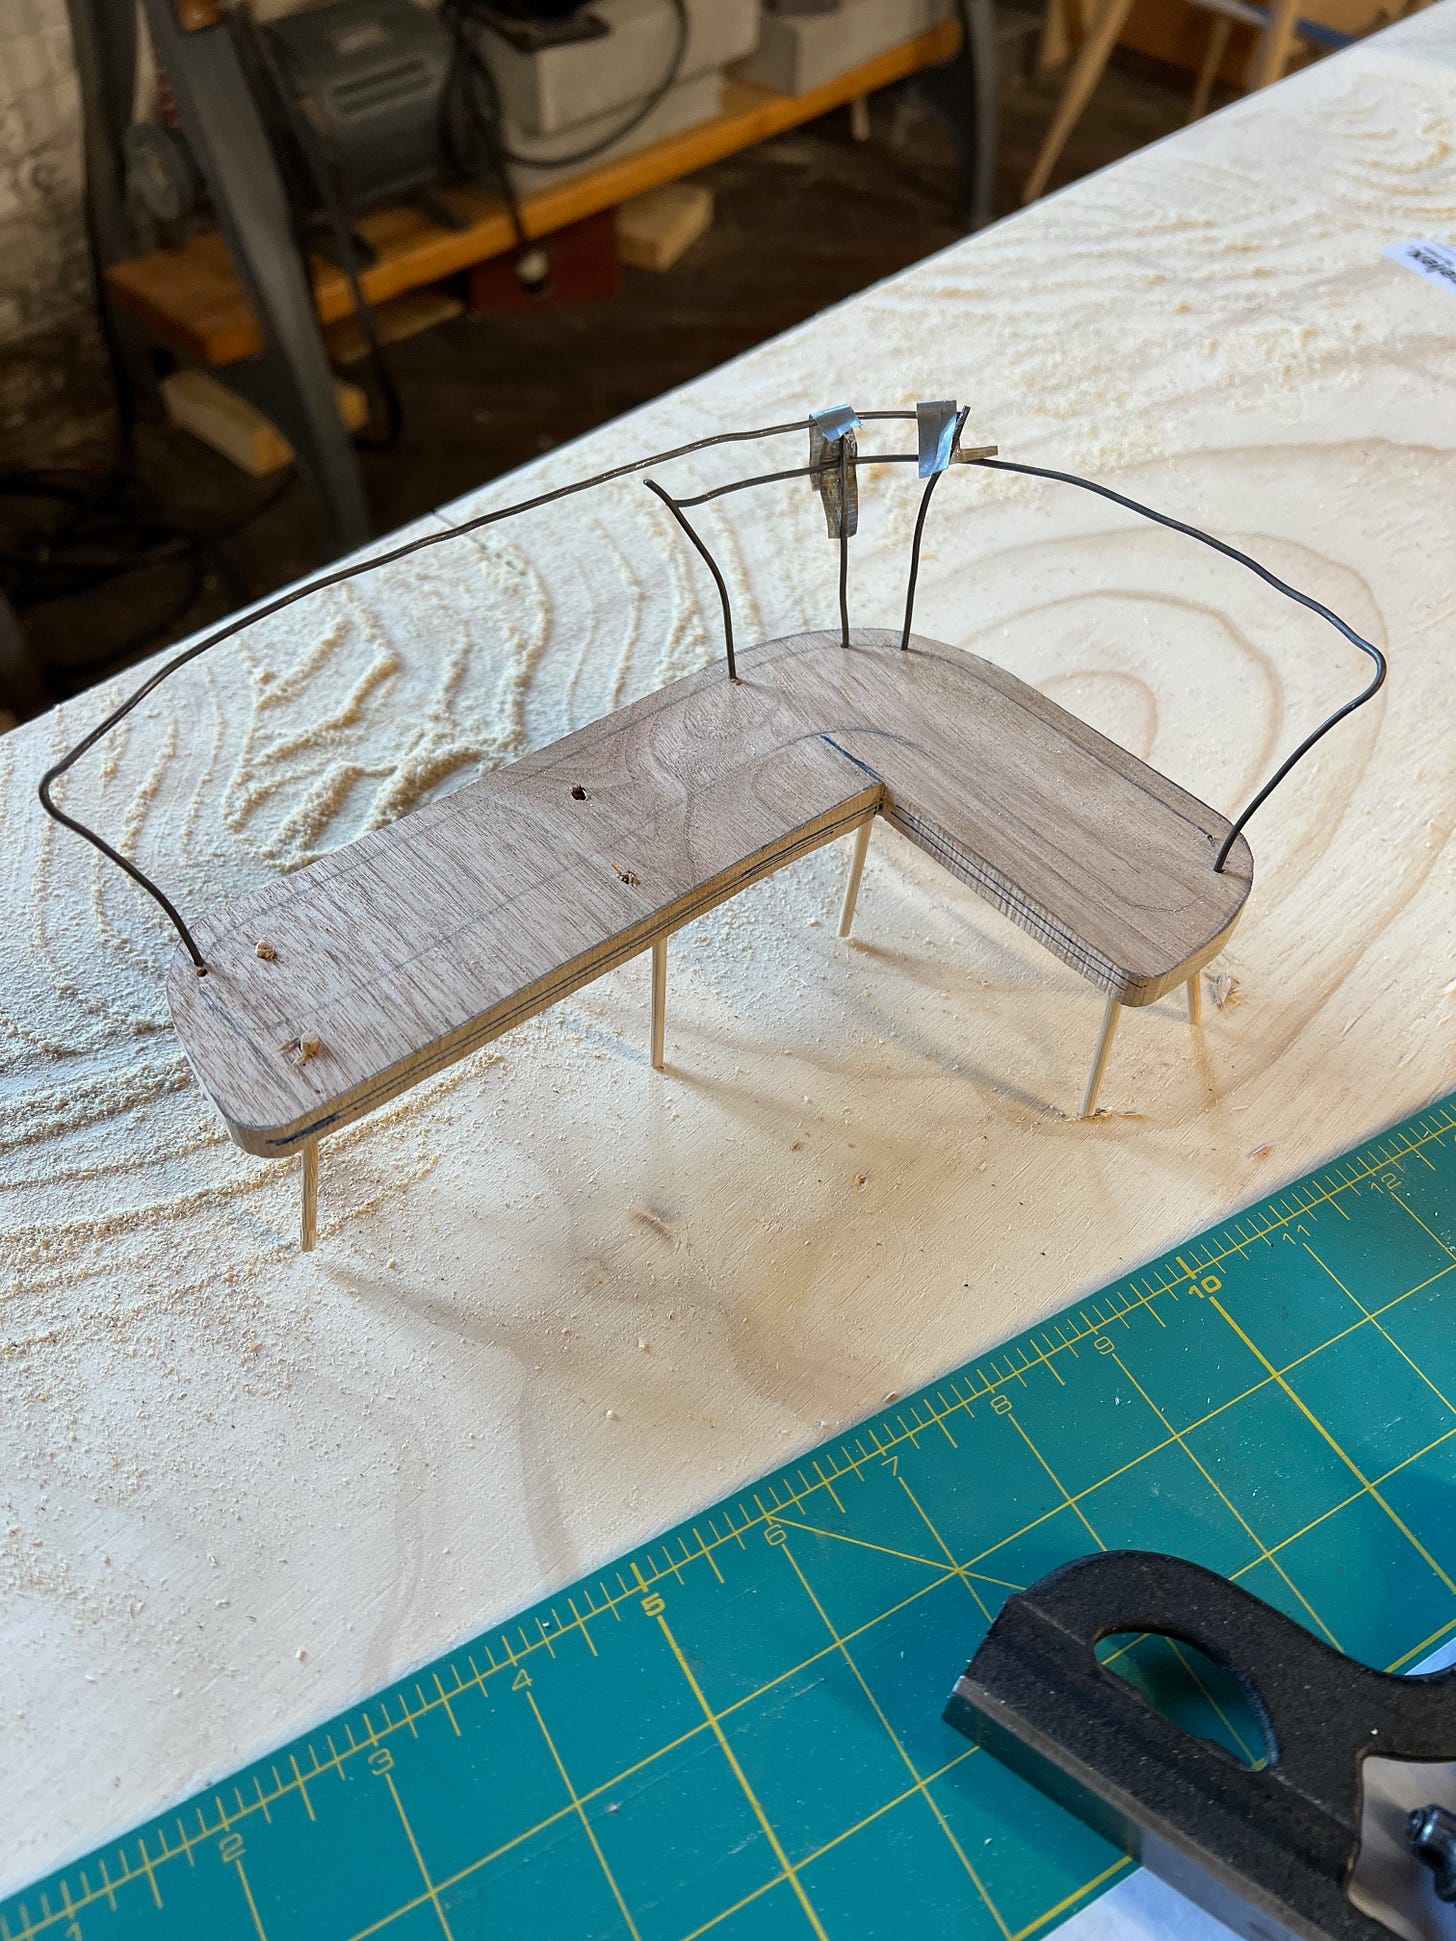
So far on the build with Aspen, we’ve gone from sketch, to small model, to better sketch, to simple ortho views, to a full size mock up. This little model served as a framework for the drawings we submitted to the client. I used Procreate for that process.
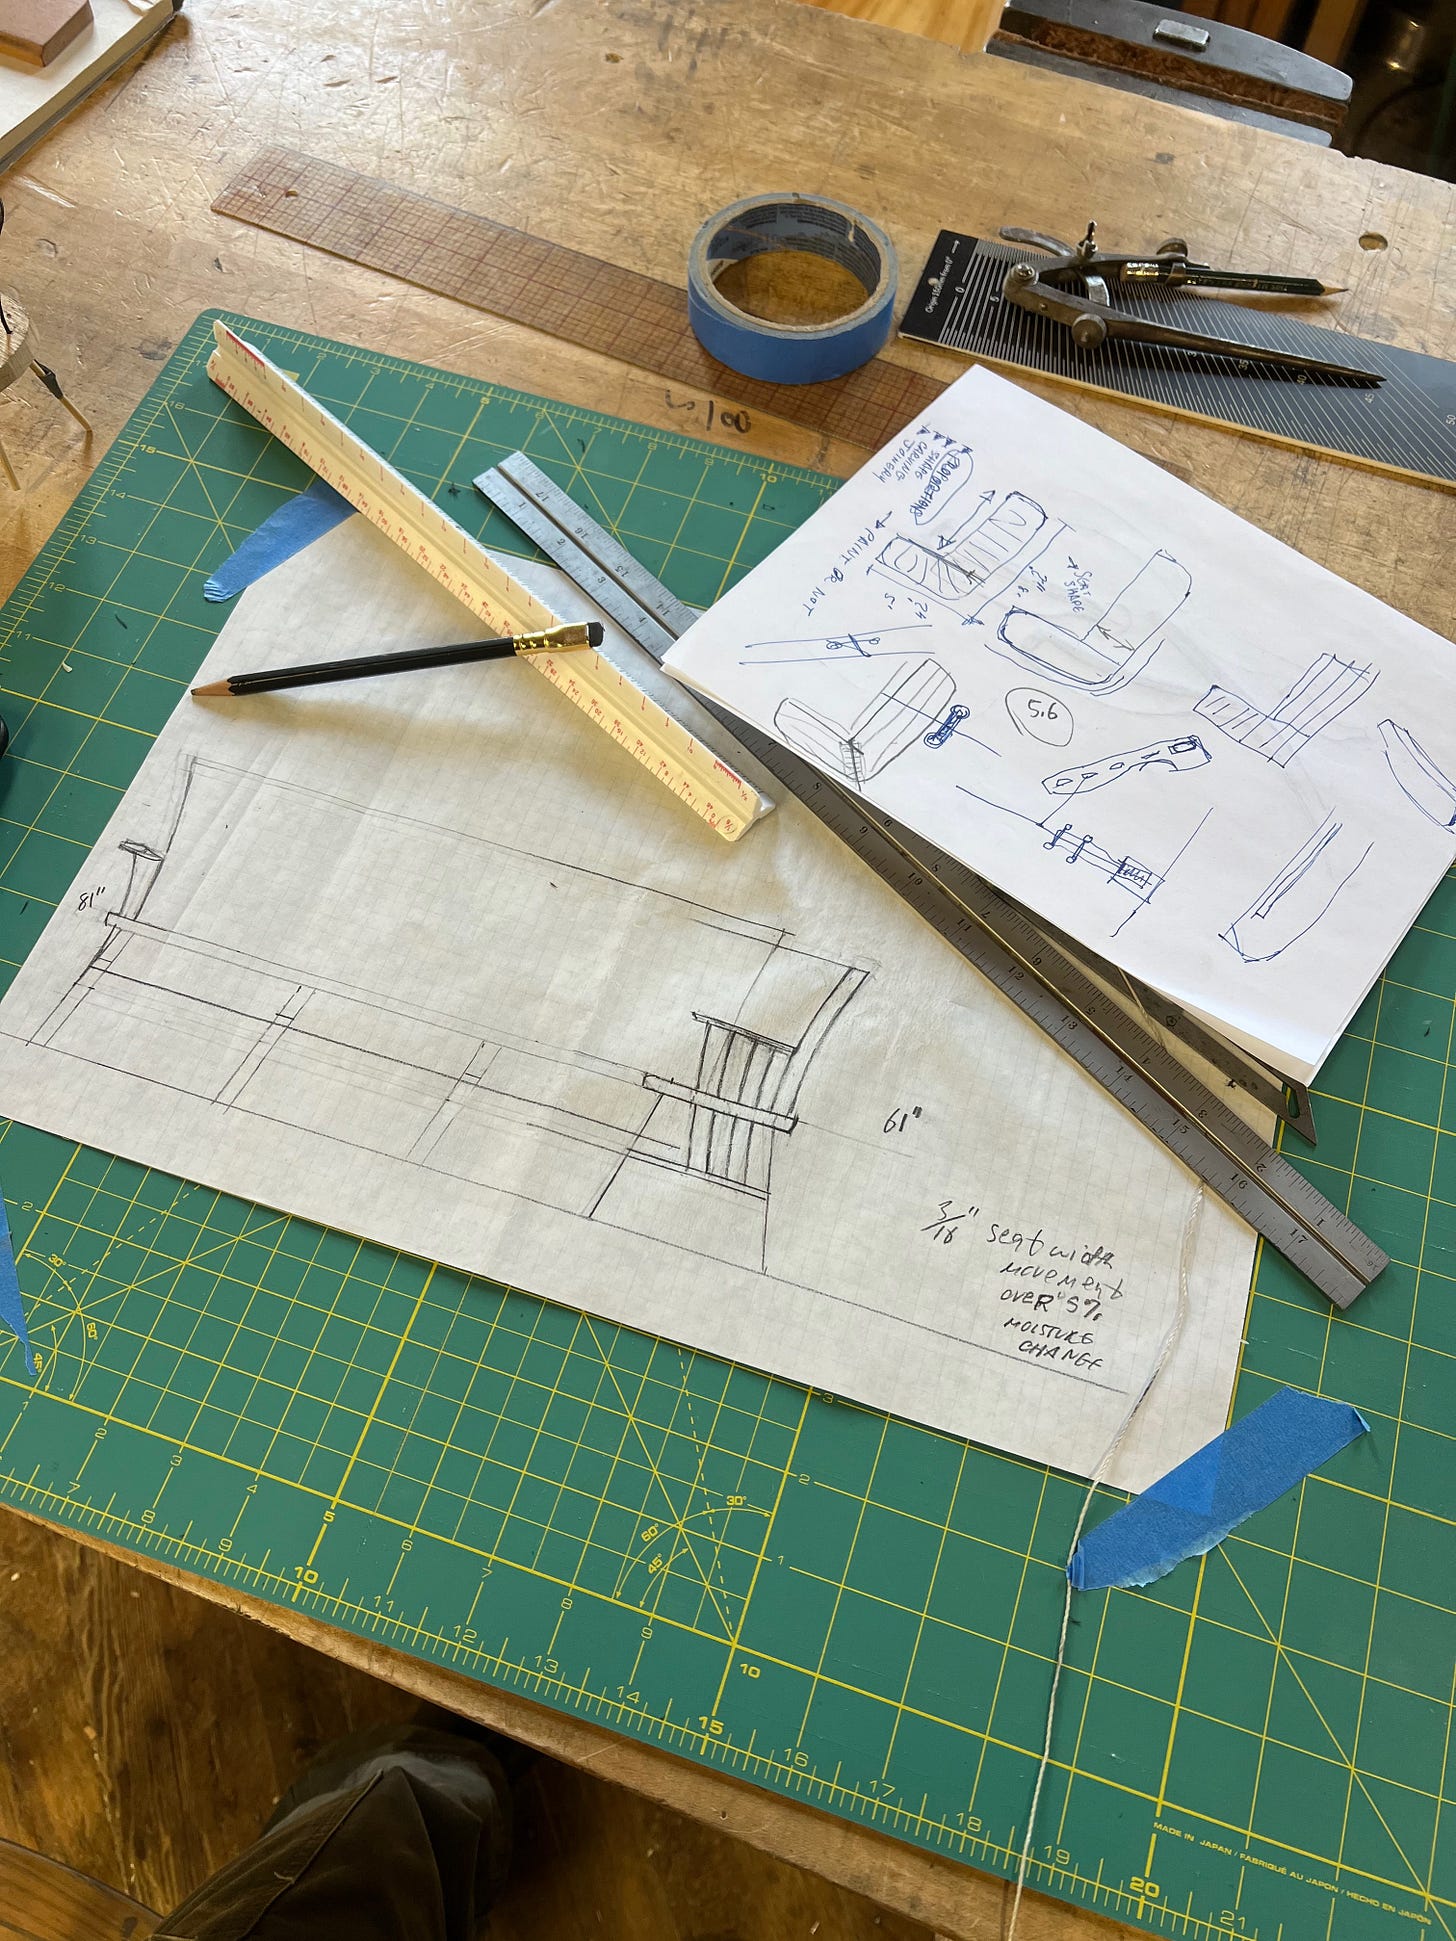
.Then we took the dimensions we knew we needed to hit for the size of the bench and made an initial scaled drawing.
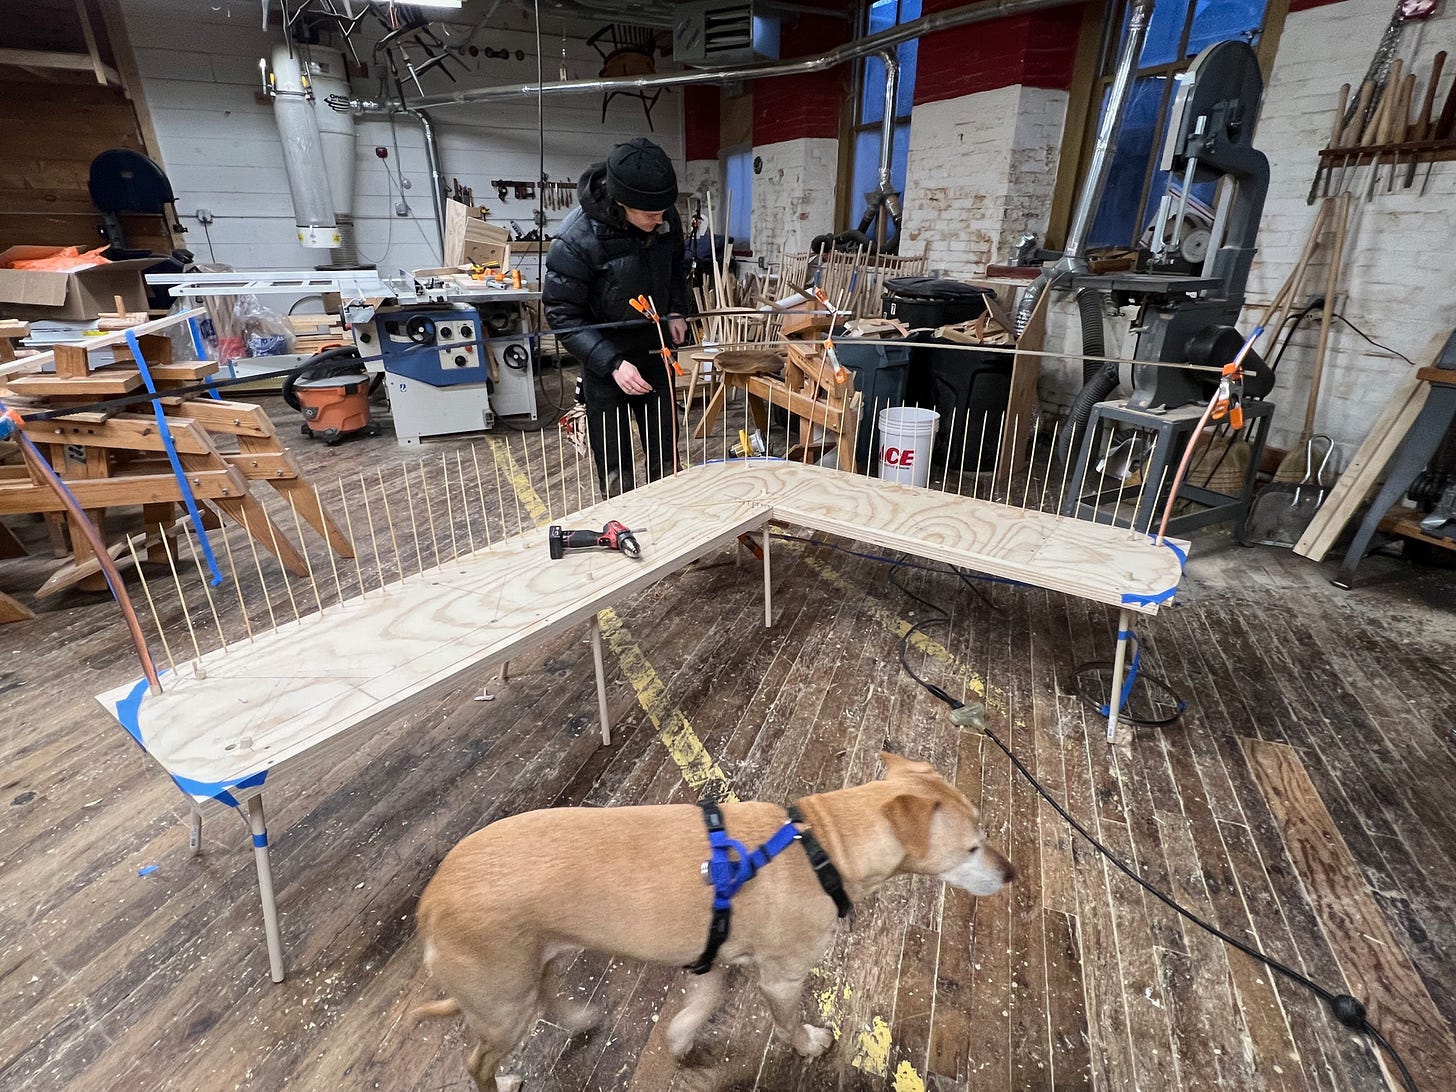
Still rough, but very informative enough that we could make this full sized version.
It’s made of bamboo skewers, copper pipe, dowels and a cut up bandsaw blade for the crests.
Building this helped up discover and solve all sorts of issues in high def 3-D. From the model, we started another drawing that is more accurate and fully formed to create another version with solid parts so we can nail down the crest and stretcher shapes. It’s a very fun back and forth collaboration both between Aspen and I as well as between the drawings and physical models.
Here is a short video showing the process for creating an Orthographic projection. This is something Dave Sawyer showed me in about the time this video takes to play. It really isn’t difficult to understand or do, but it forever changed the way I design and think about making chairs.
I was going to add in a paywall to this post, but I don’t want to limit access to this information. I hope you will consider supporting my efforts here by subscriping as a supporter. My supporters enable me to dedicate the time it takes to make these posts. I hope you find them informative.


I don't even design chairs & I enjoyed that drawing video. Excellent.
Nice video Pete. You should show everyone how to project a curved component to see its profile. When I learned how to do that it was like magic.