
Fine, I'll do It

I get it, the fun part is over and now you have to delve into a whole different craft to “finish” your piece. I remember my 7th grade woodshop instructor never let anything leave the shop until there was finish on it. Even the slingshot I made got a good coating of polyurethane. I encourage my students to go home and make samples before finishing their chair. I know most don’t do either. It just dawned on me that maybe I should just do it myself and create a library of finishes in hopes of lowering the barrier to entry. I’m looking forward to sharing more recipes, processes and results.
Here is a photo of the sample I’ve been painting. It’s been burnished and oiled. Some of the details of my process are specific to using Real Milk Paint. I like it because it has great adhesion qualities, colors, water resistance and it lasts a long time once mixed. Later, I will detail some of the differences I’ve found in the brands. If you are going for a more matte finish, you can just apply the oil without any burnishing.
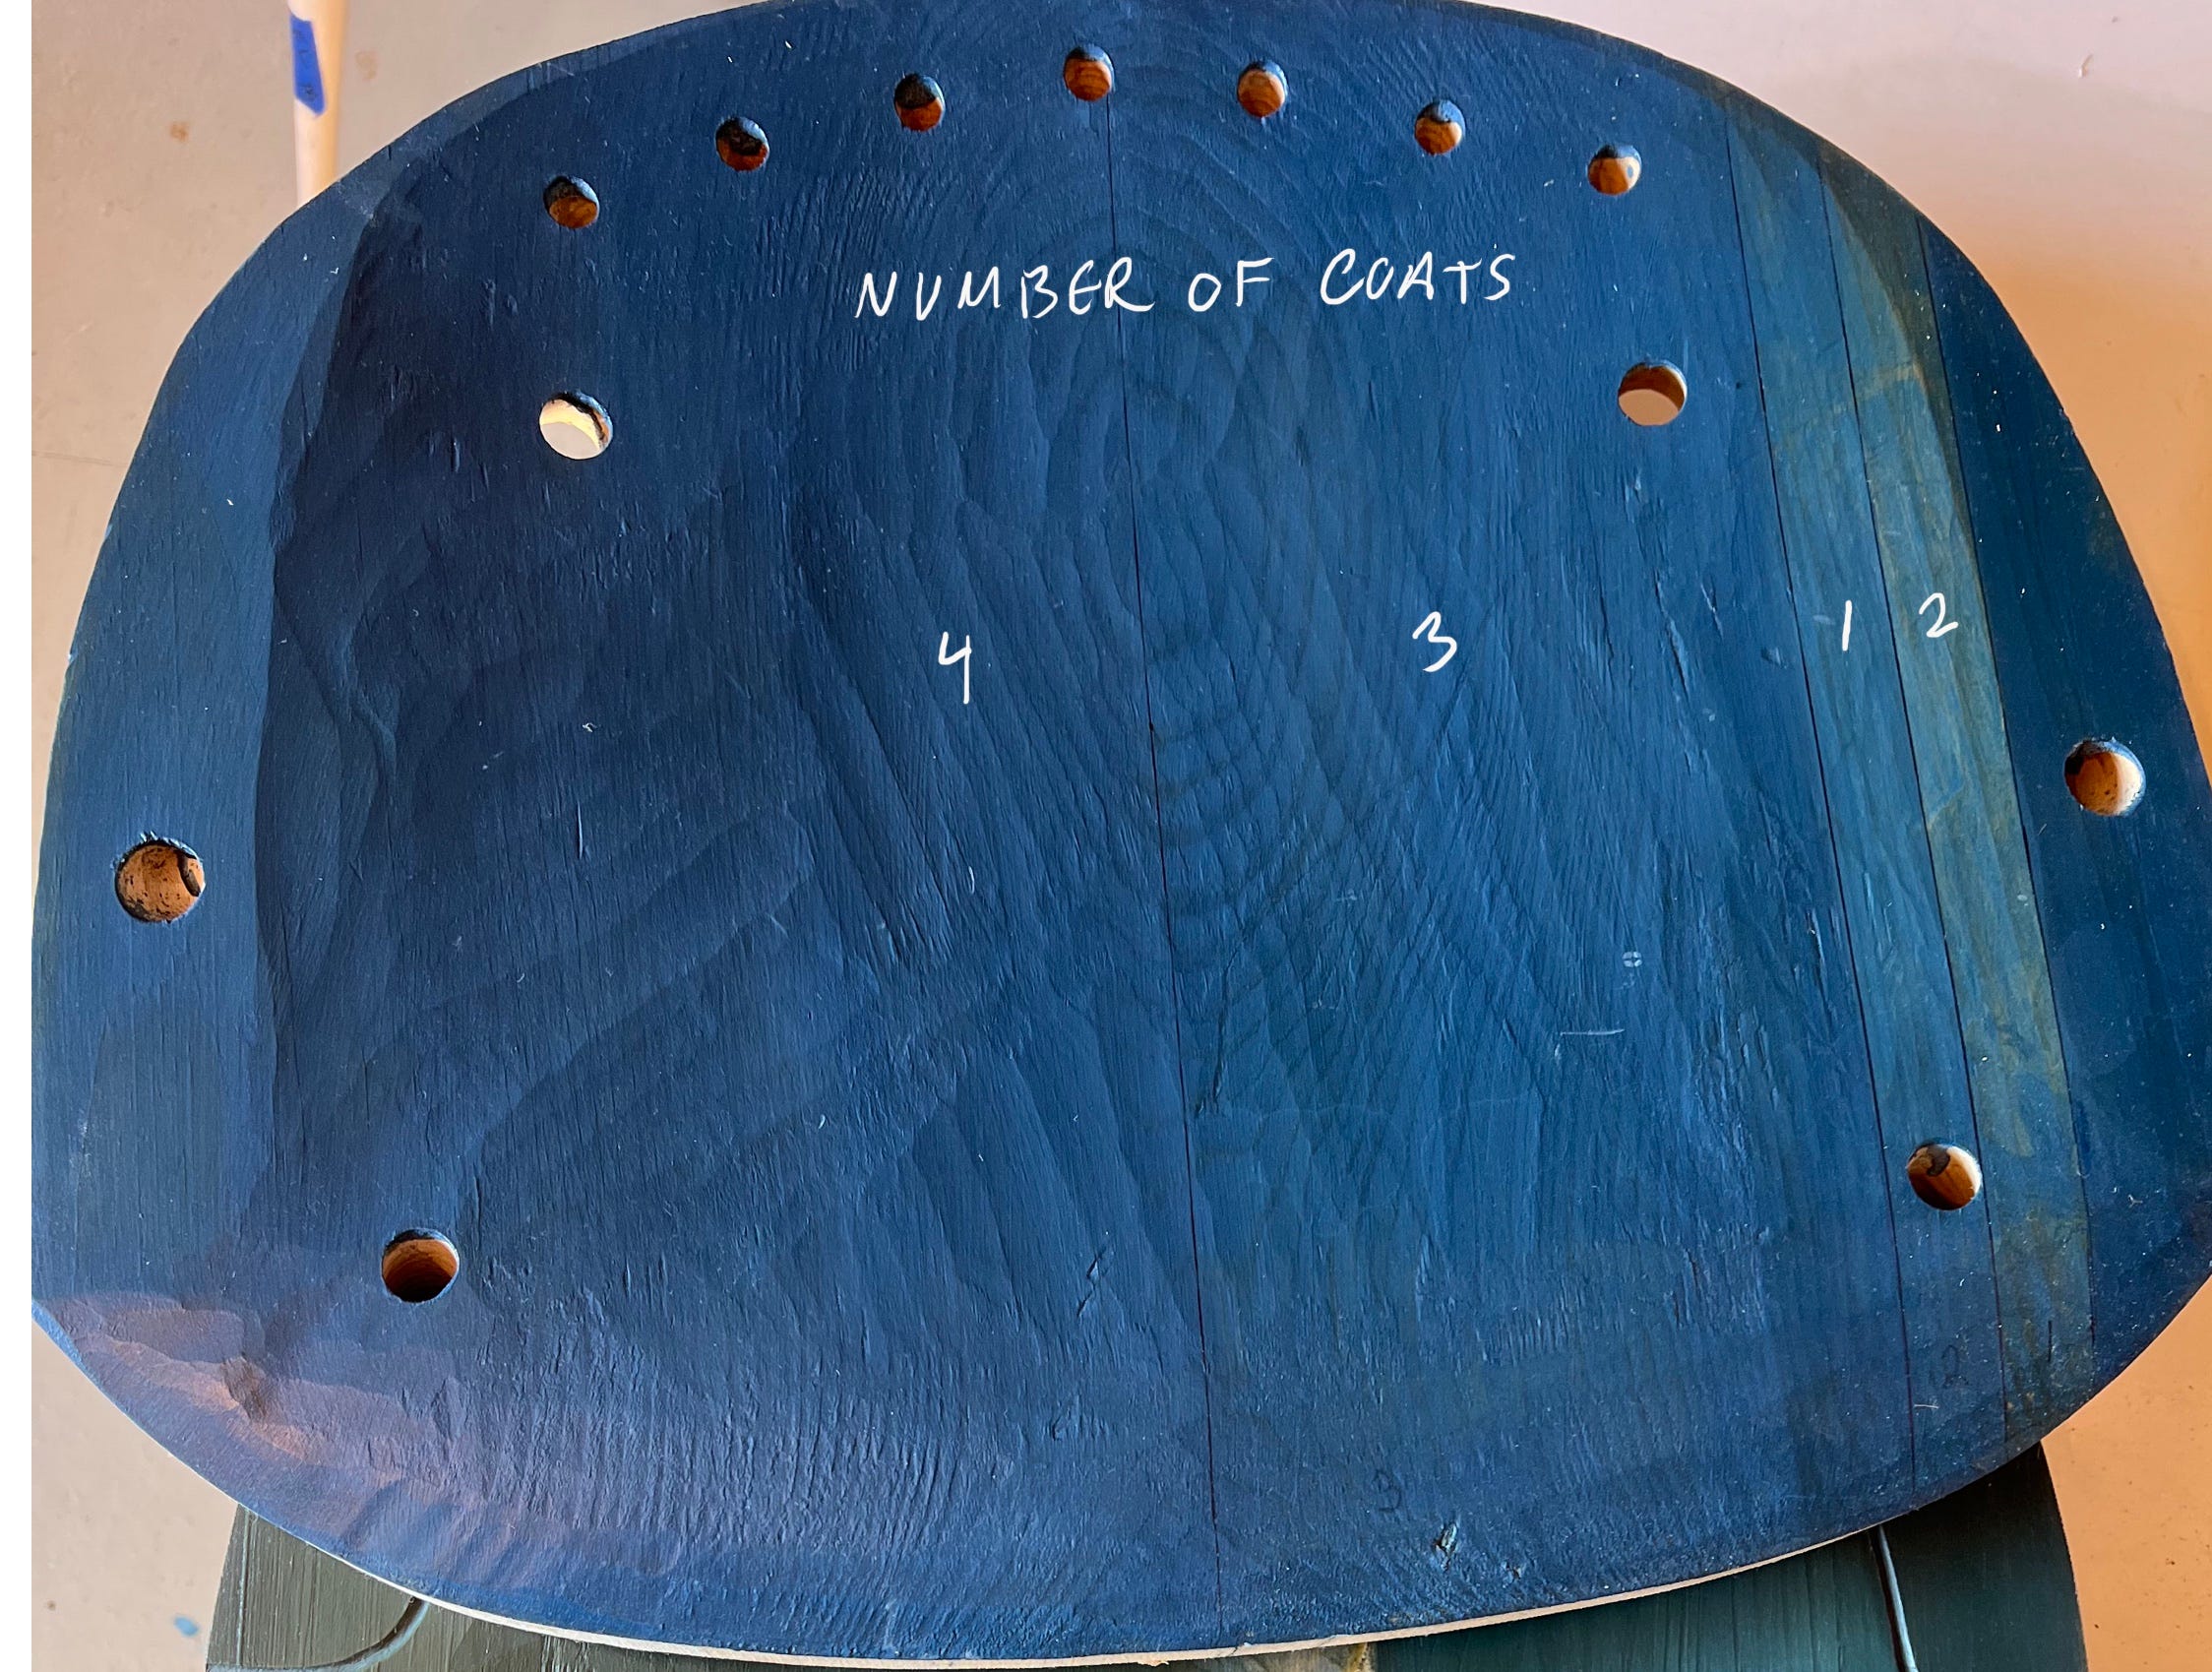
You can see there is an obvious difference from coats 1 and 2 to 3 and 4. I want to zoom in a bit to show the variation between coats 3 and 4 because I think it’s actually a substantial difference.

The tool marks on the surface can be a little distracting but if you look closely, you can clearly see that 3 coats is more translucent, still showing the variation in the growth rings. This might be exactly the look you want, there are no rules here. But if you want a solid color, then the 4 coats would be a better choice.
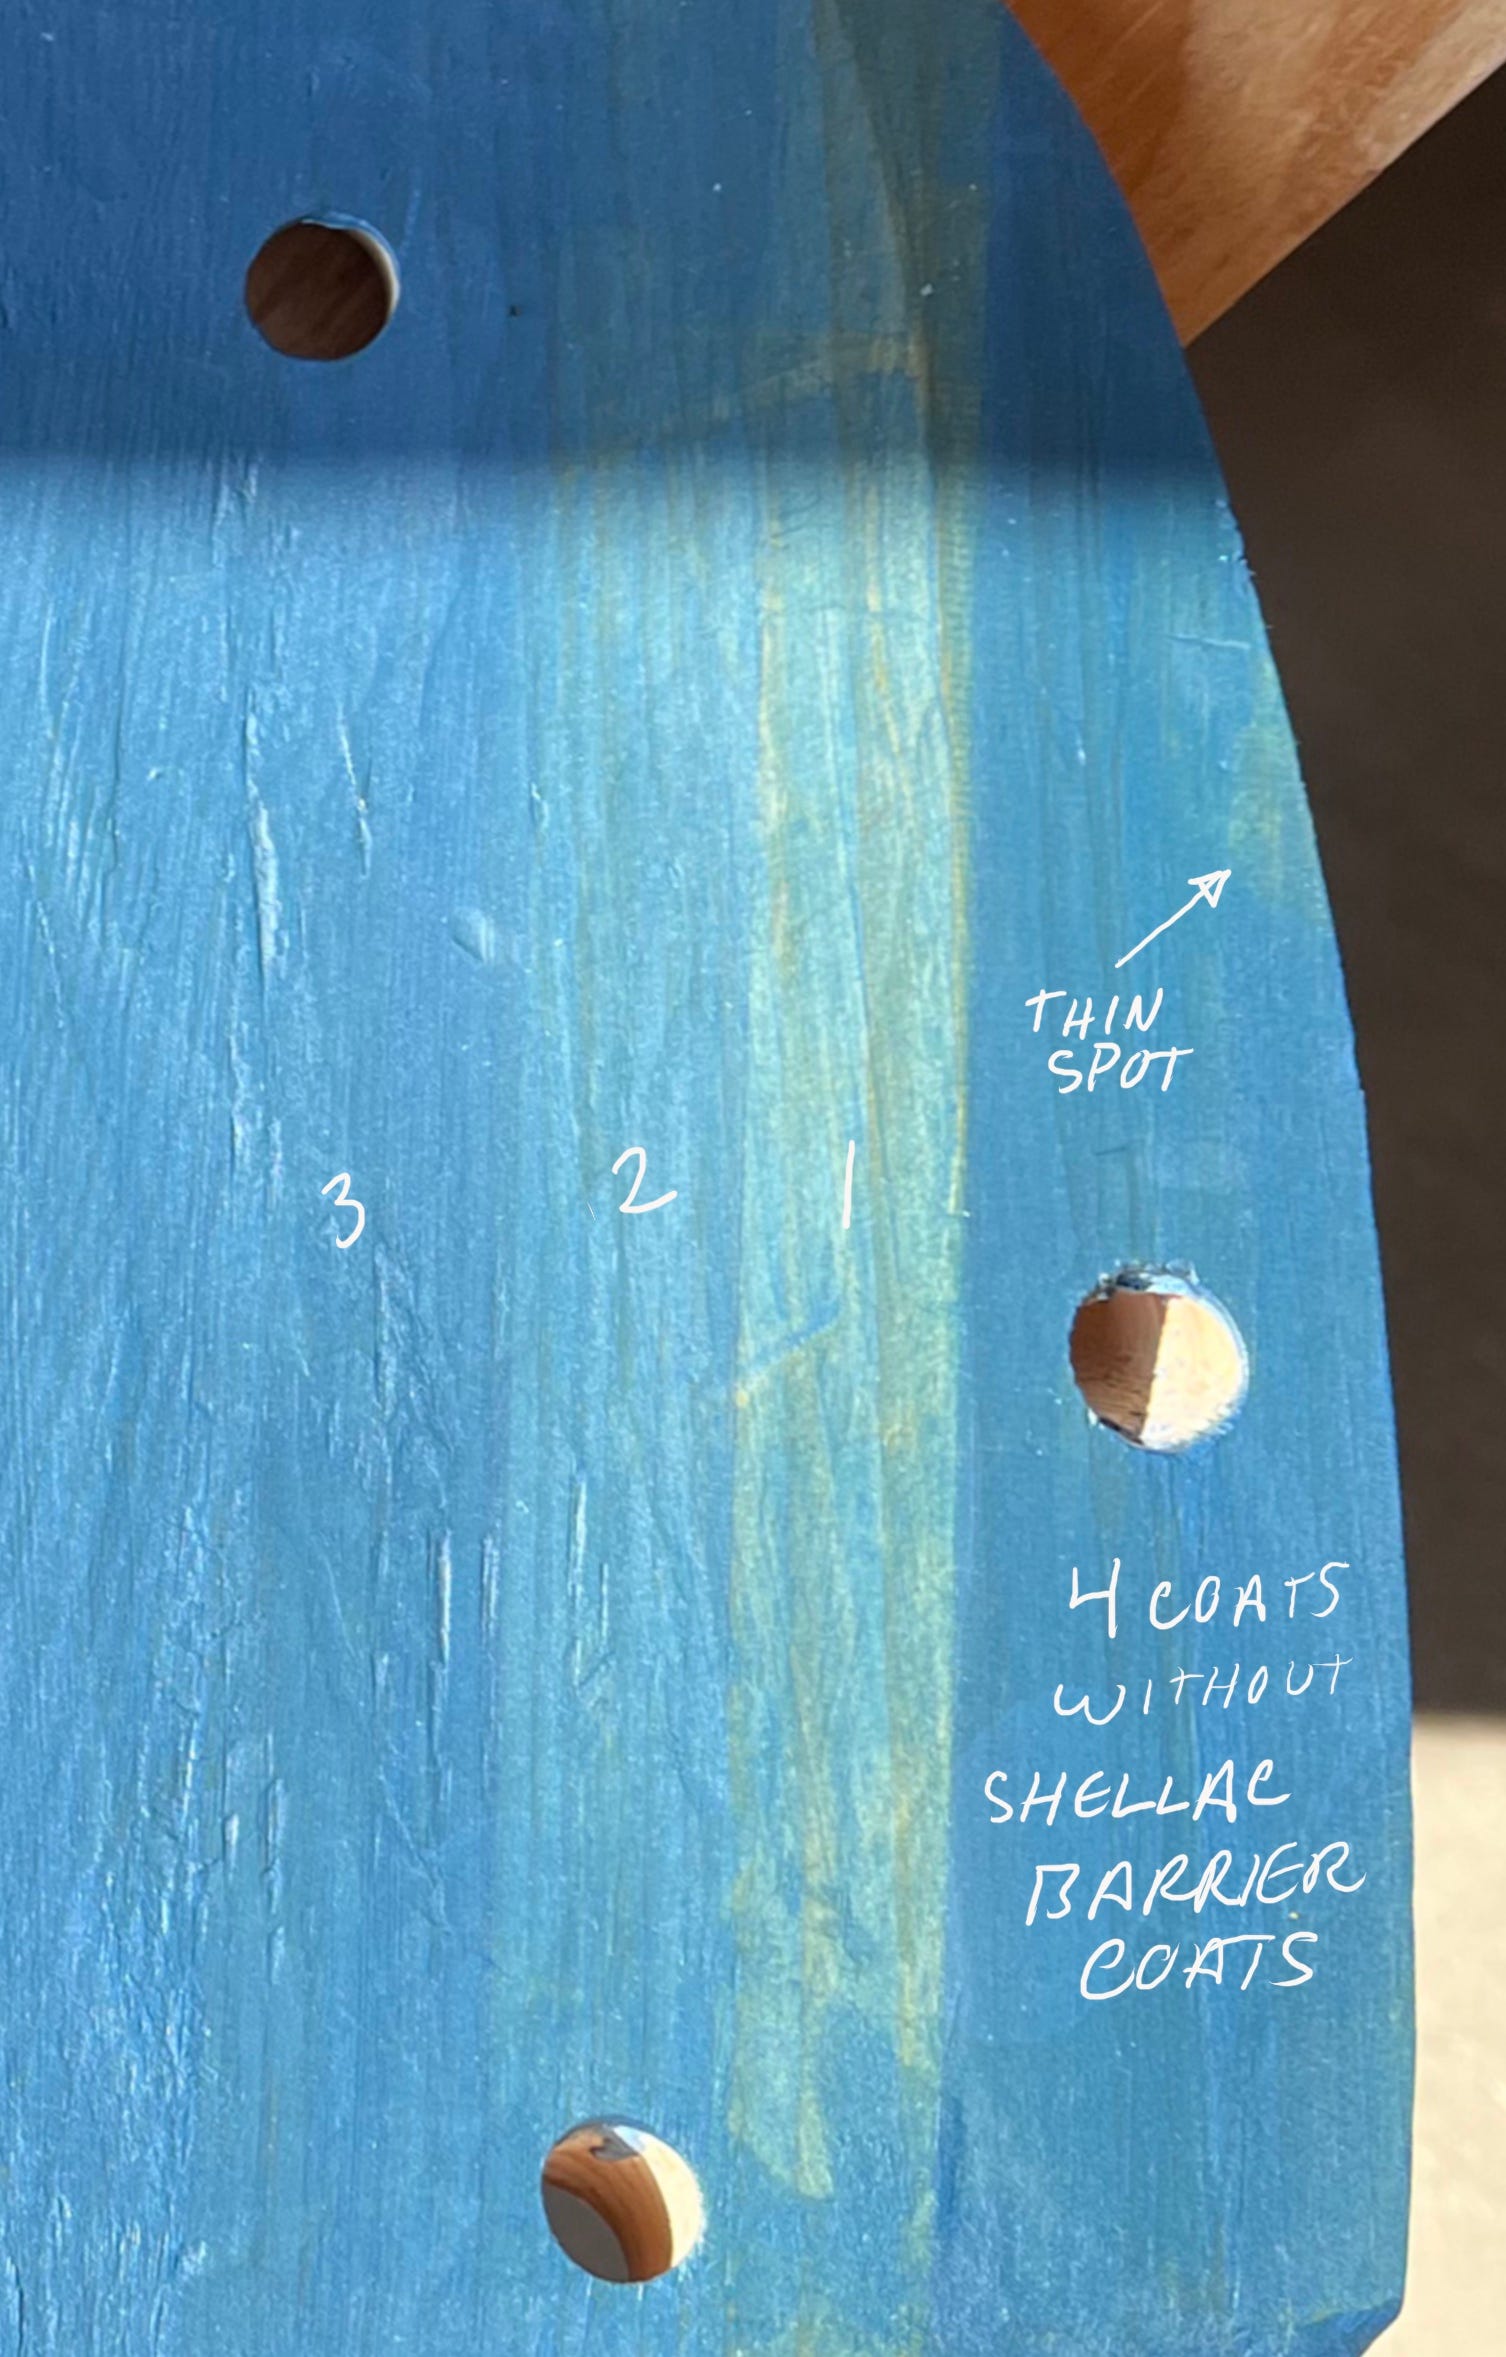
Below is a photo of the area with one and two coats, as well as the area to the right where I did 4 coats but didn’t use the shellac. You can see an area that looks more like only 2 coats were applied. This could be the result of how I brushed the paint on or how much I abraded the paint in that area. I could have avoided this to some degree by letting the paint harden more between coats. If you let the coats dry more, you might want to lightly abrade the surface to smooth it before adding the next coat. Painting or shellacking directly on softer paint tends to smooth it a bit, resulting in a finer result.
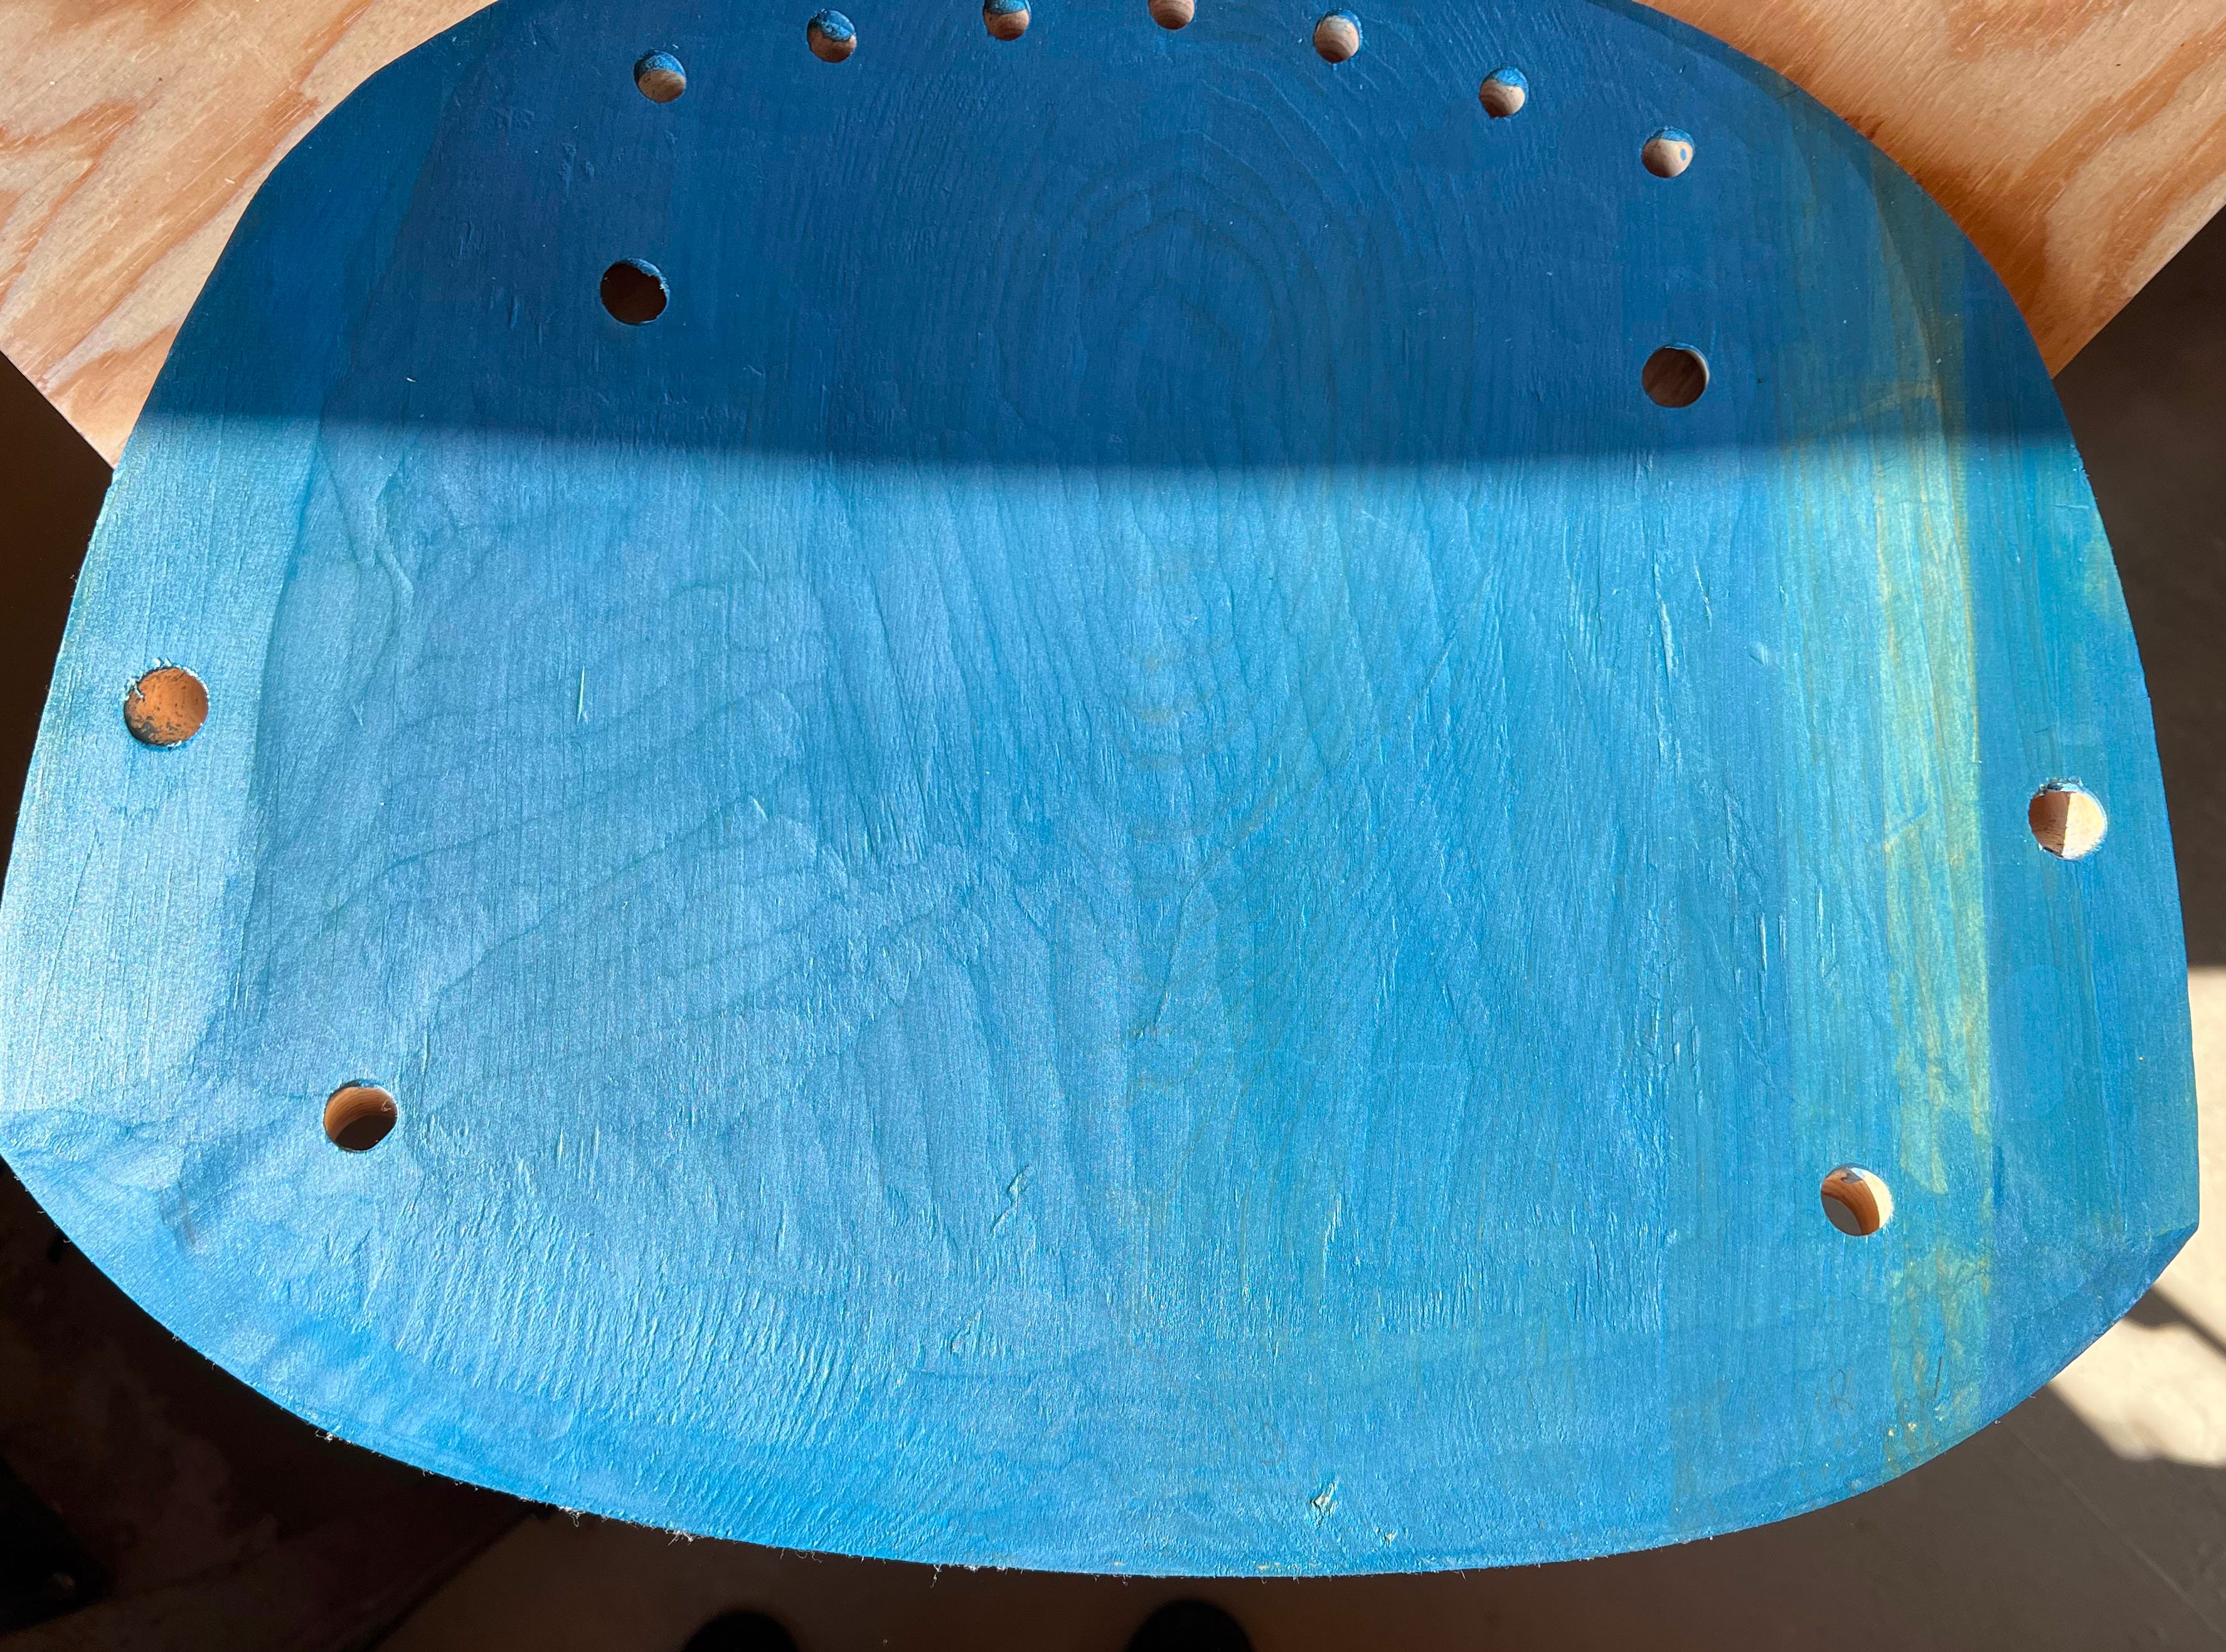
Here is a shot of the whole sample in the brighter light.
Below is a sample I made by layering two colors. Note, I didn’t mix the colors in the paint pot, just on the surface.
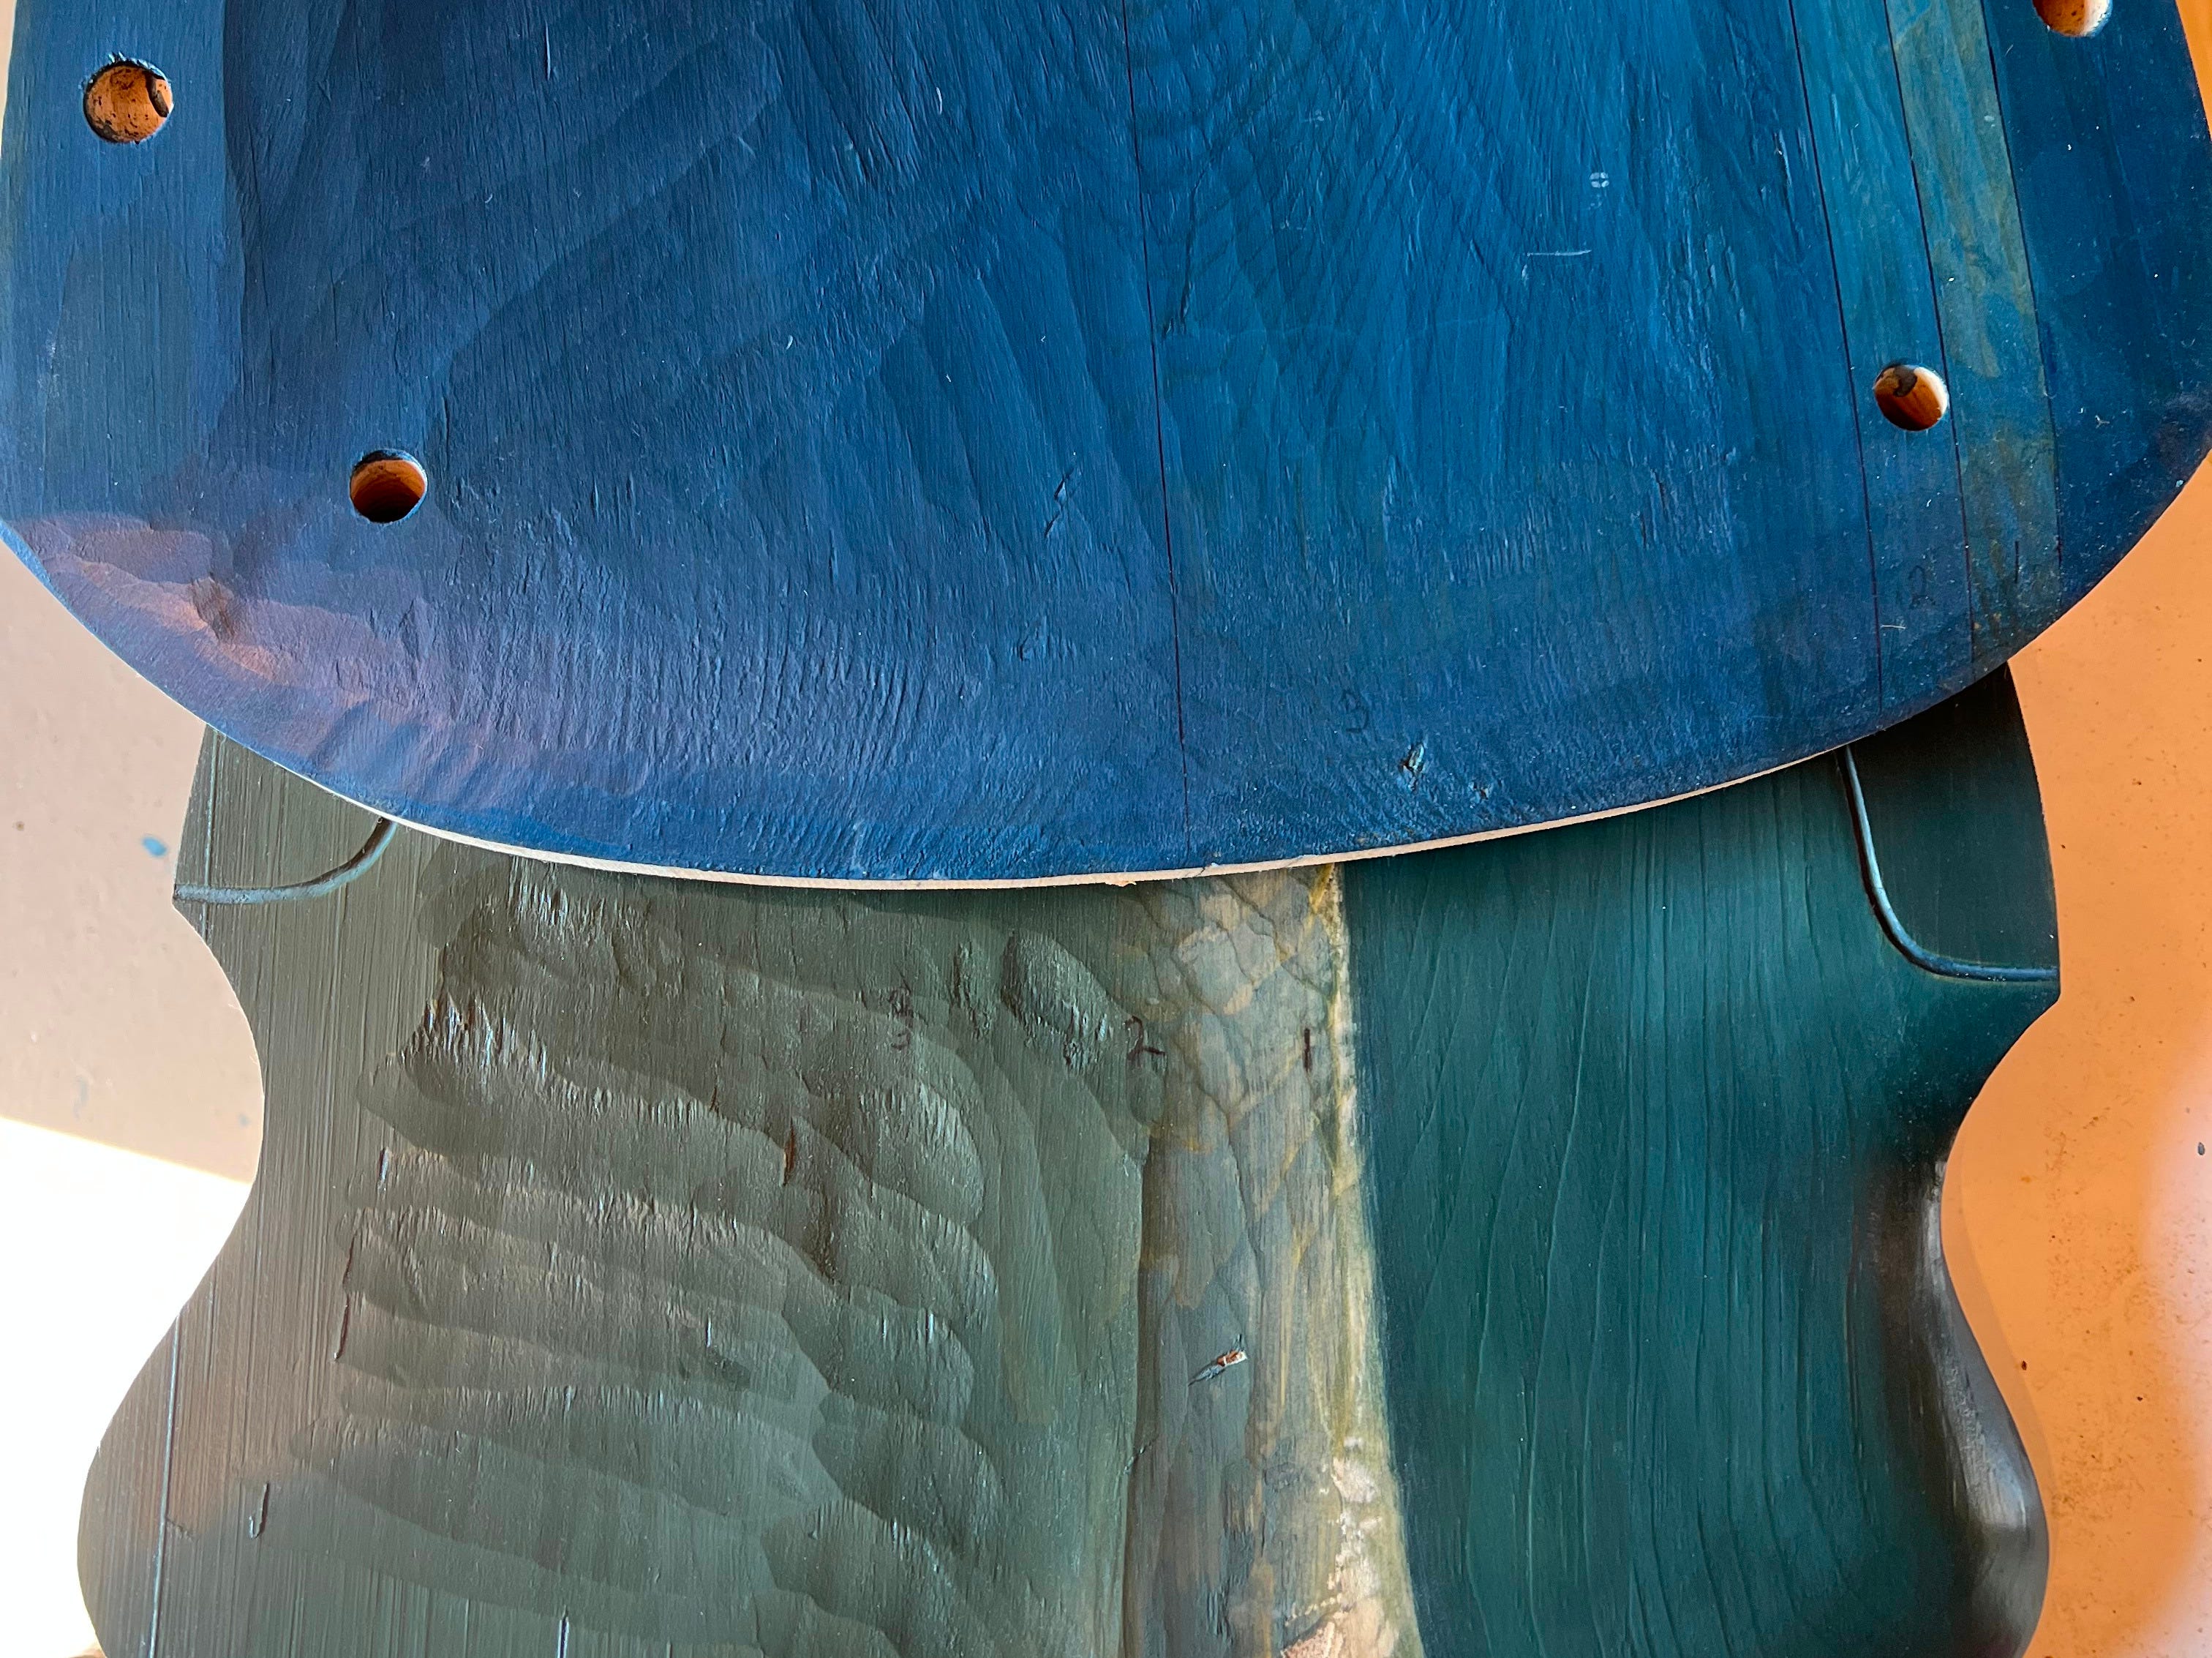
The color on the lower right is the result of two layers of the sapphire (shown on the top piece) followed by two of the blue spruce (lower left). The potential for play and interesting results is endless once you start layering.
