
Flat Spindles
How and Why

First, check out the work from Dave Fisher’s class last week. I can’t believe what they got done. I went away for a few days and was amazed at what I came back to. Check out @Joerobertbass on instagram for some great posts about the week.


I’ve been working on more Rocking chairs and making lots of flat spindles. There was a learning curve when I started working with flat spindles, not only figuring out the best way to make them, but getting the shaping shaping right for comfort and aesthetics. My rocking chair is rather simple visually, the spindles are the main action point. The visual interaction between the spindles and the posts is the big move of the chair. I know it sounds like that isn’t much, it’s an exercise in restraint.
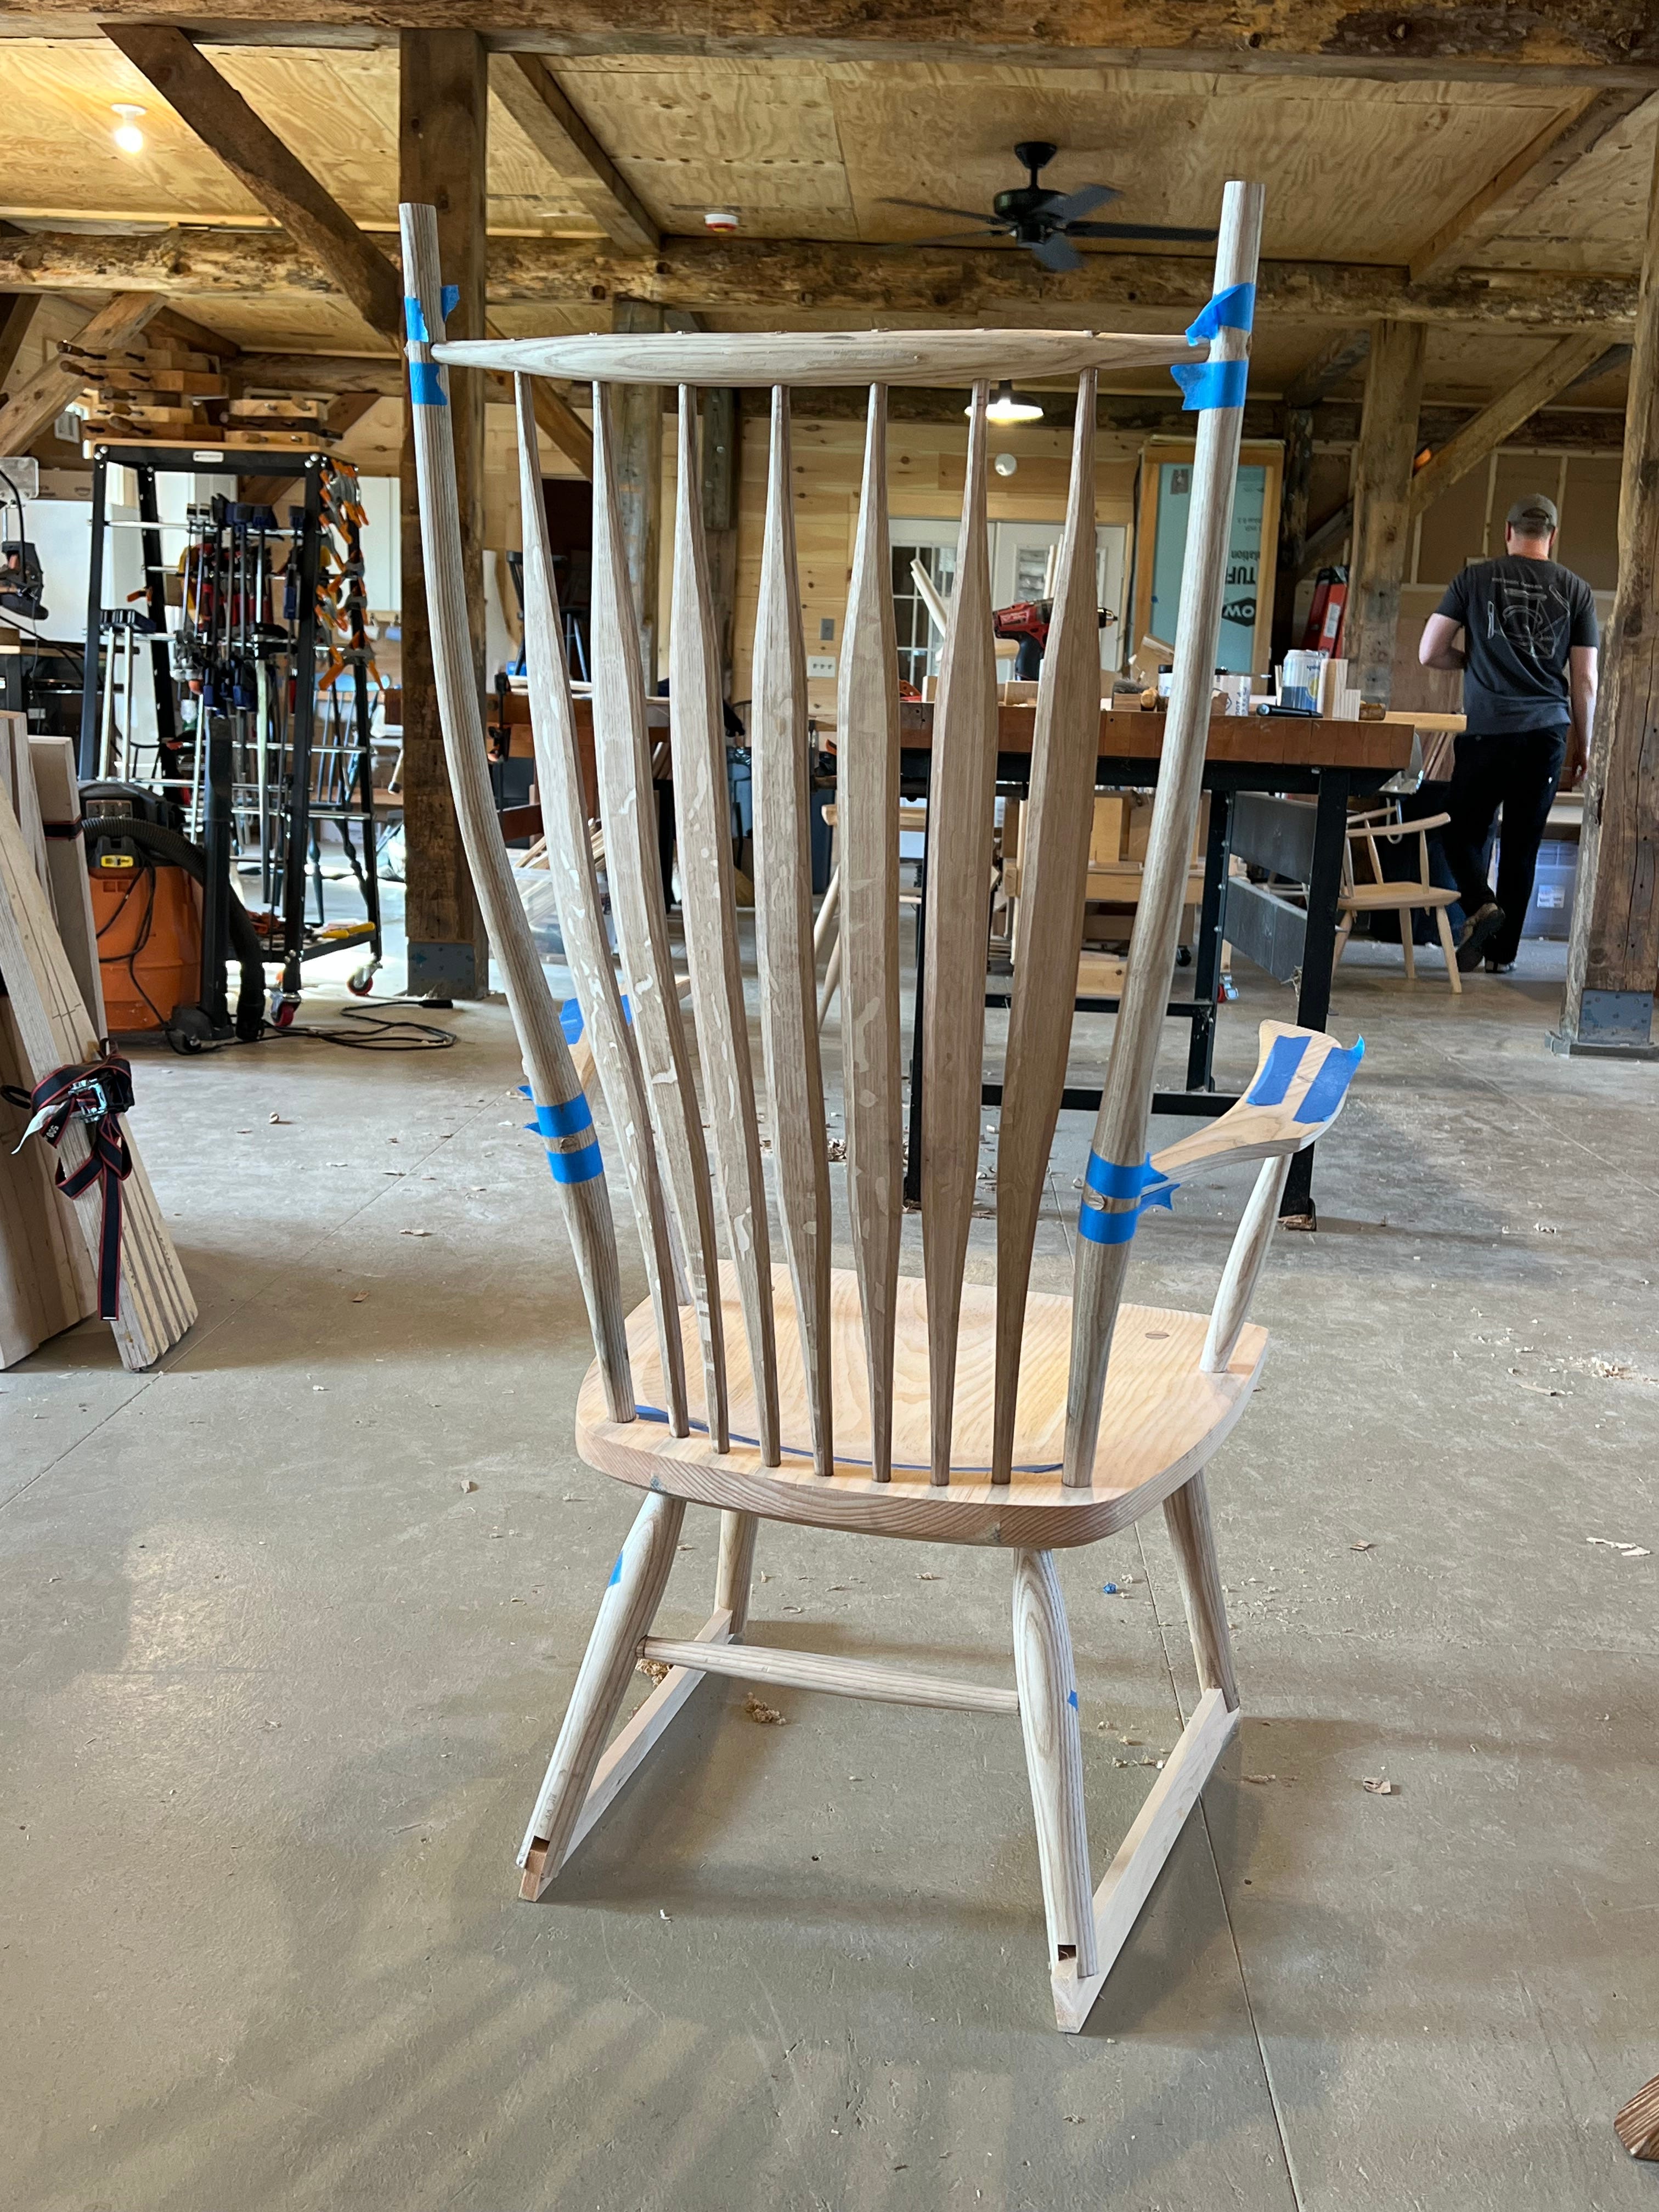
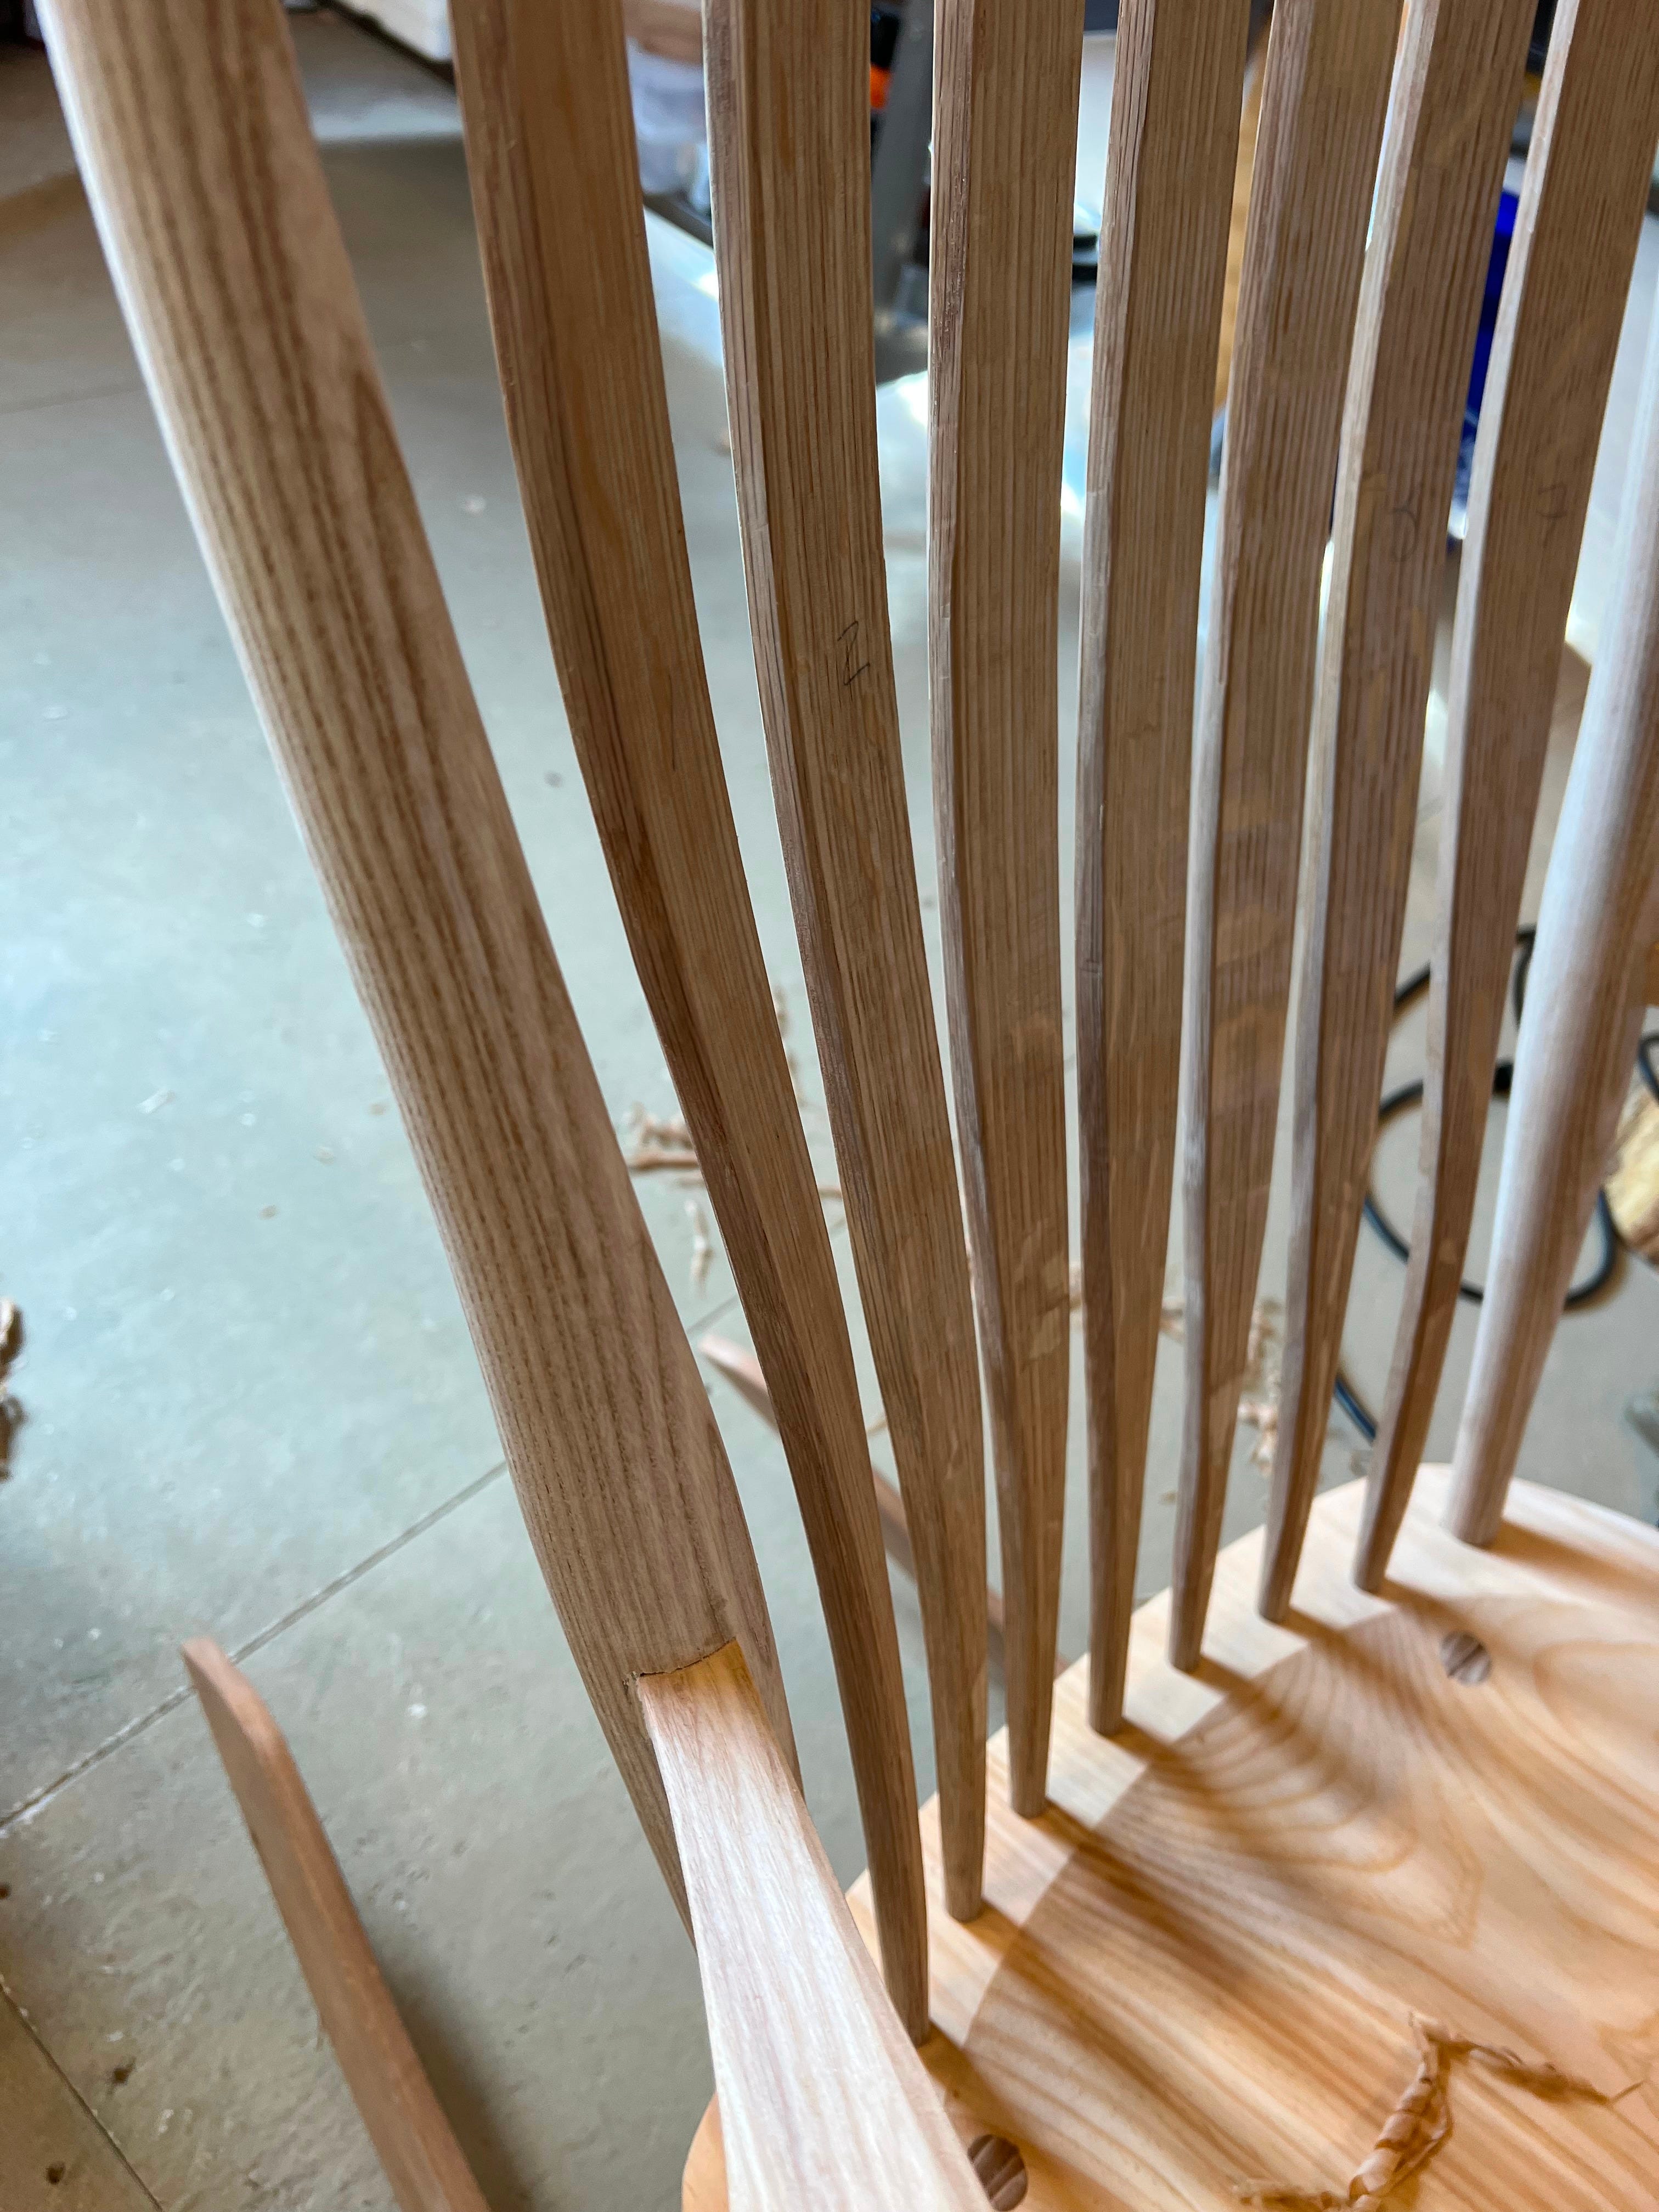
Here you can see how the outermost spindle follows the curves of the turned post from the front and side views.
There are lots of benefits of the using thin round spindles. The flexibility and small contact area makes for a form fitting and comfortable chair. It was round spindles that taught me the importance of following the fibers for strength, which I carry into the way I make flat spindles. These are the one part of the chair that I carefully split from a log. The rest of the chair is made from kiln dried hardwood that I process to follow the fibers. I could saw do the same for the spindles, but I’d have to be more careful in the final shaving to thickness in case the grain reverses.
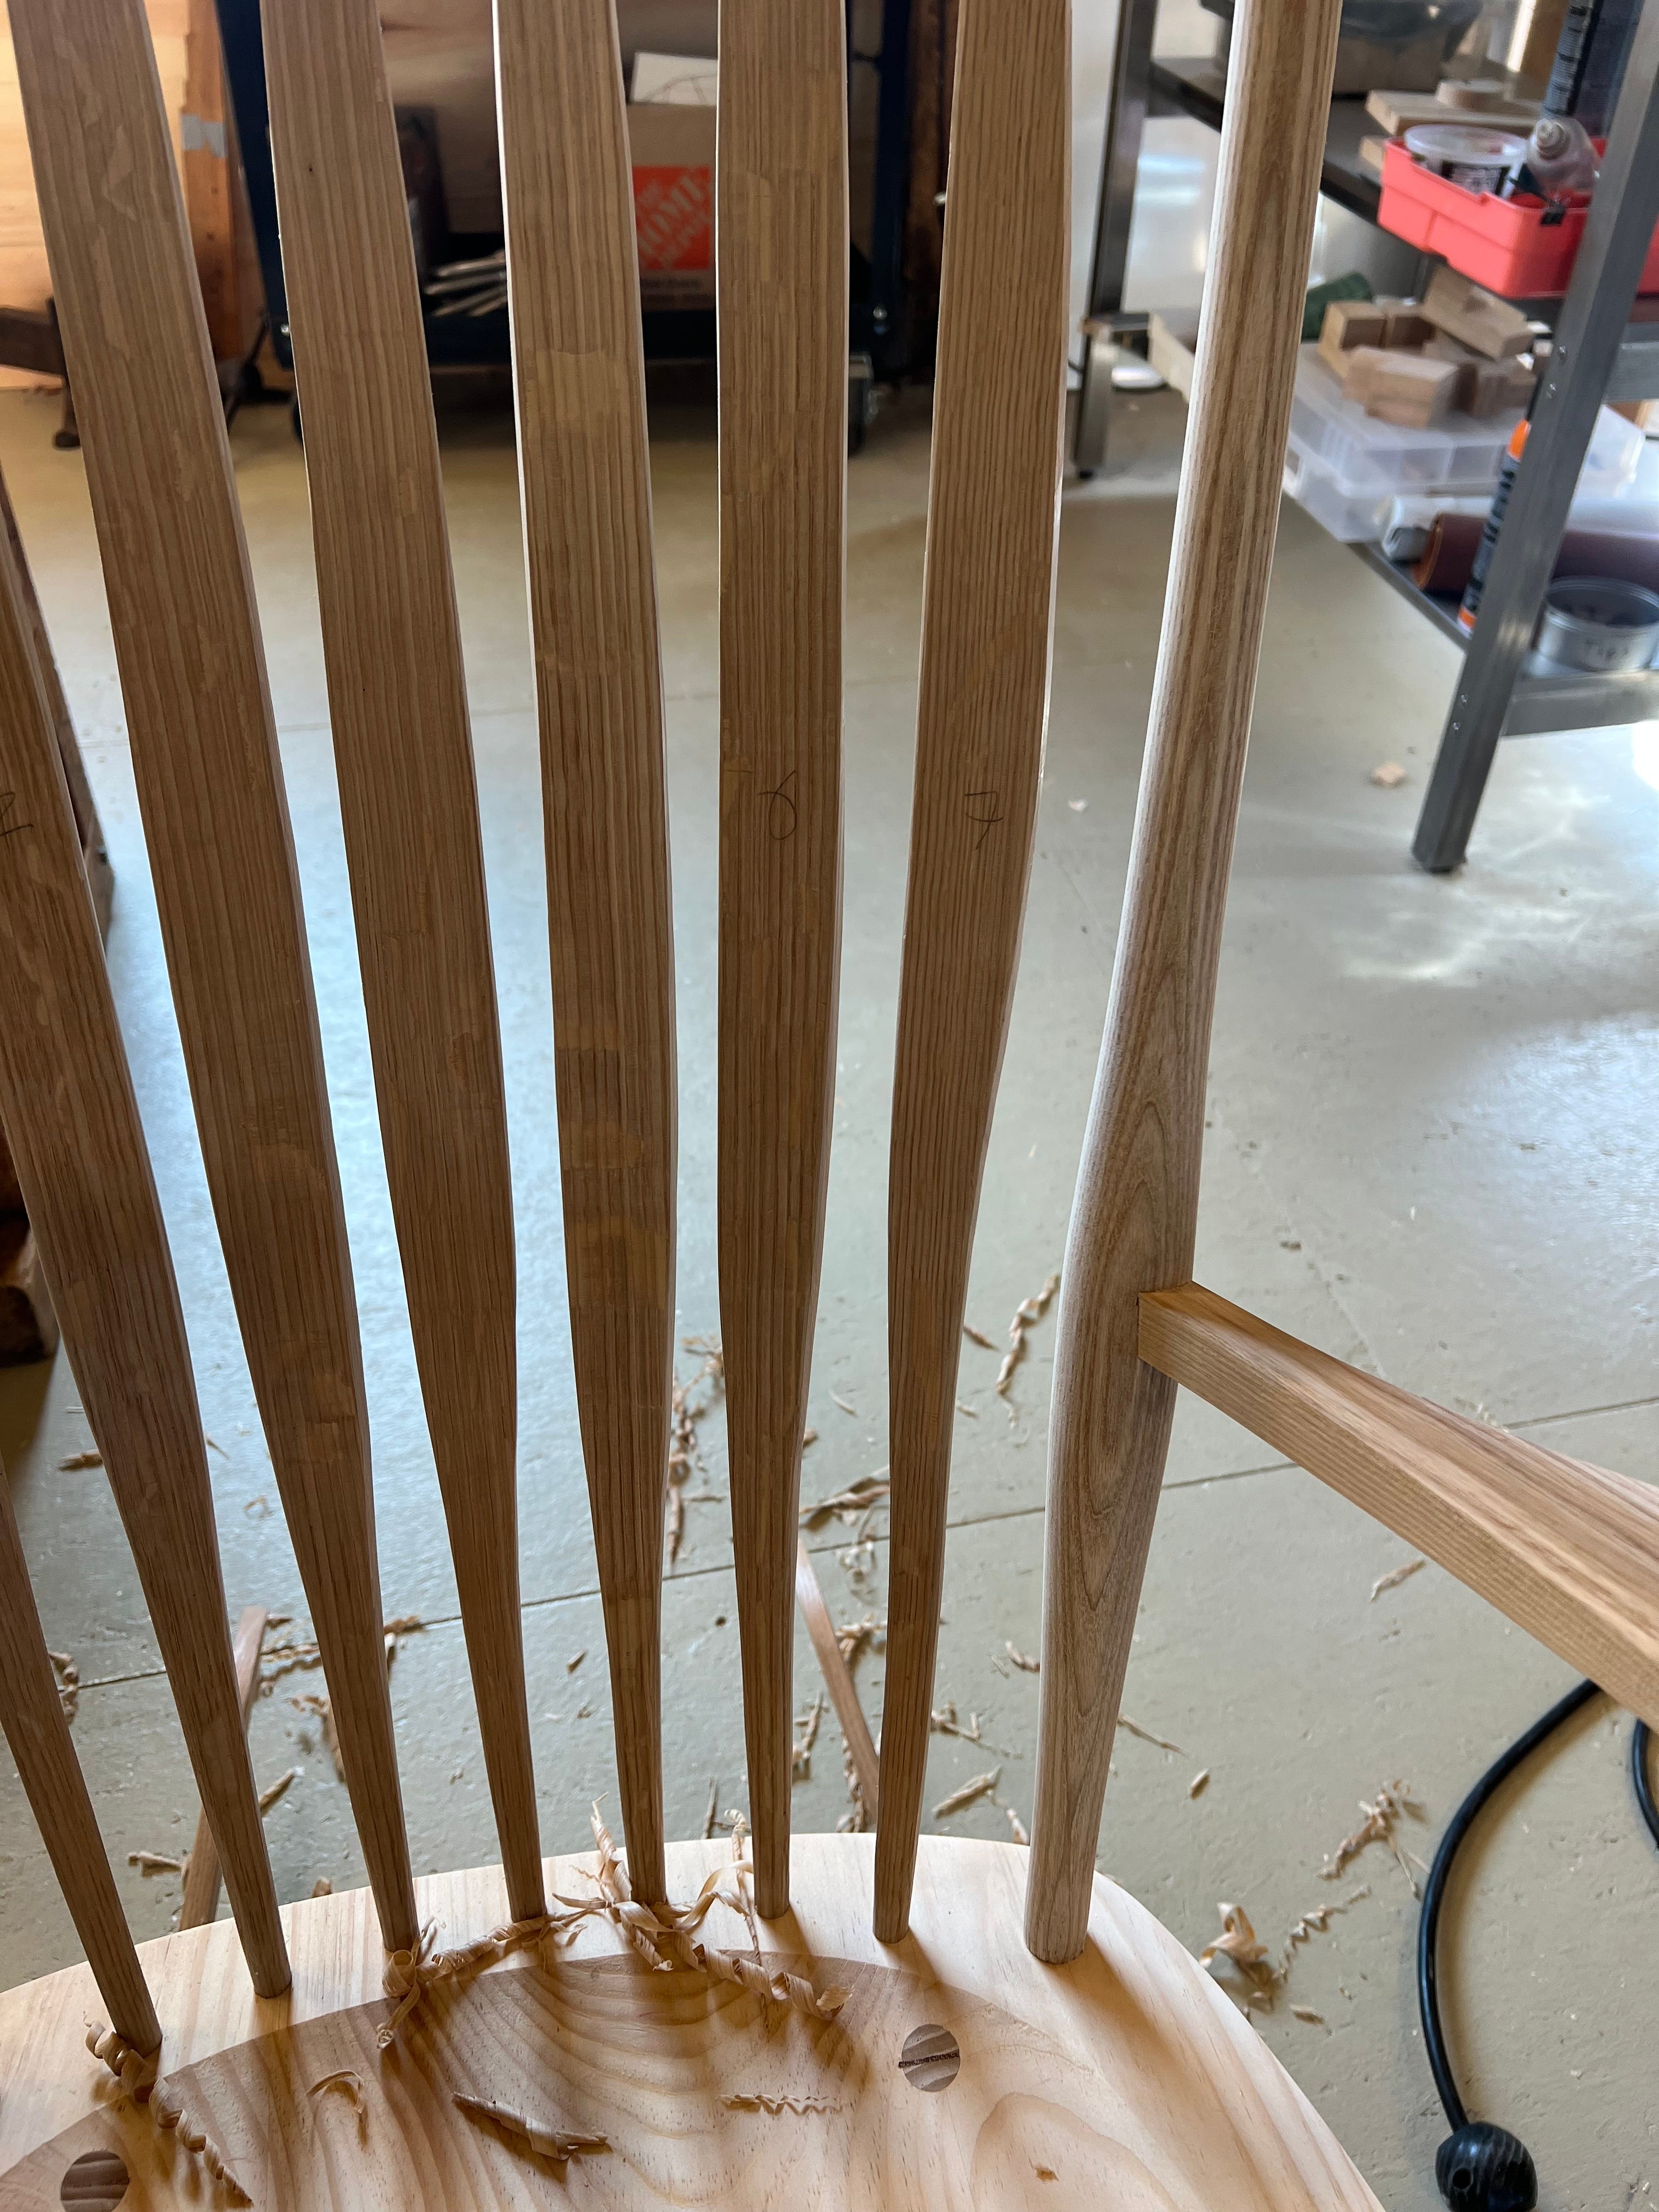
The spindles in this rocker are each shaped and bent differently (symmetrically they match their opposing mate). They are also thinned from the bottom to the top, all from the back face, which ensures the bends keep the intended shape where they meet the sitter. I use a two sided form for these bends to make the shapes precise and plane the spindles to thickness before steaming and bending.
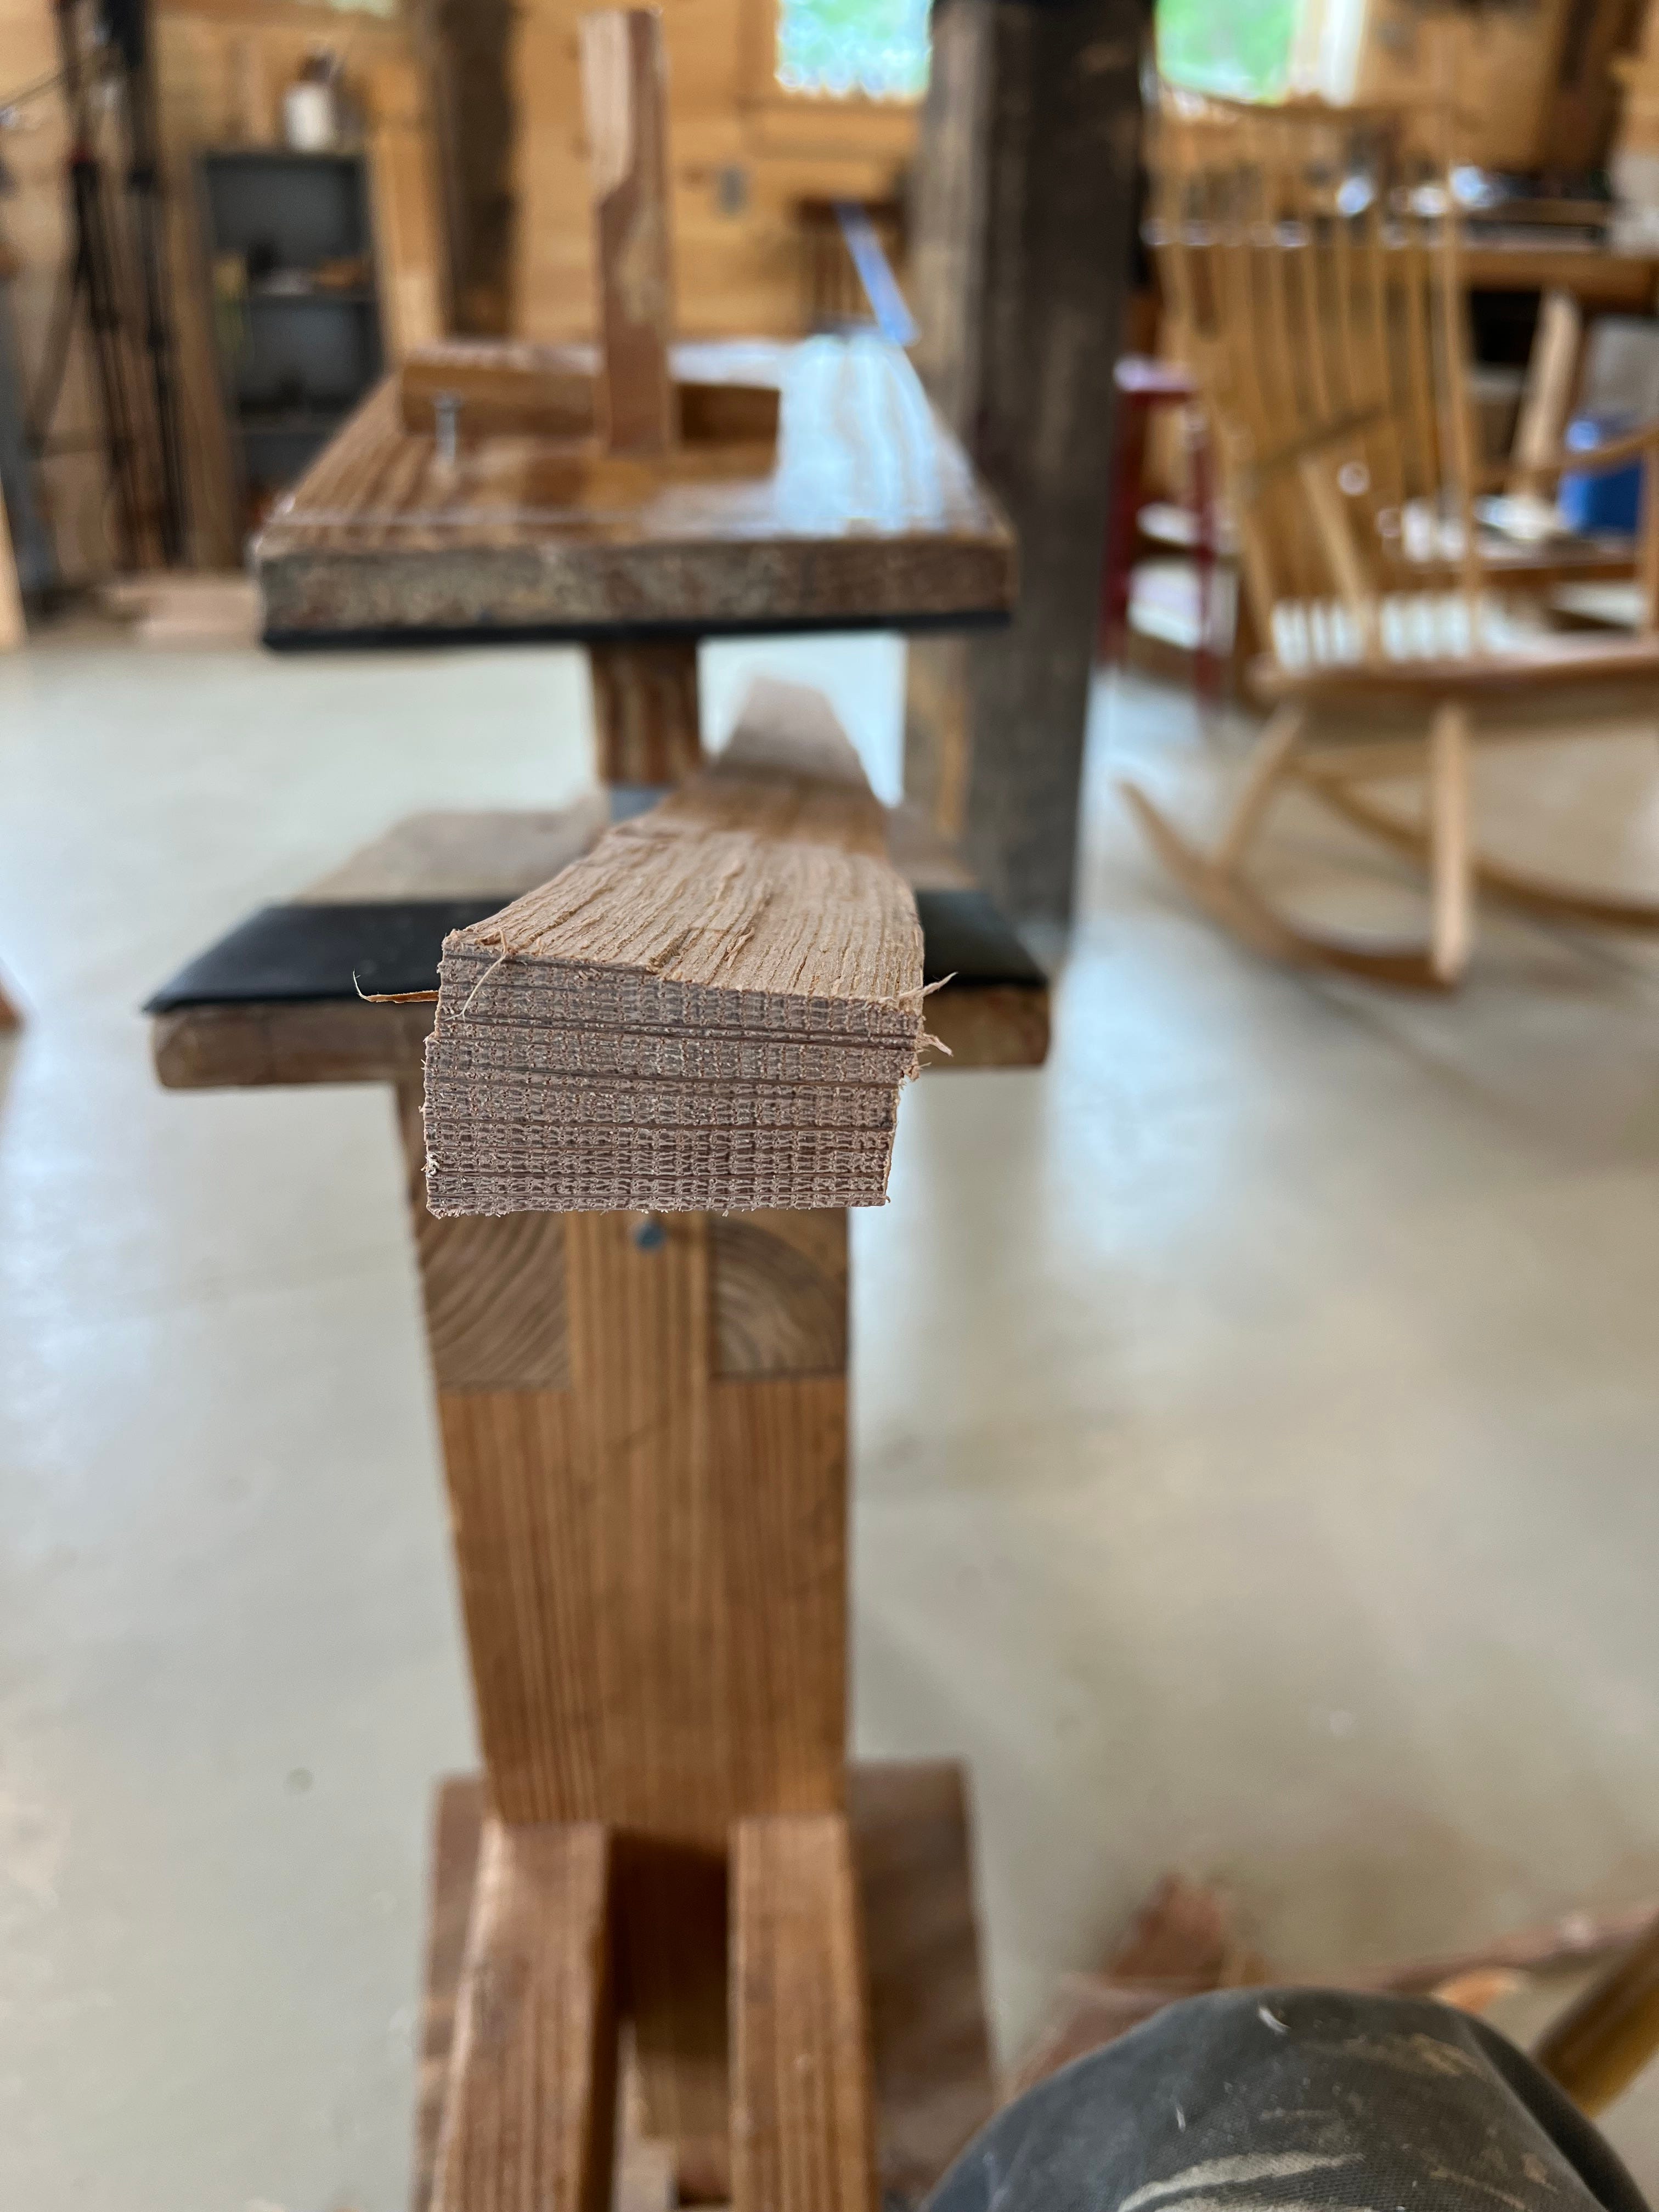
I start with the log, hopefully a straight one.
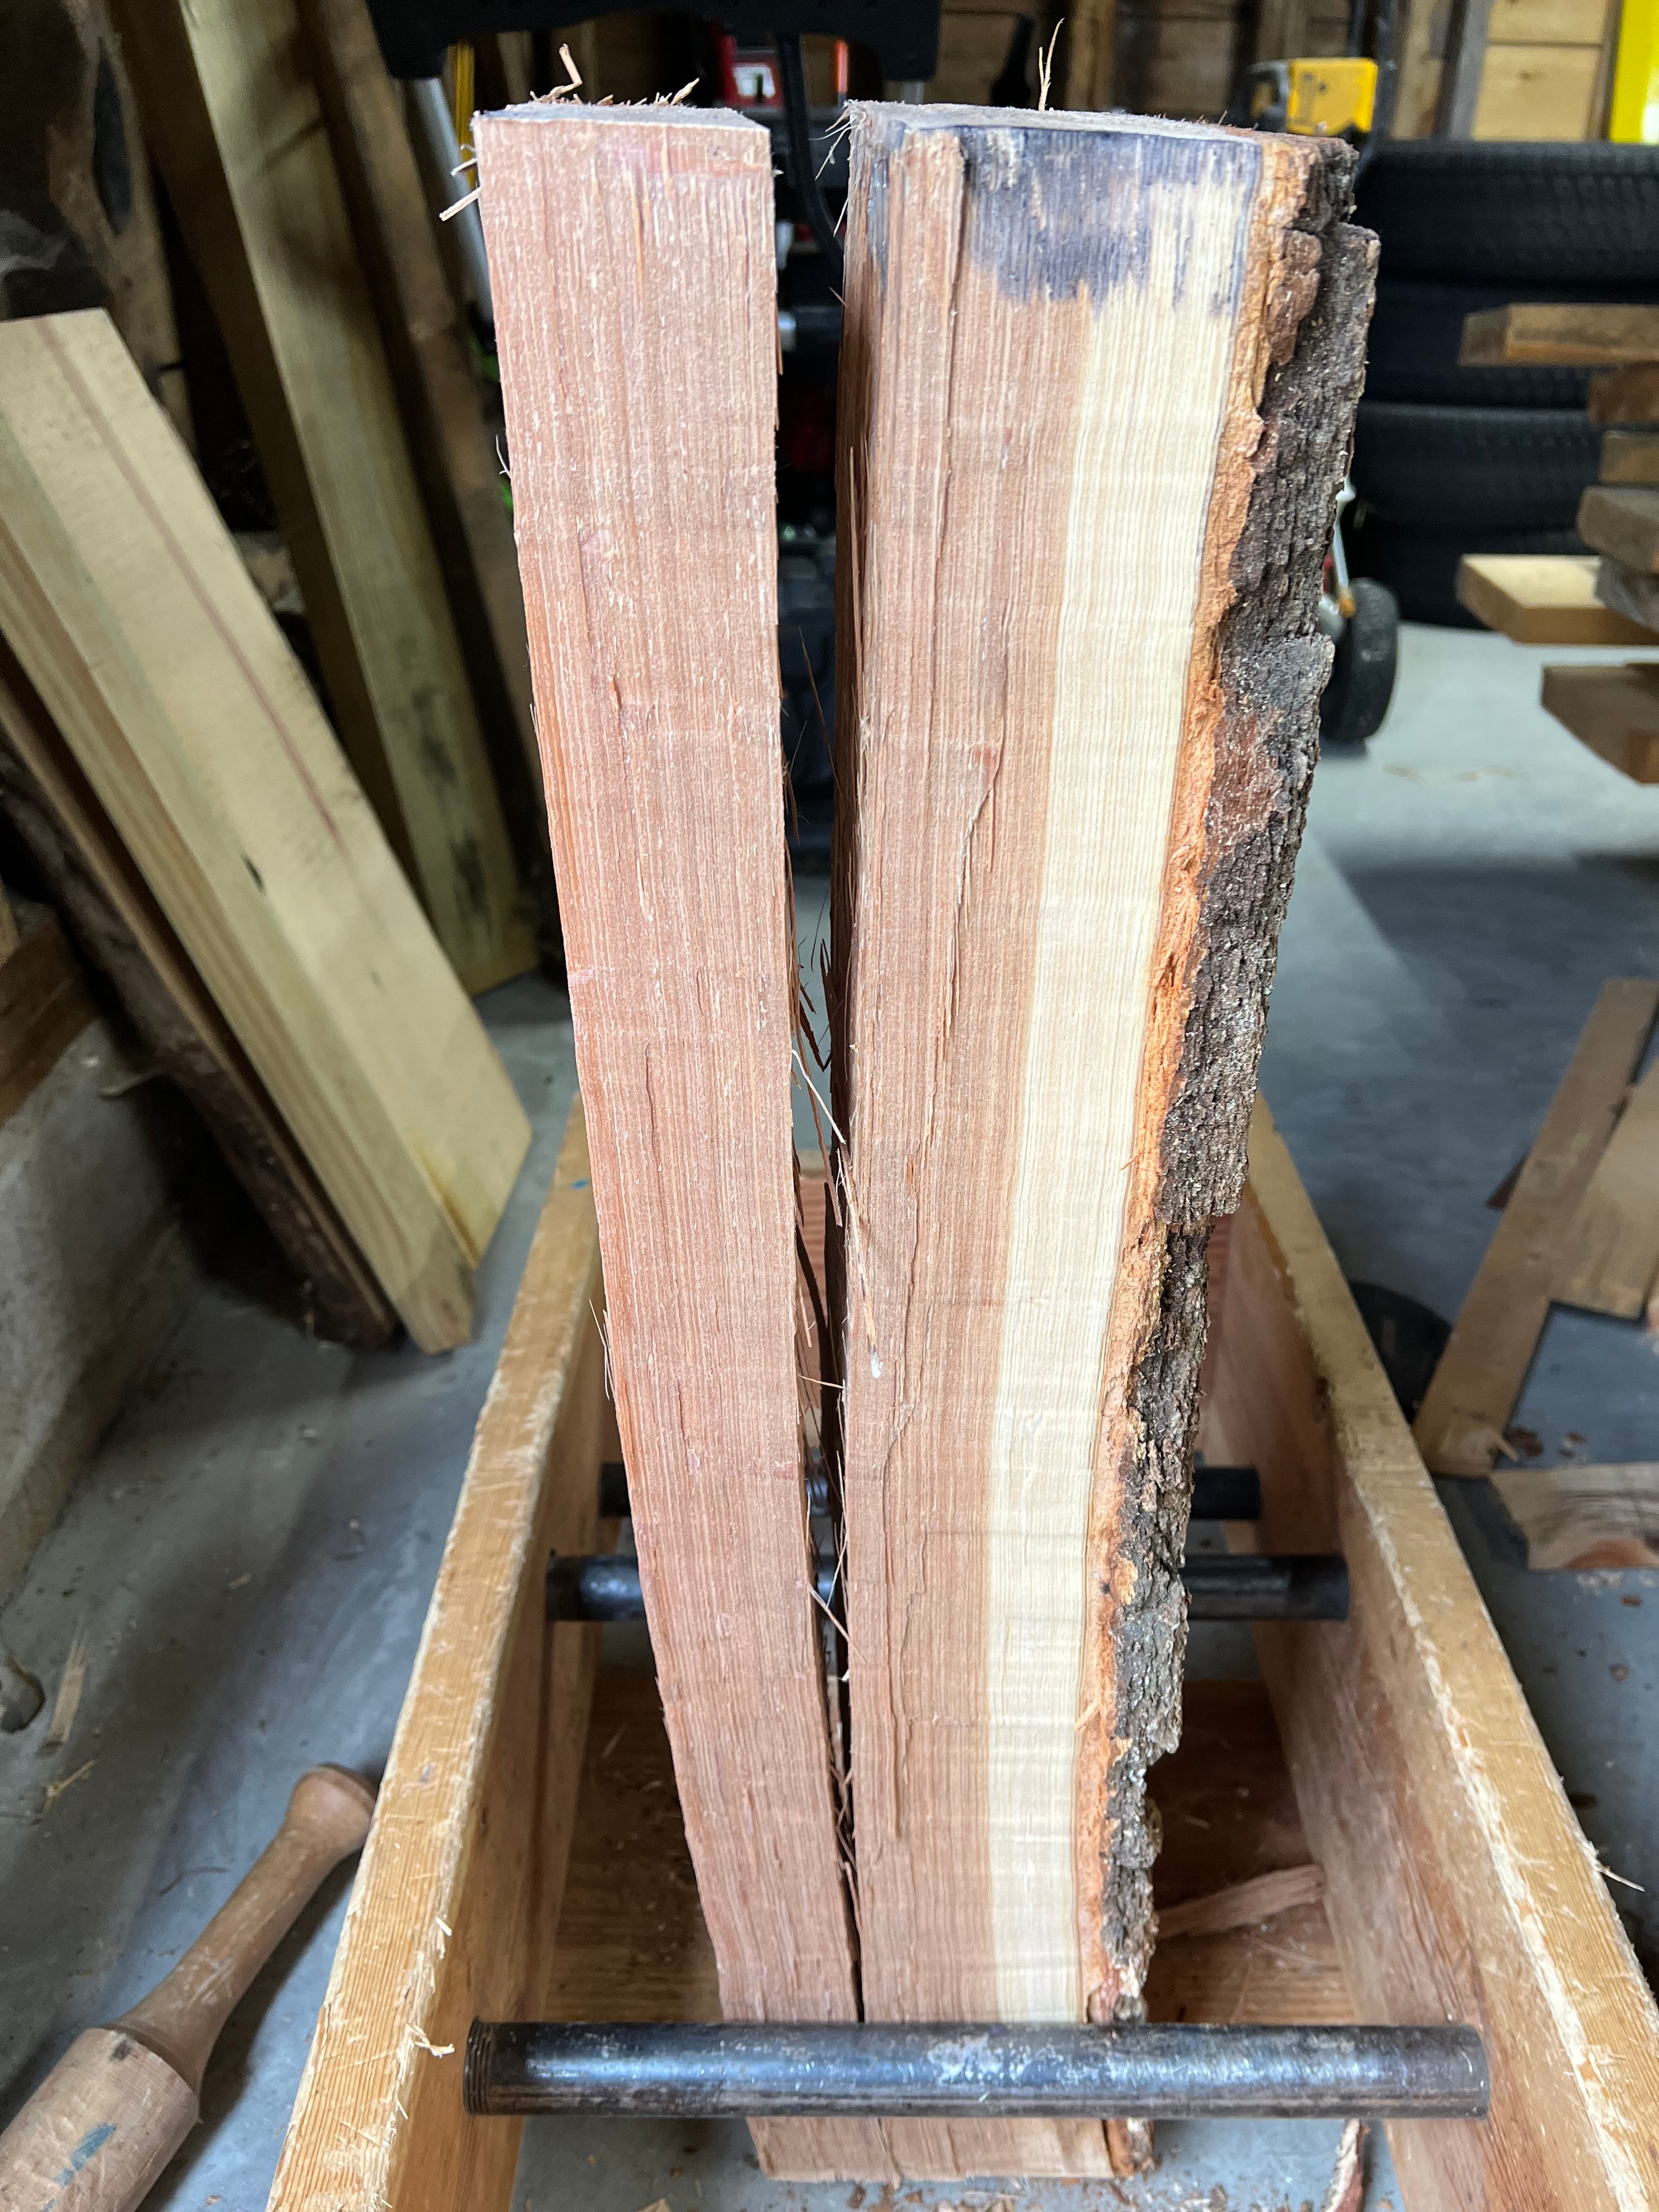
This one is relatively straight, except for a curve at the base from the swell of the trunk, which I straighten in the bending process. I make all of my spindles with the radial plane as the wide face. You can see how I split the log to a width just above 1 1/2”, which is my final width of the flat. I use the radial plane for a few reasons. It splits more easily and controllably, and it shaves much more easily than the tangential plane (parallel to the bark). Plus the visual appeal of the medullary rays on the face add a painterly flair to the chair. The quarter sawn (split) spindles also help keep the visual grain on the surface from getting too active. When I taper them from the rear, it doesn’t show a bunch of distracting growth rings as it would if it were flatsawn (tangential). Finally, the actual act of shaving that taper is physically easy even though they are wide, I’d hate to shave 1 1/2” wide flatsawn white oak.
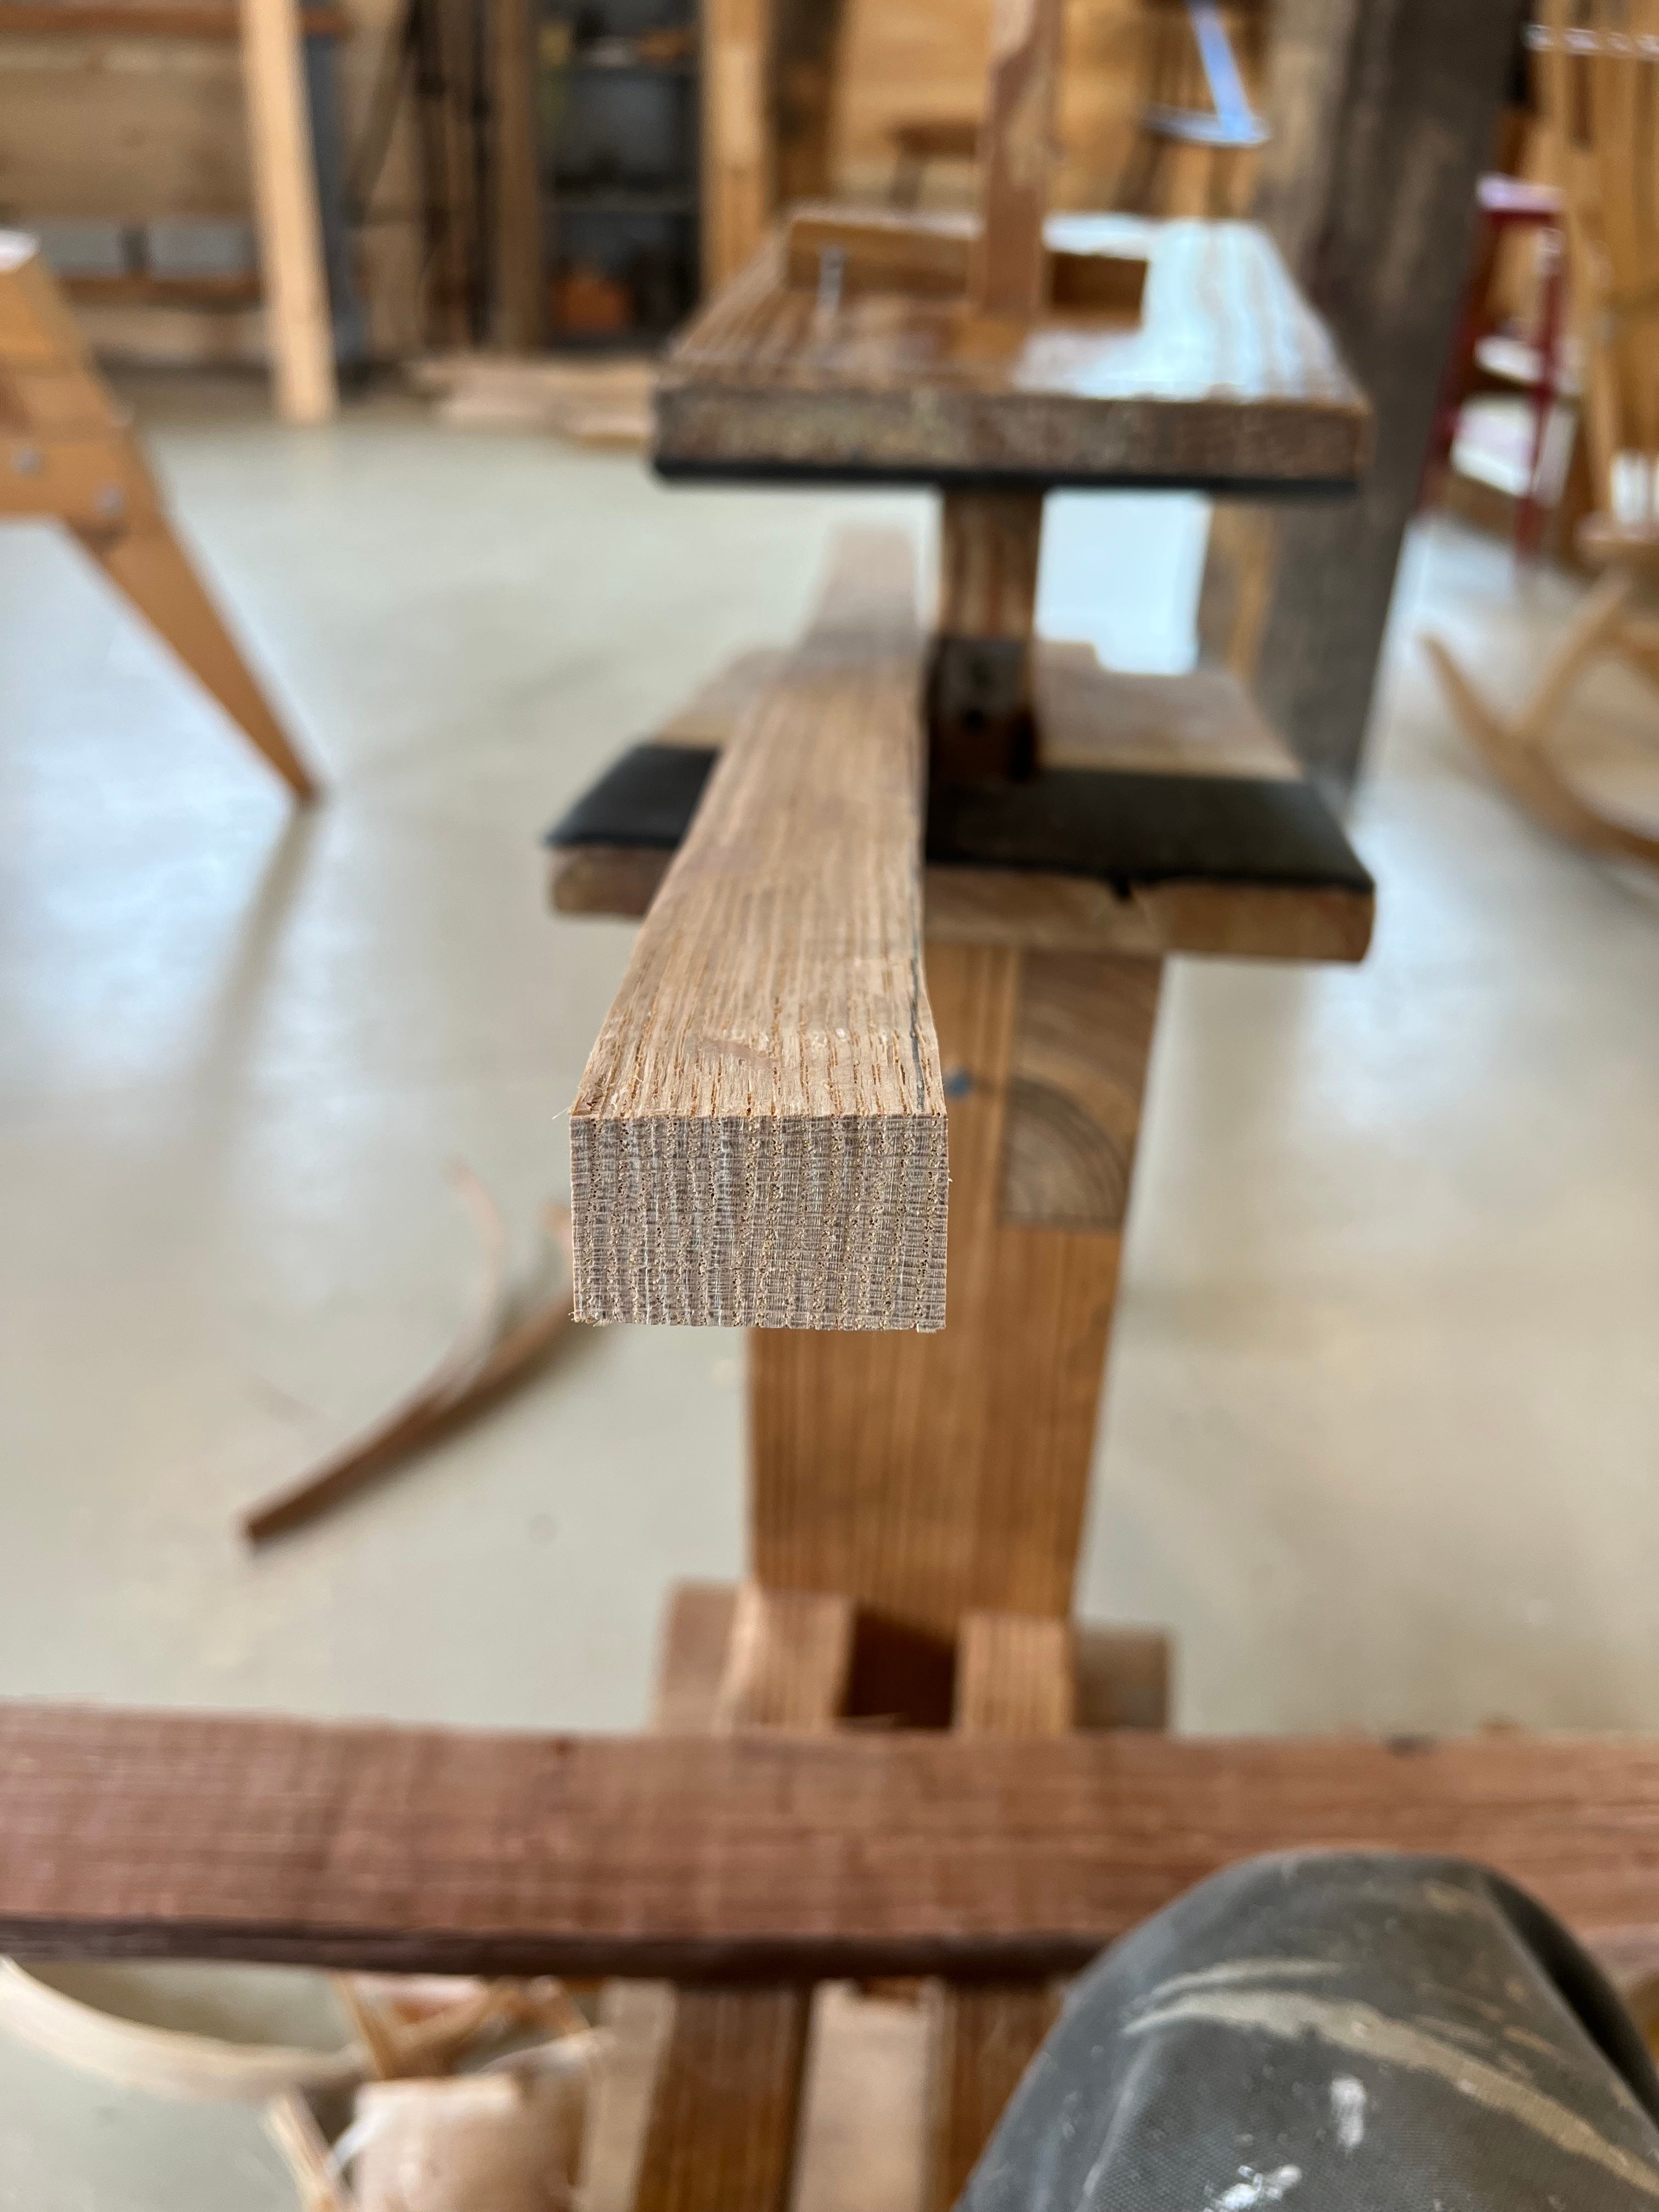
I split the spindles to about 3/4” thickness. This gives me a little room to shave them prior to sending them through the planer. I could shave them to thickness, but I love the way the perfectly even spindles mate to the form. I start by shaving the wide surfaces to parallel.
This one split a little trapezoidal. Here it is shaved to follow the fibers and with the faces parallel.
There is a good bit of wave in this one. The planer will take out a bit of that, but one of the great benefits of passing thin parts through the planer is that it doesn’t flatten them like a jointer, it just makes the surfaces parallel and flat in cross section.
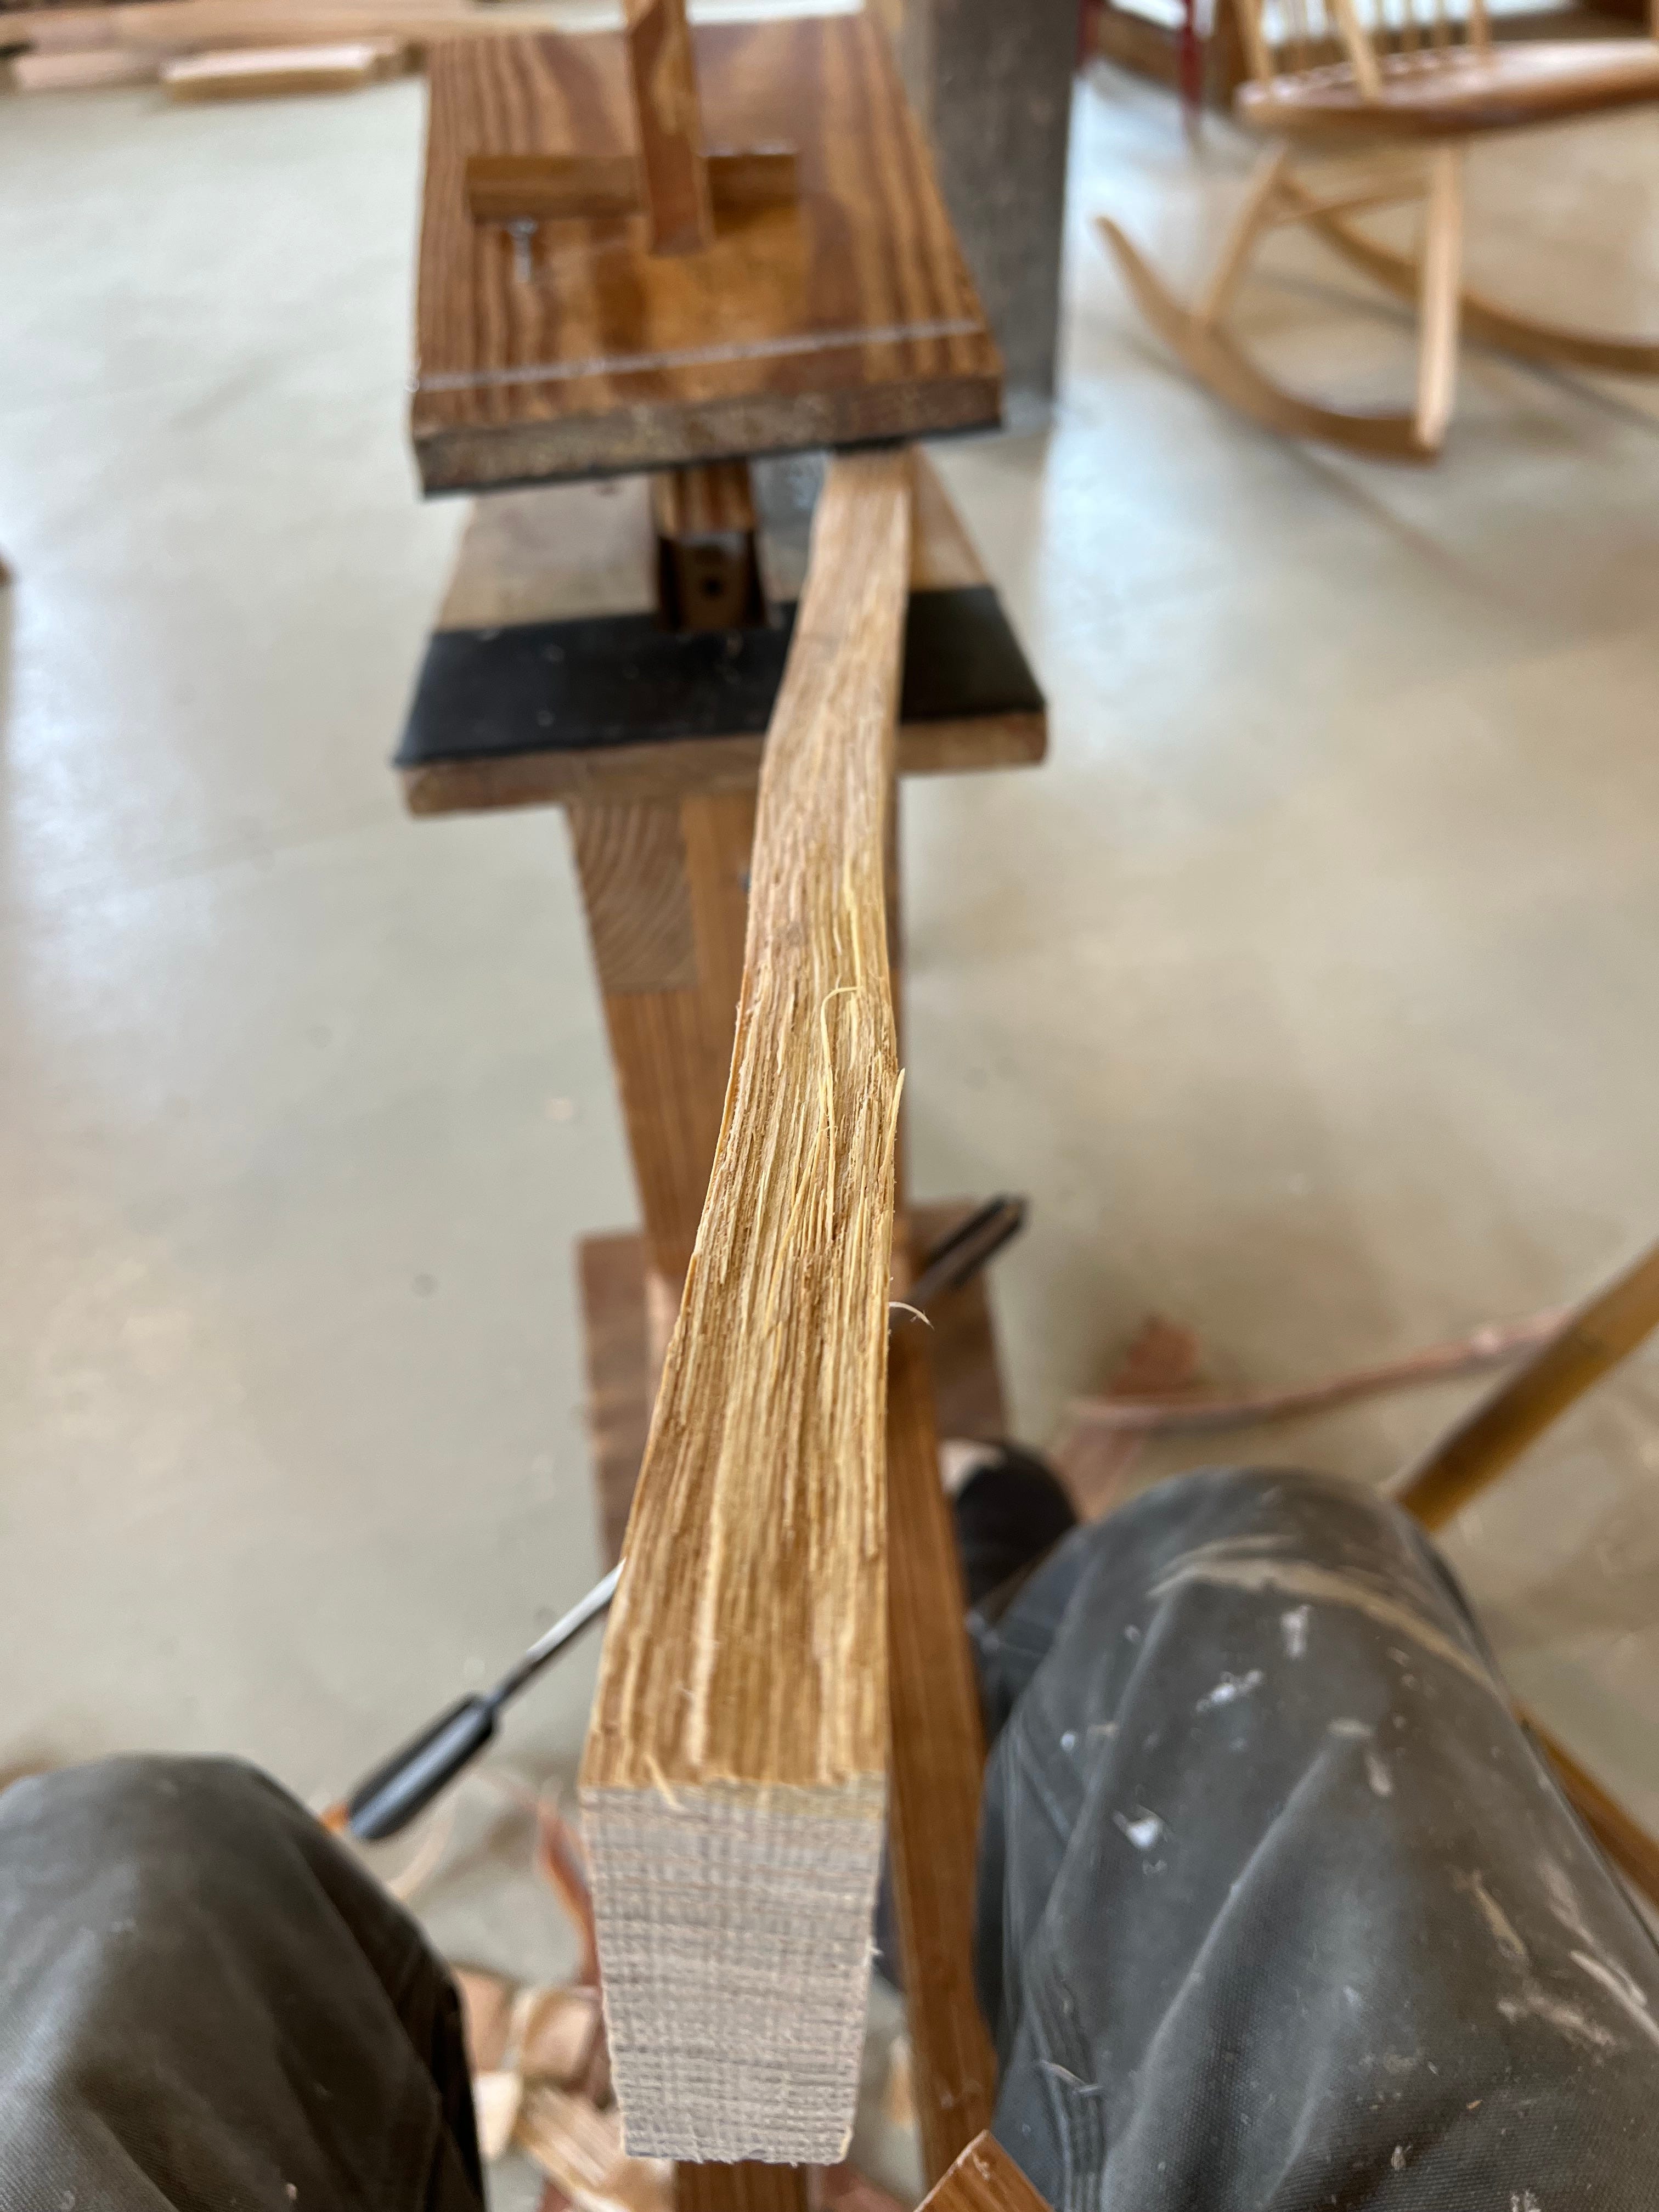
This is ideal for these spindles, which tend to have some sort of curves. The planer is able to keep my priority of following the fibers which makes the job of thinning them after they dry much easier
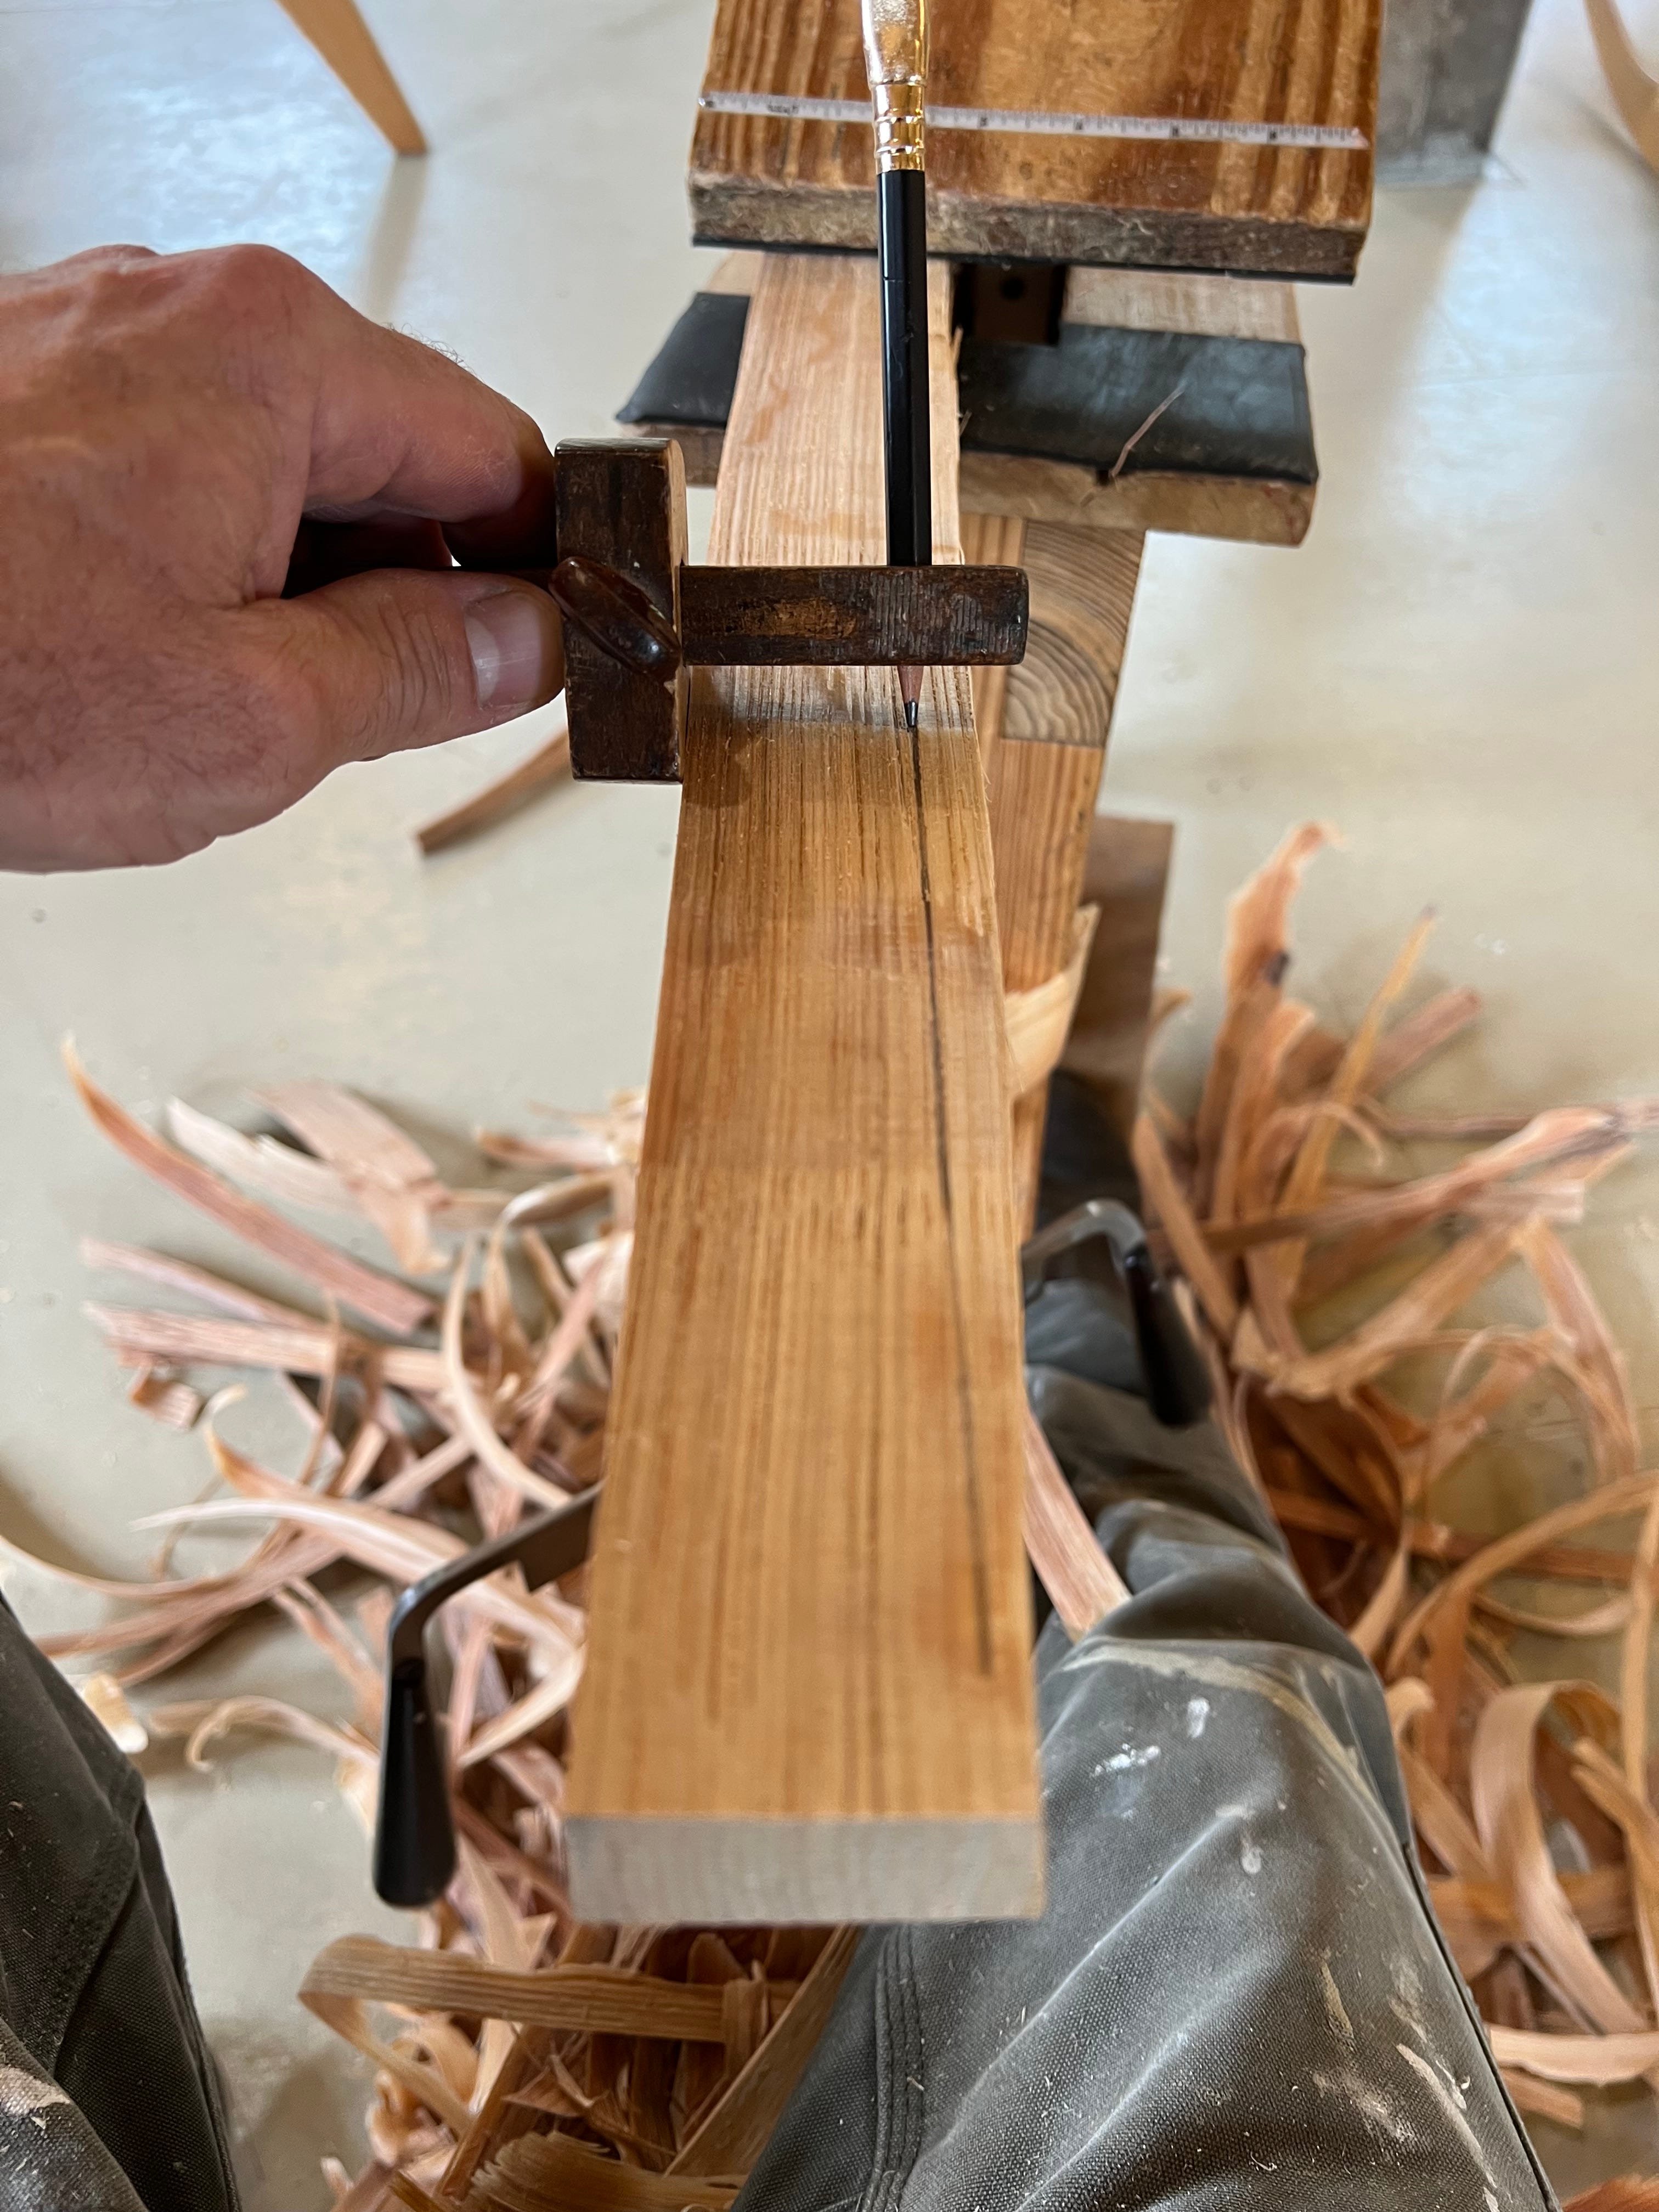
After shaving the faces and one edge to follow the fibers, I mark it and shave it to final width. The final width is related to the bending form, which is also 1 1/2” thick. When I put the spindles in the form, I clamp the form tight and then check for any part of the spindles sticking out beyond the face of the form (I’ll show that next post). I pound them with a deadblow to make sure they are in line with the face of the form to straighten them out. This way I’ve made a curve in one dimension and straightened any curves out of the other.
I plane the spindles to just over 9/16” thick. White oak shrinks about 10% along the tangential plane, which in this case is the thickness, so they will lose nearly 1/16” in thickness and end up a smidge larger than the 1/2” holes drilled for the bottom tenon. Of course, this will vary with species. I prefer white oak for it’s rubbery flexibility, though other ring porous hardwoods flex as well. You can adjust the thickness to get the effect you want. Surprisingly, there can be too much flexibility, which I learned the hard way. I designed this chair to get the wider parts of the spindles in the correct areas to support the sitter while thinning the tops and bottoms for flexibility.
Because the form is double sided, there isn’t much room for the moisture to escape, so I give these about 2 weeks to dry. First in the air then in the kiln. Next I’ll show the bending and talk a bit about the curves and shapes.