
Full Summer
and more design

Summer in Maine is when I get tricked into staying for another winter. It’s been a great spell of lots of activity in a dreamy environment. Ask me again in February.
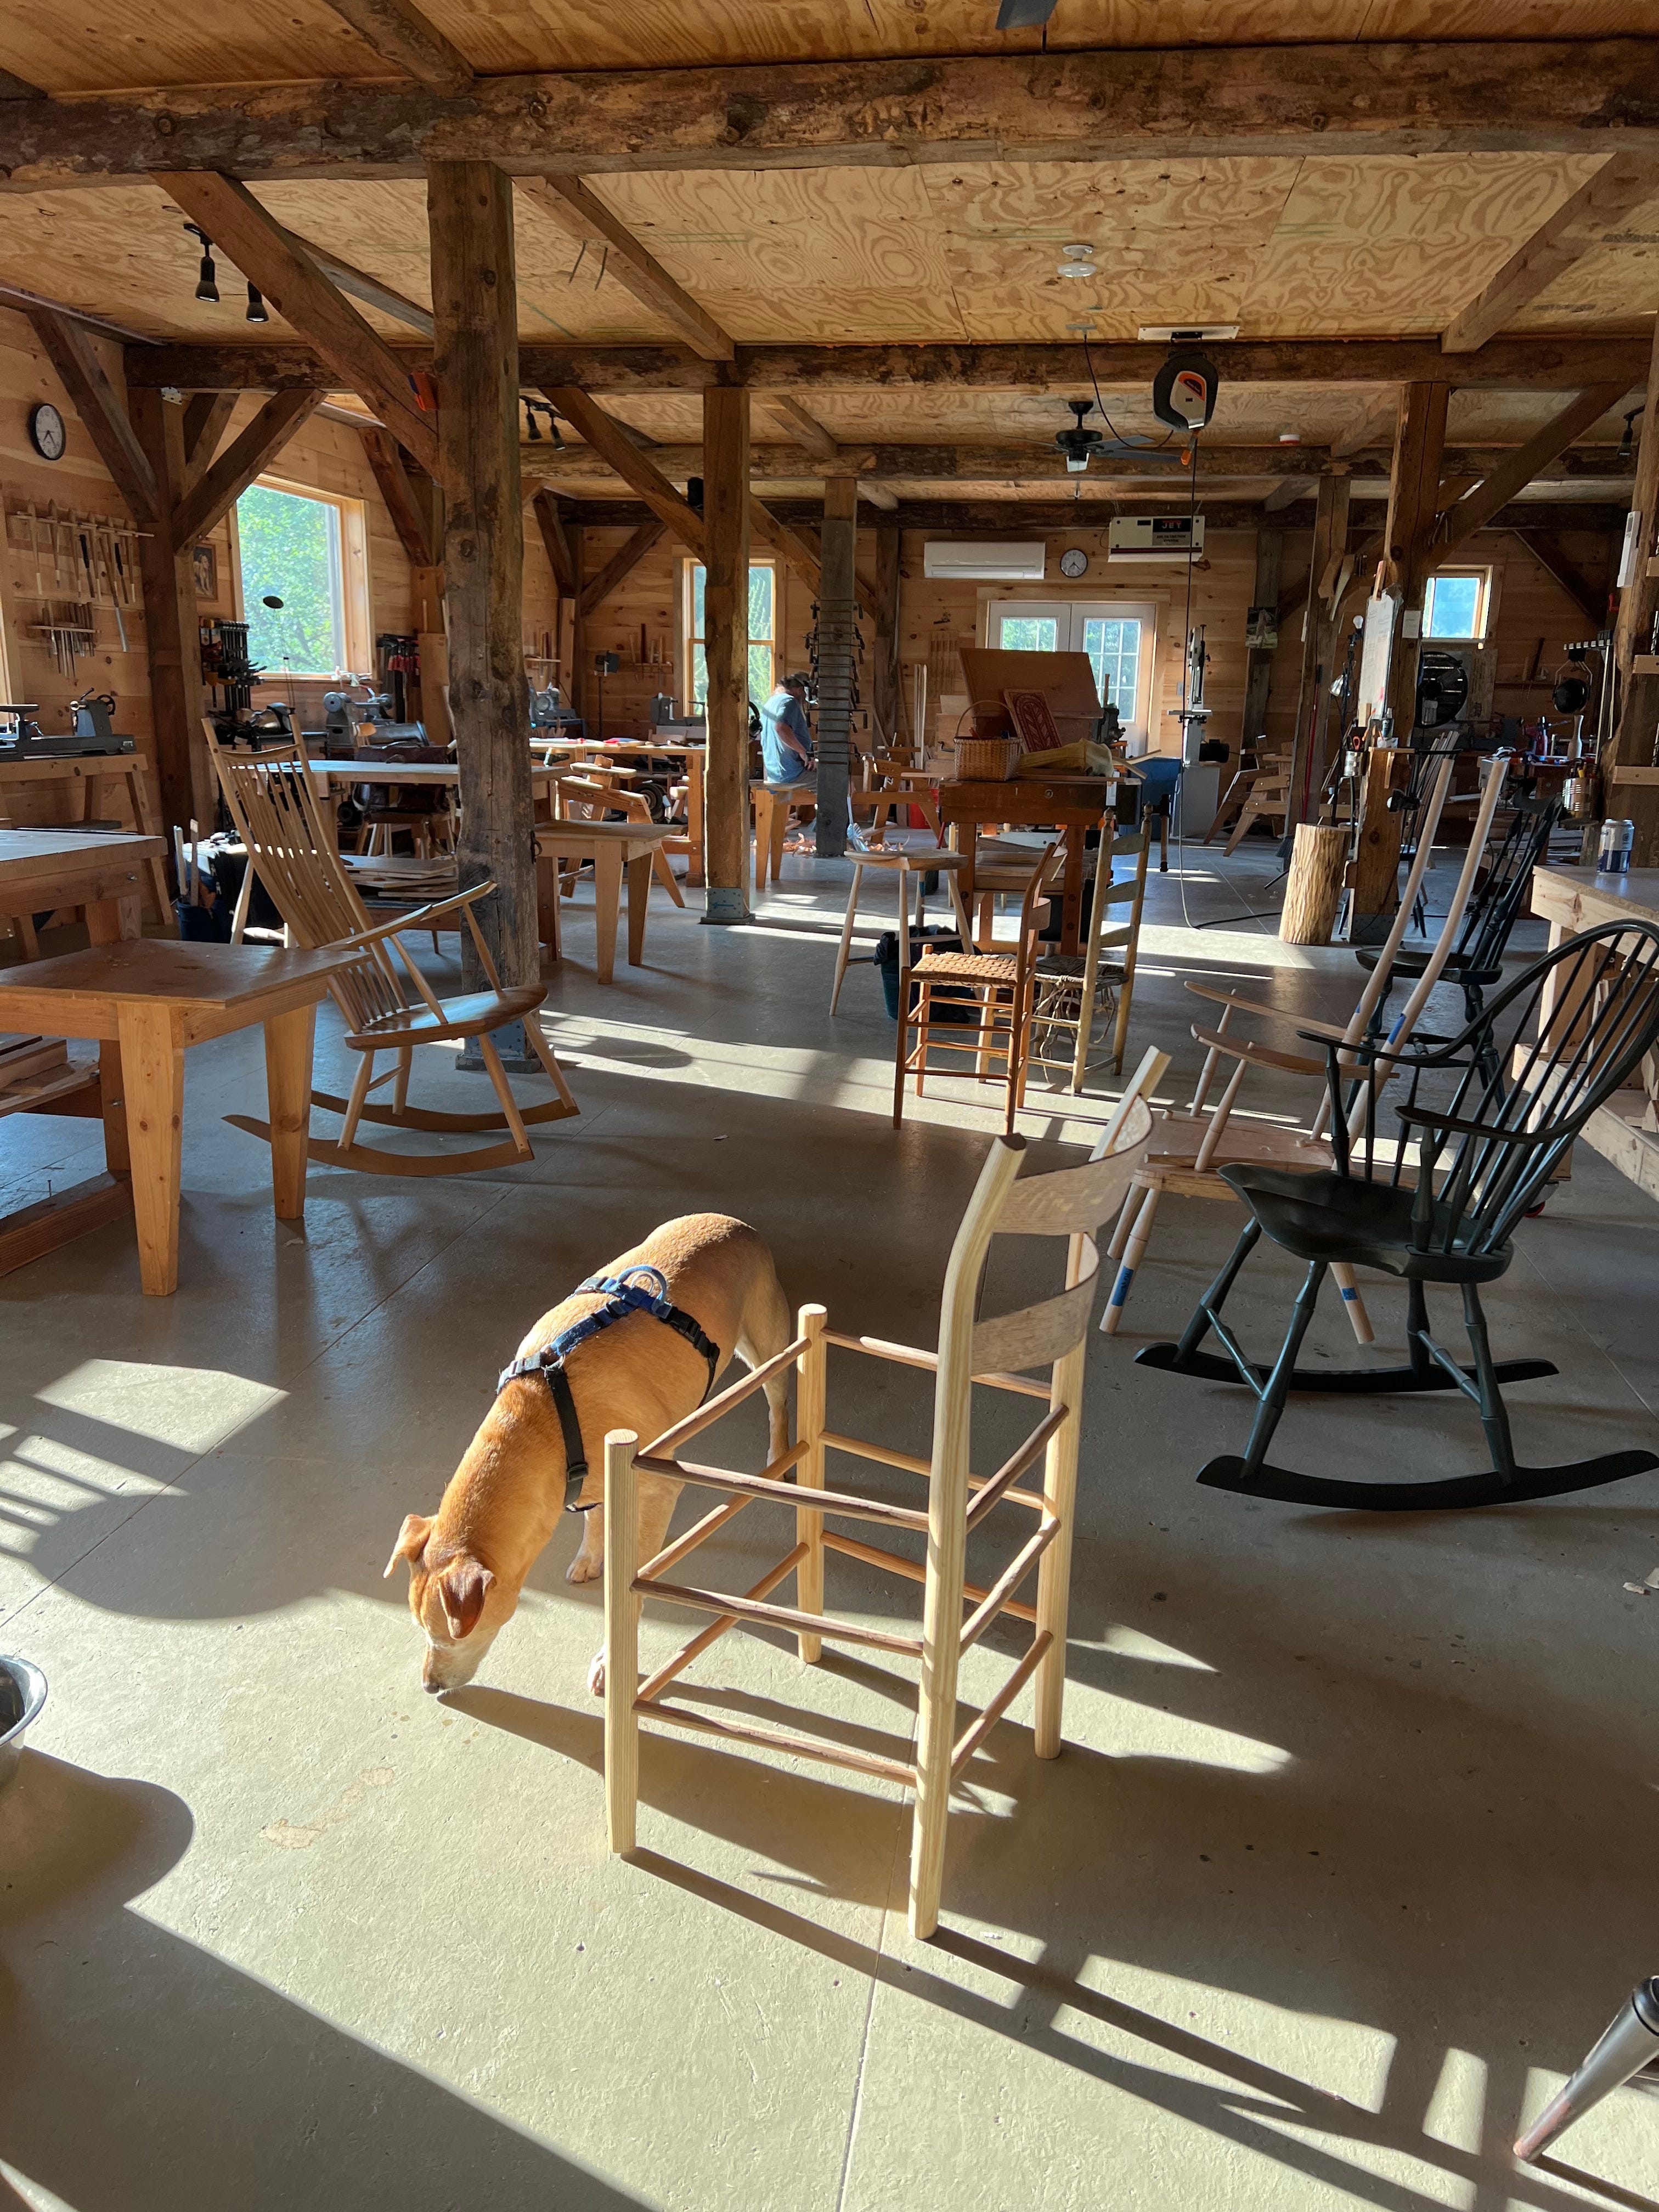
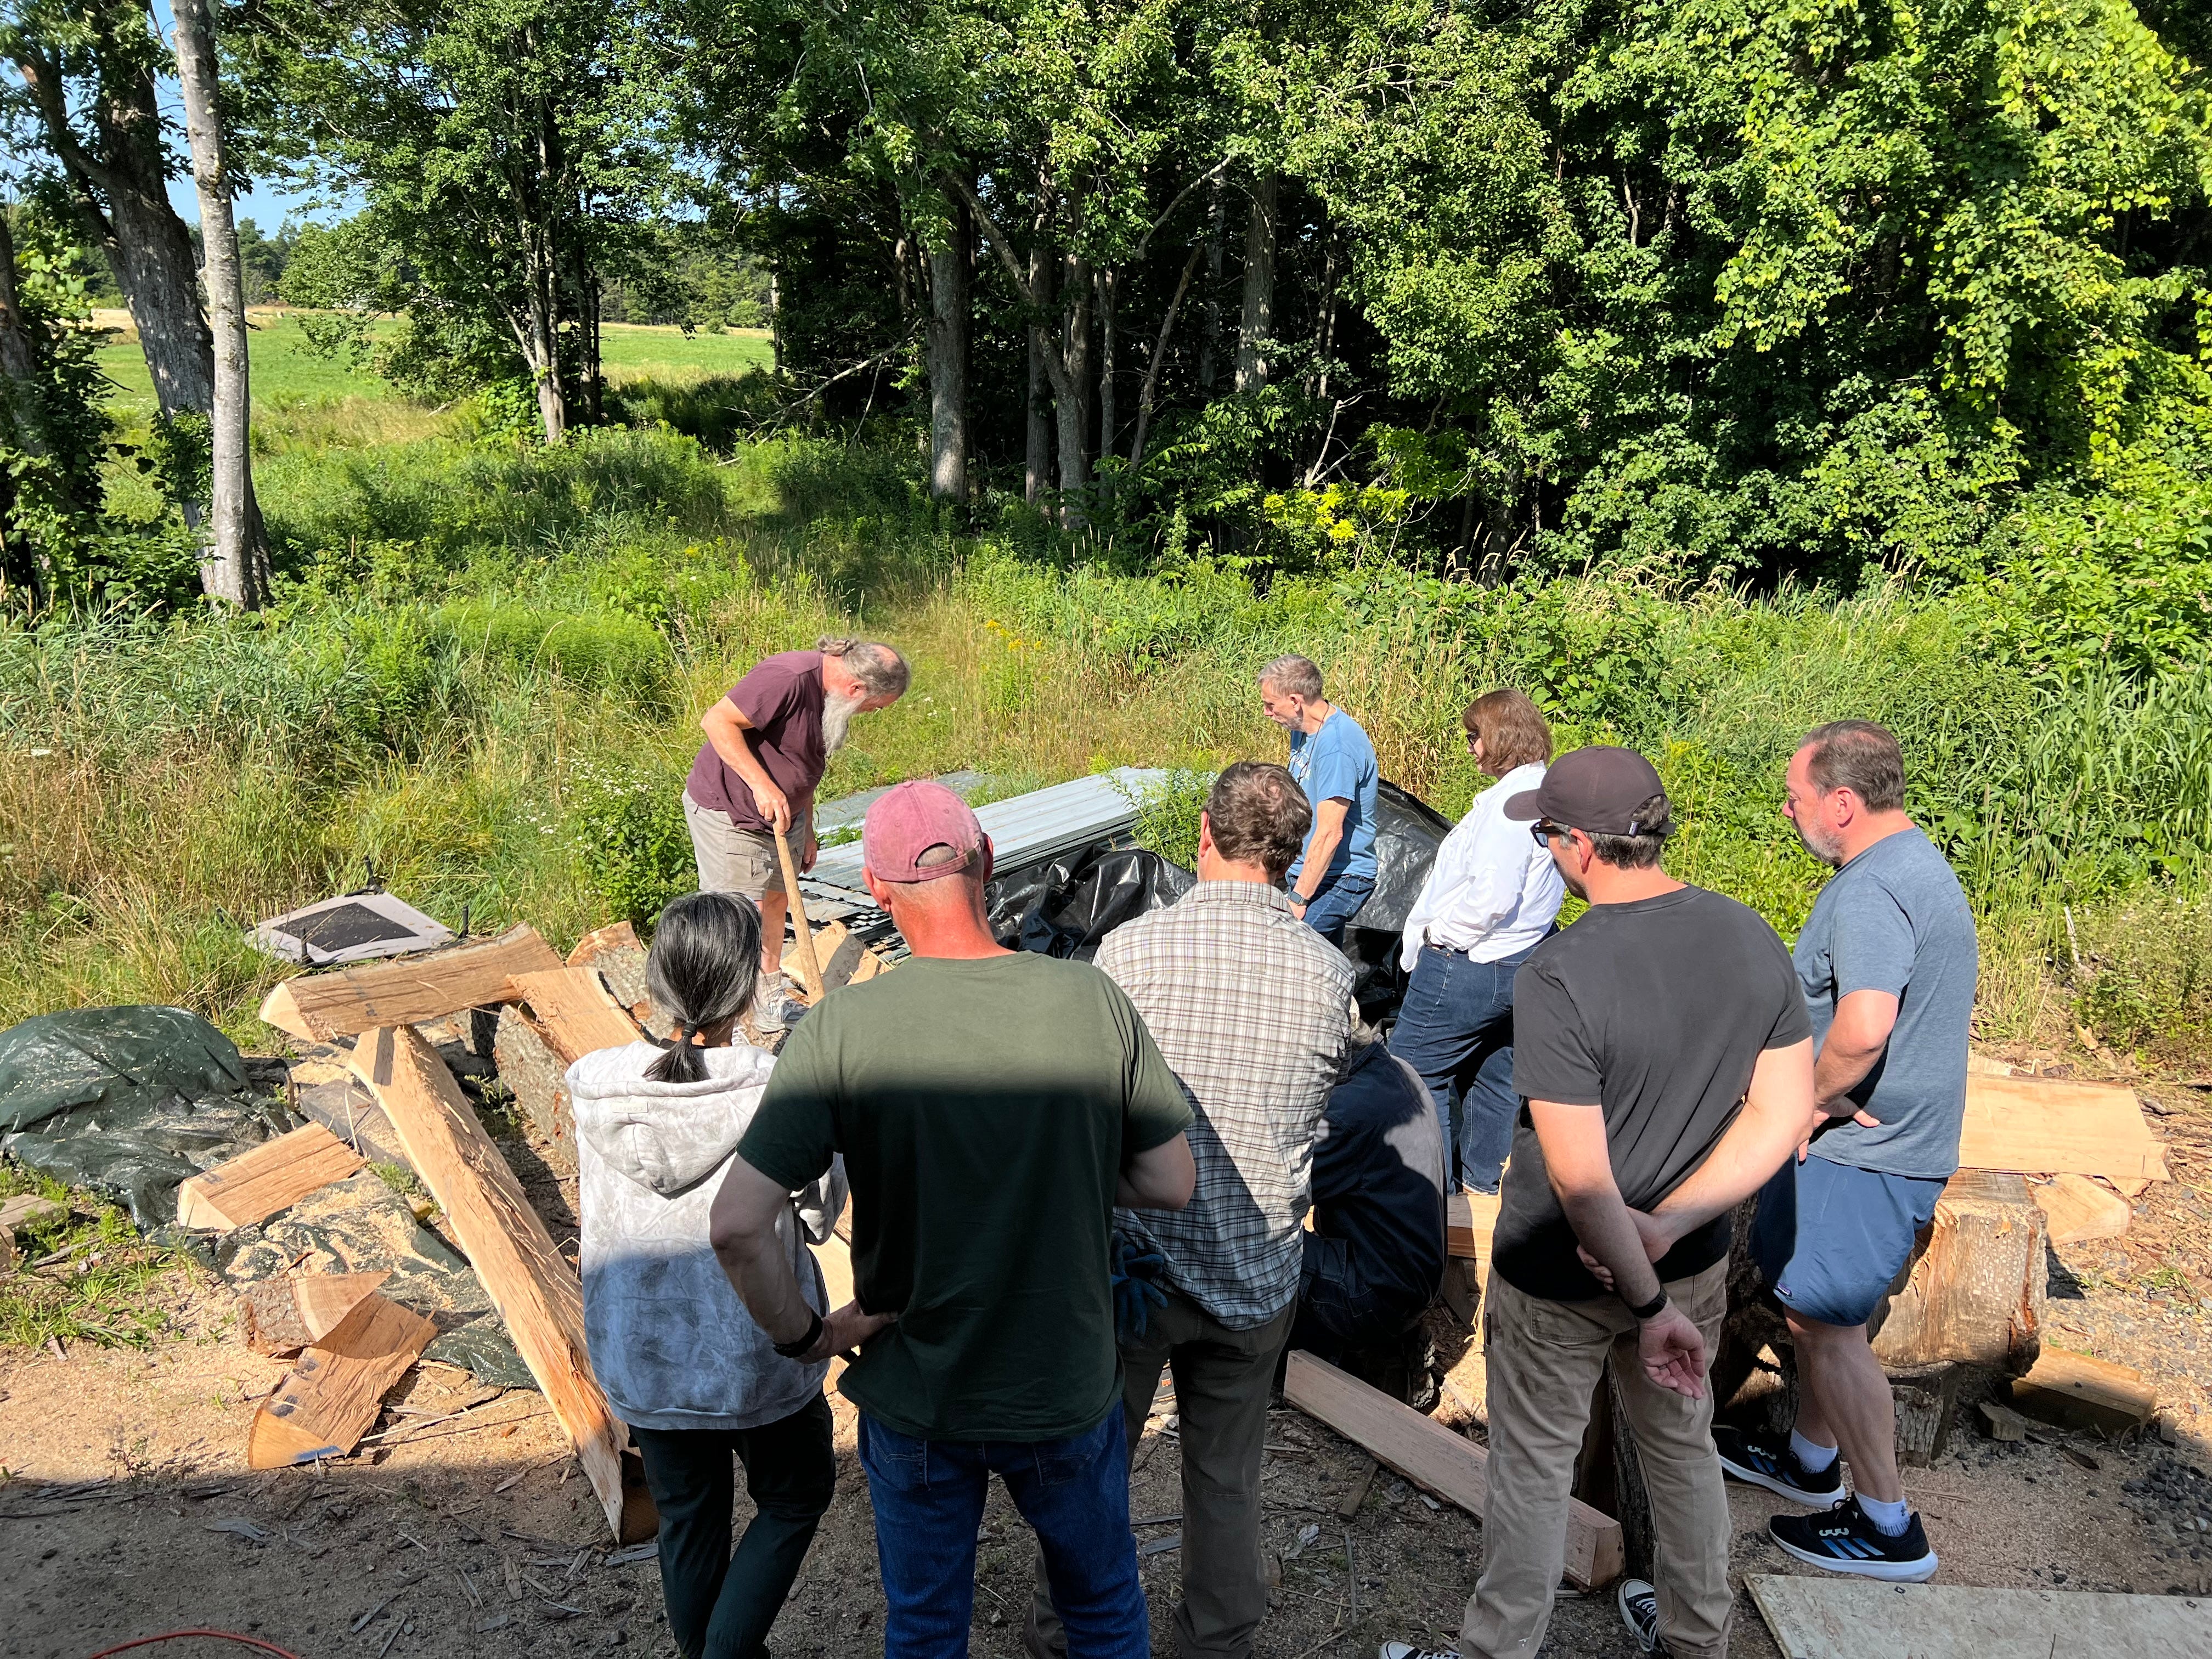
The Jennie chair is of course a sign that Follansbee is back working his magic. I had a some leftover red oak for him and a white oak I need for other things, so I got another red oak just to be sure. Here, Nick Atwater is putting the final blows in on the first split. I never get tired of this sound.
Here’s Peter deep in the pile with his class.
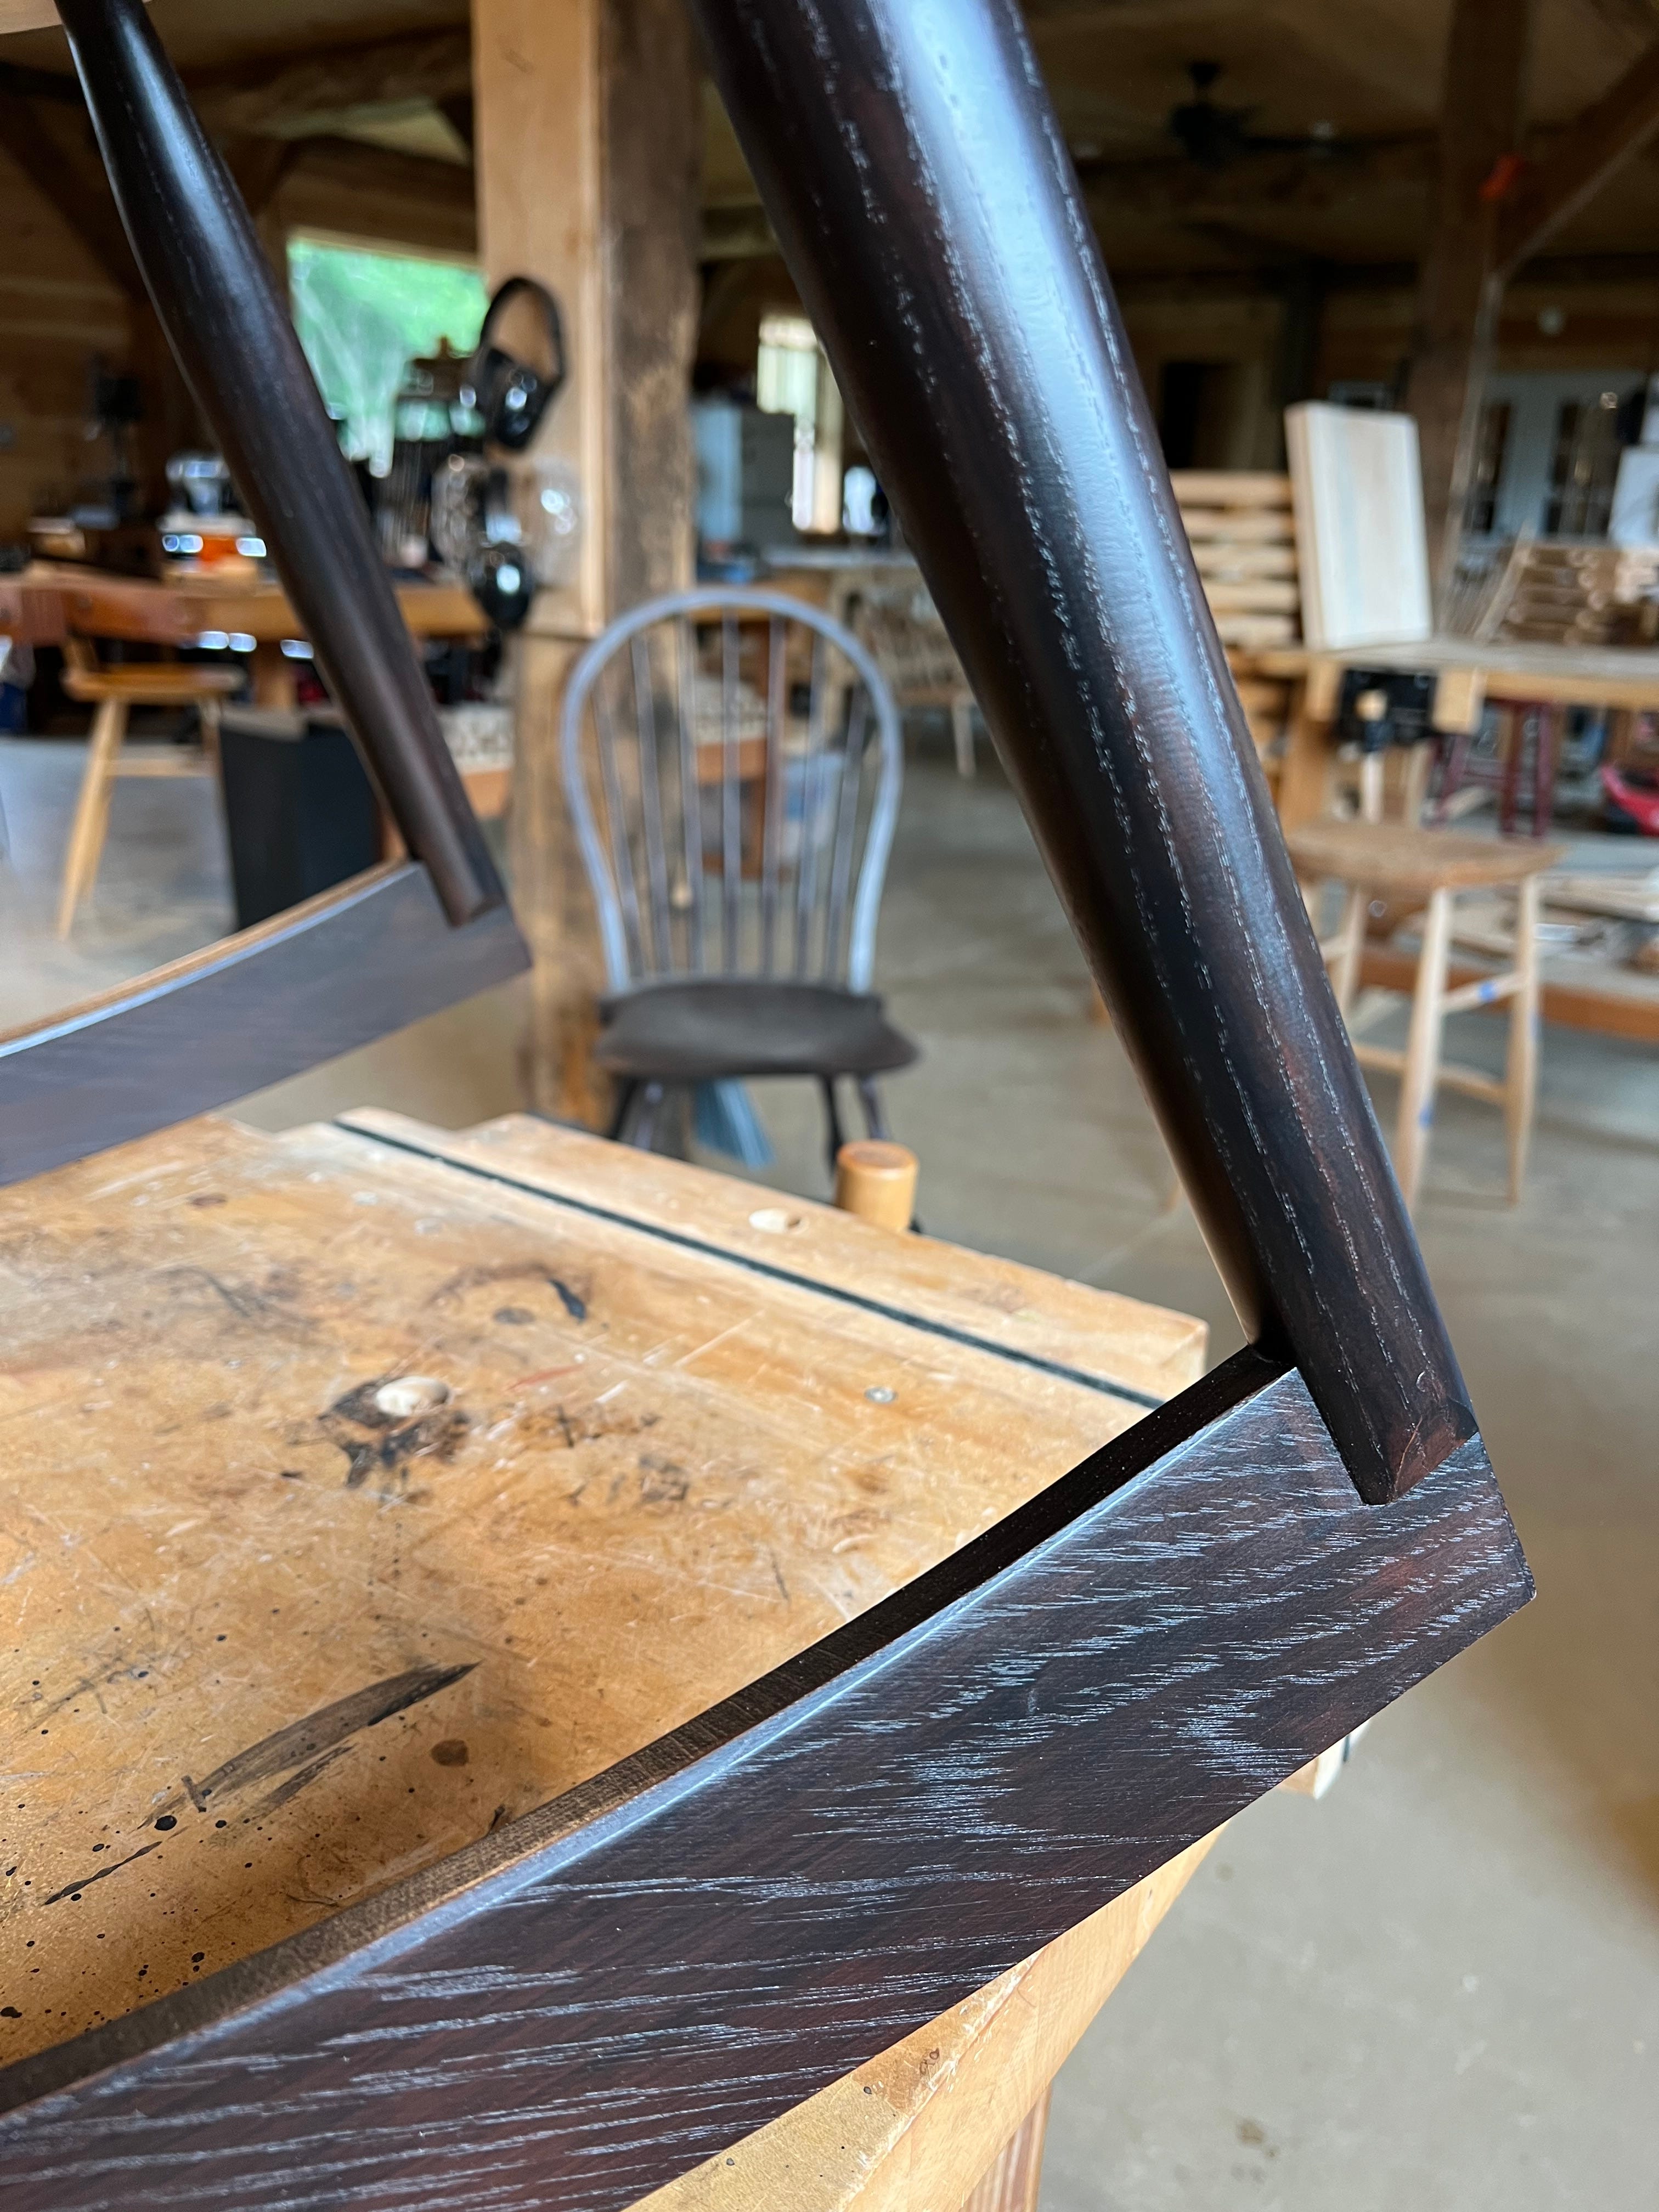
I finished up the rocker from the last class and will be putting it up for sale soon. A check opened up on the seat so I had to completely strip the top of the seat, fill the check with CA glue, seal it with shellac and repaint it.
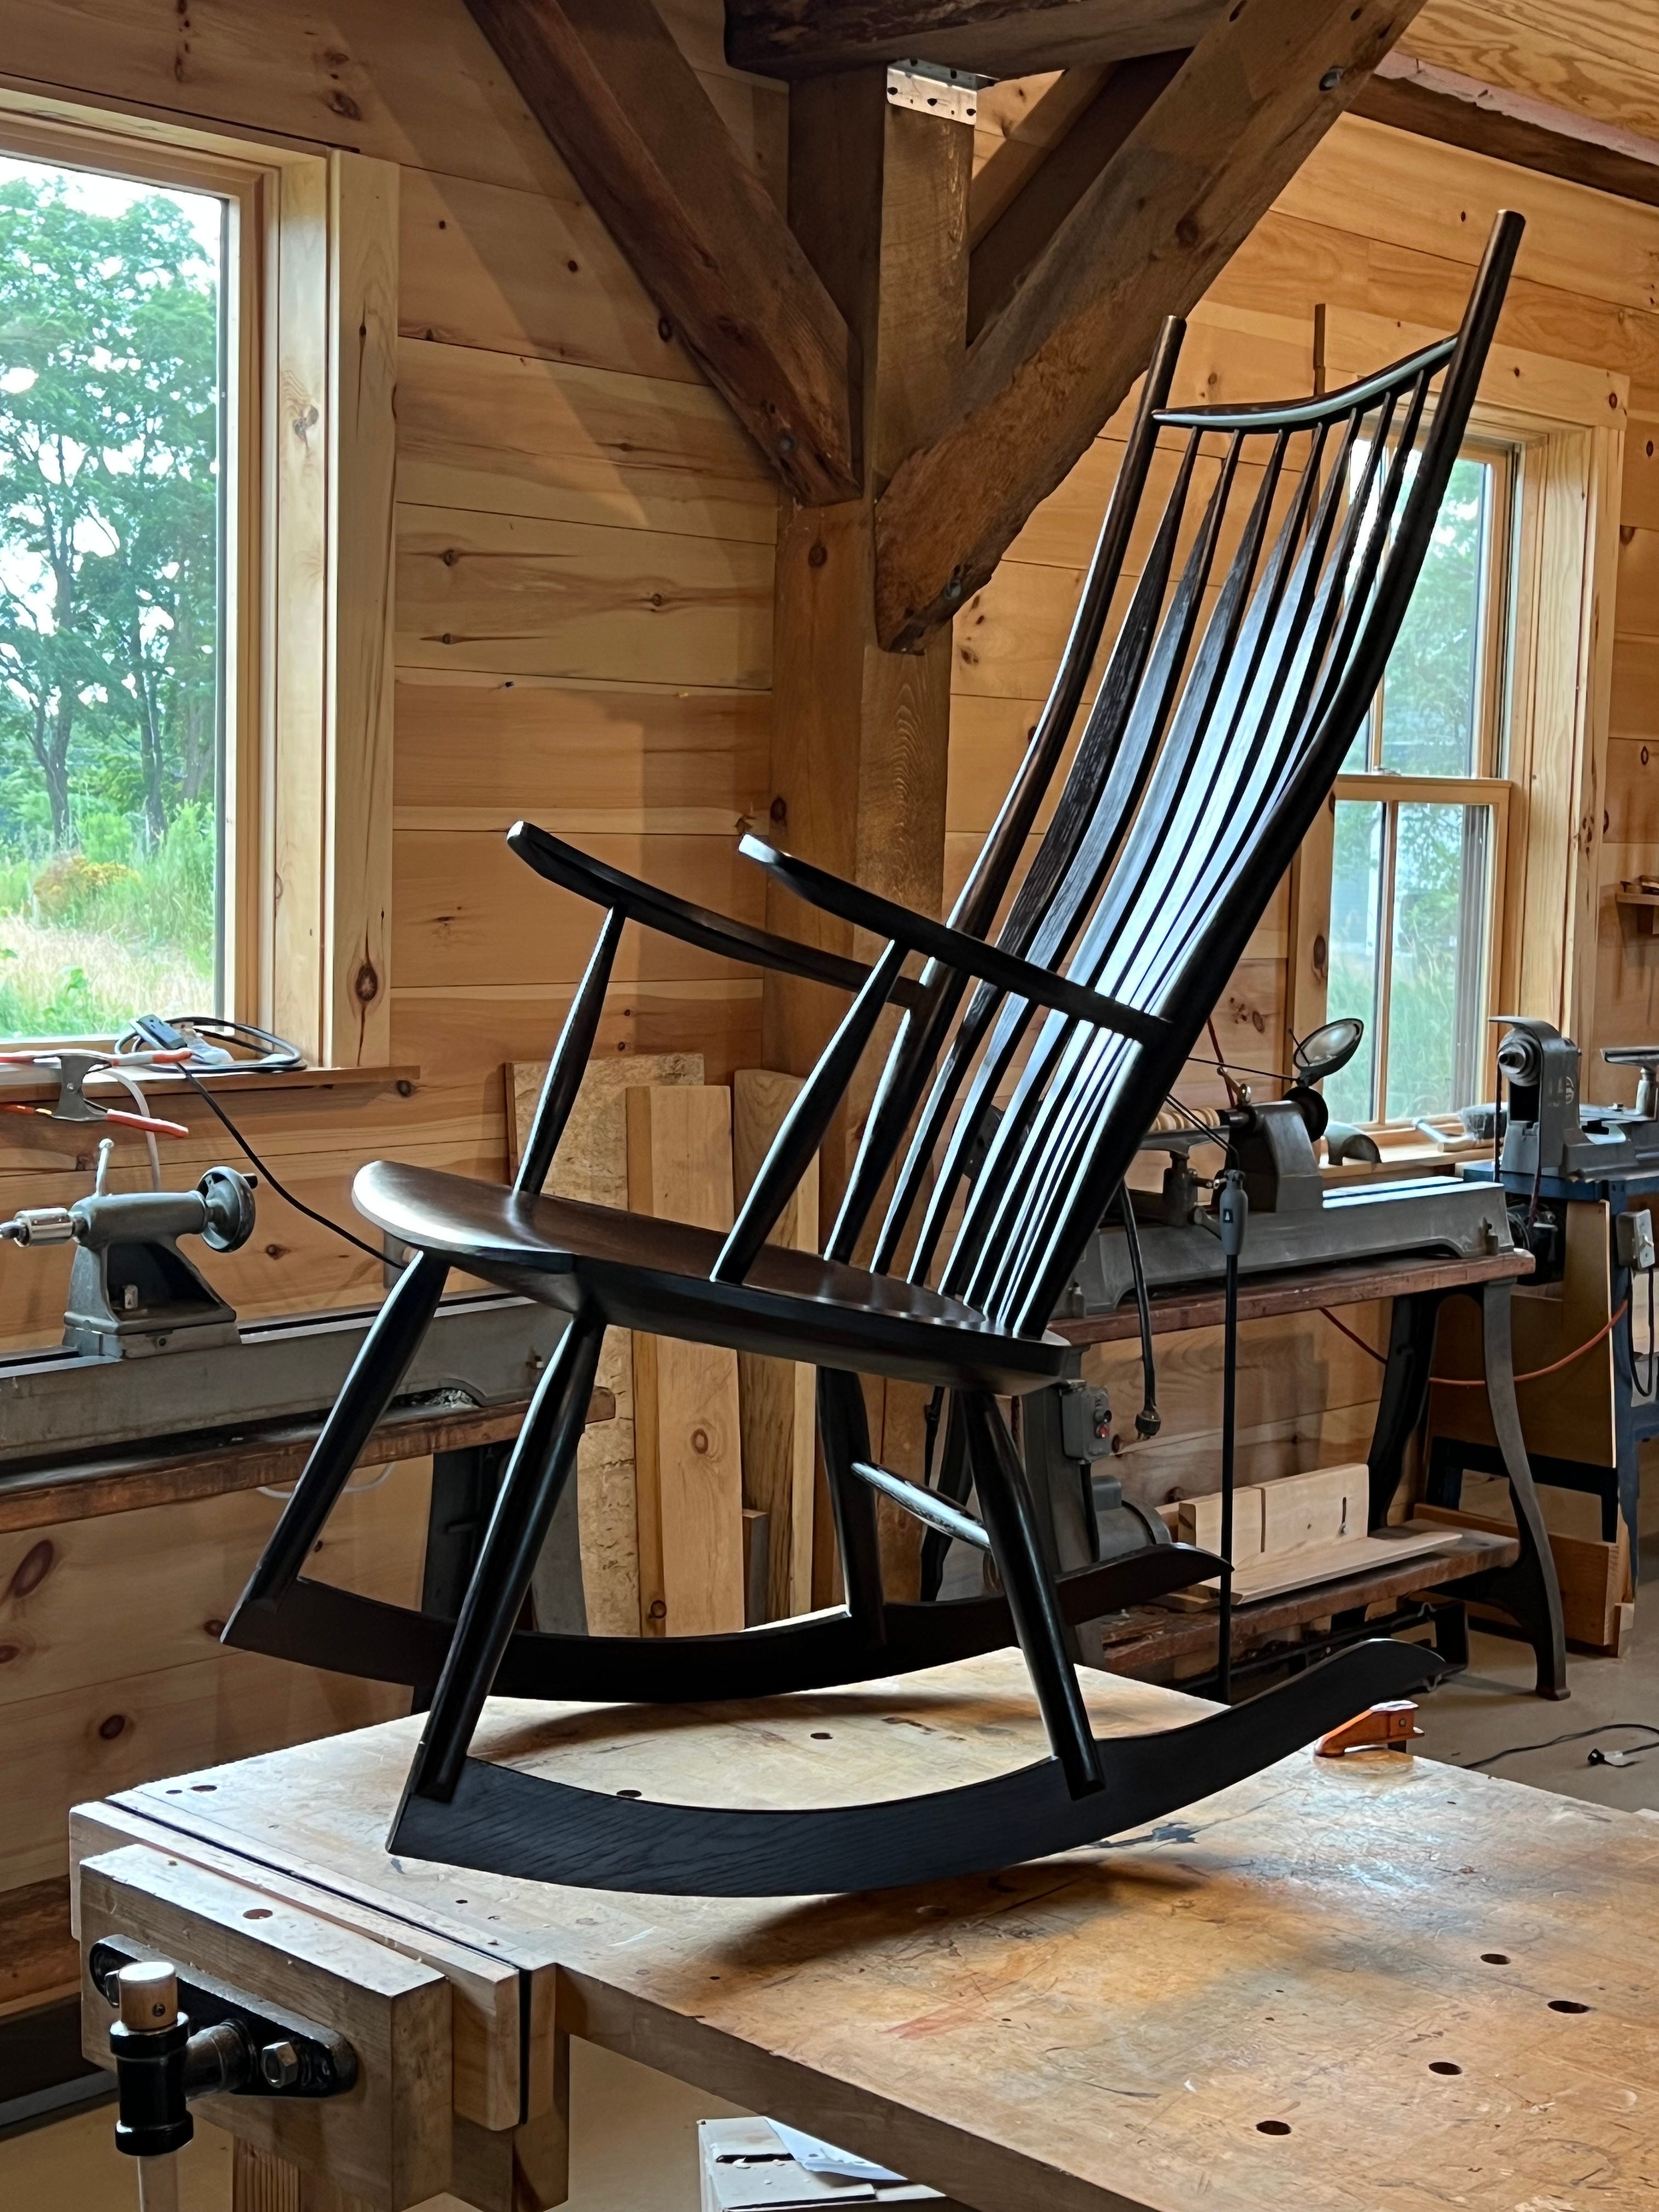
I am very happy with the black over red finish, but I counted how many times I had to go completely over the chair, it’s about 13. First you build the chair, then you build the finish. Yes, I’d love a magic a one coat wonder that can do this, but I haven’t found it.
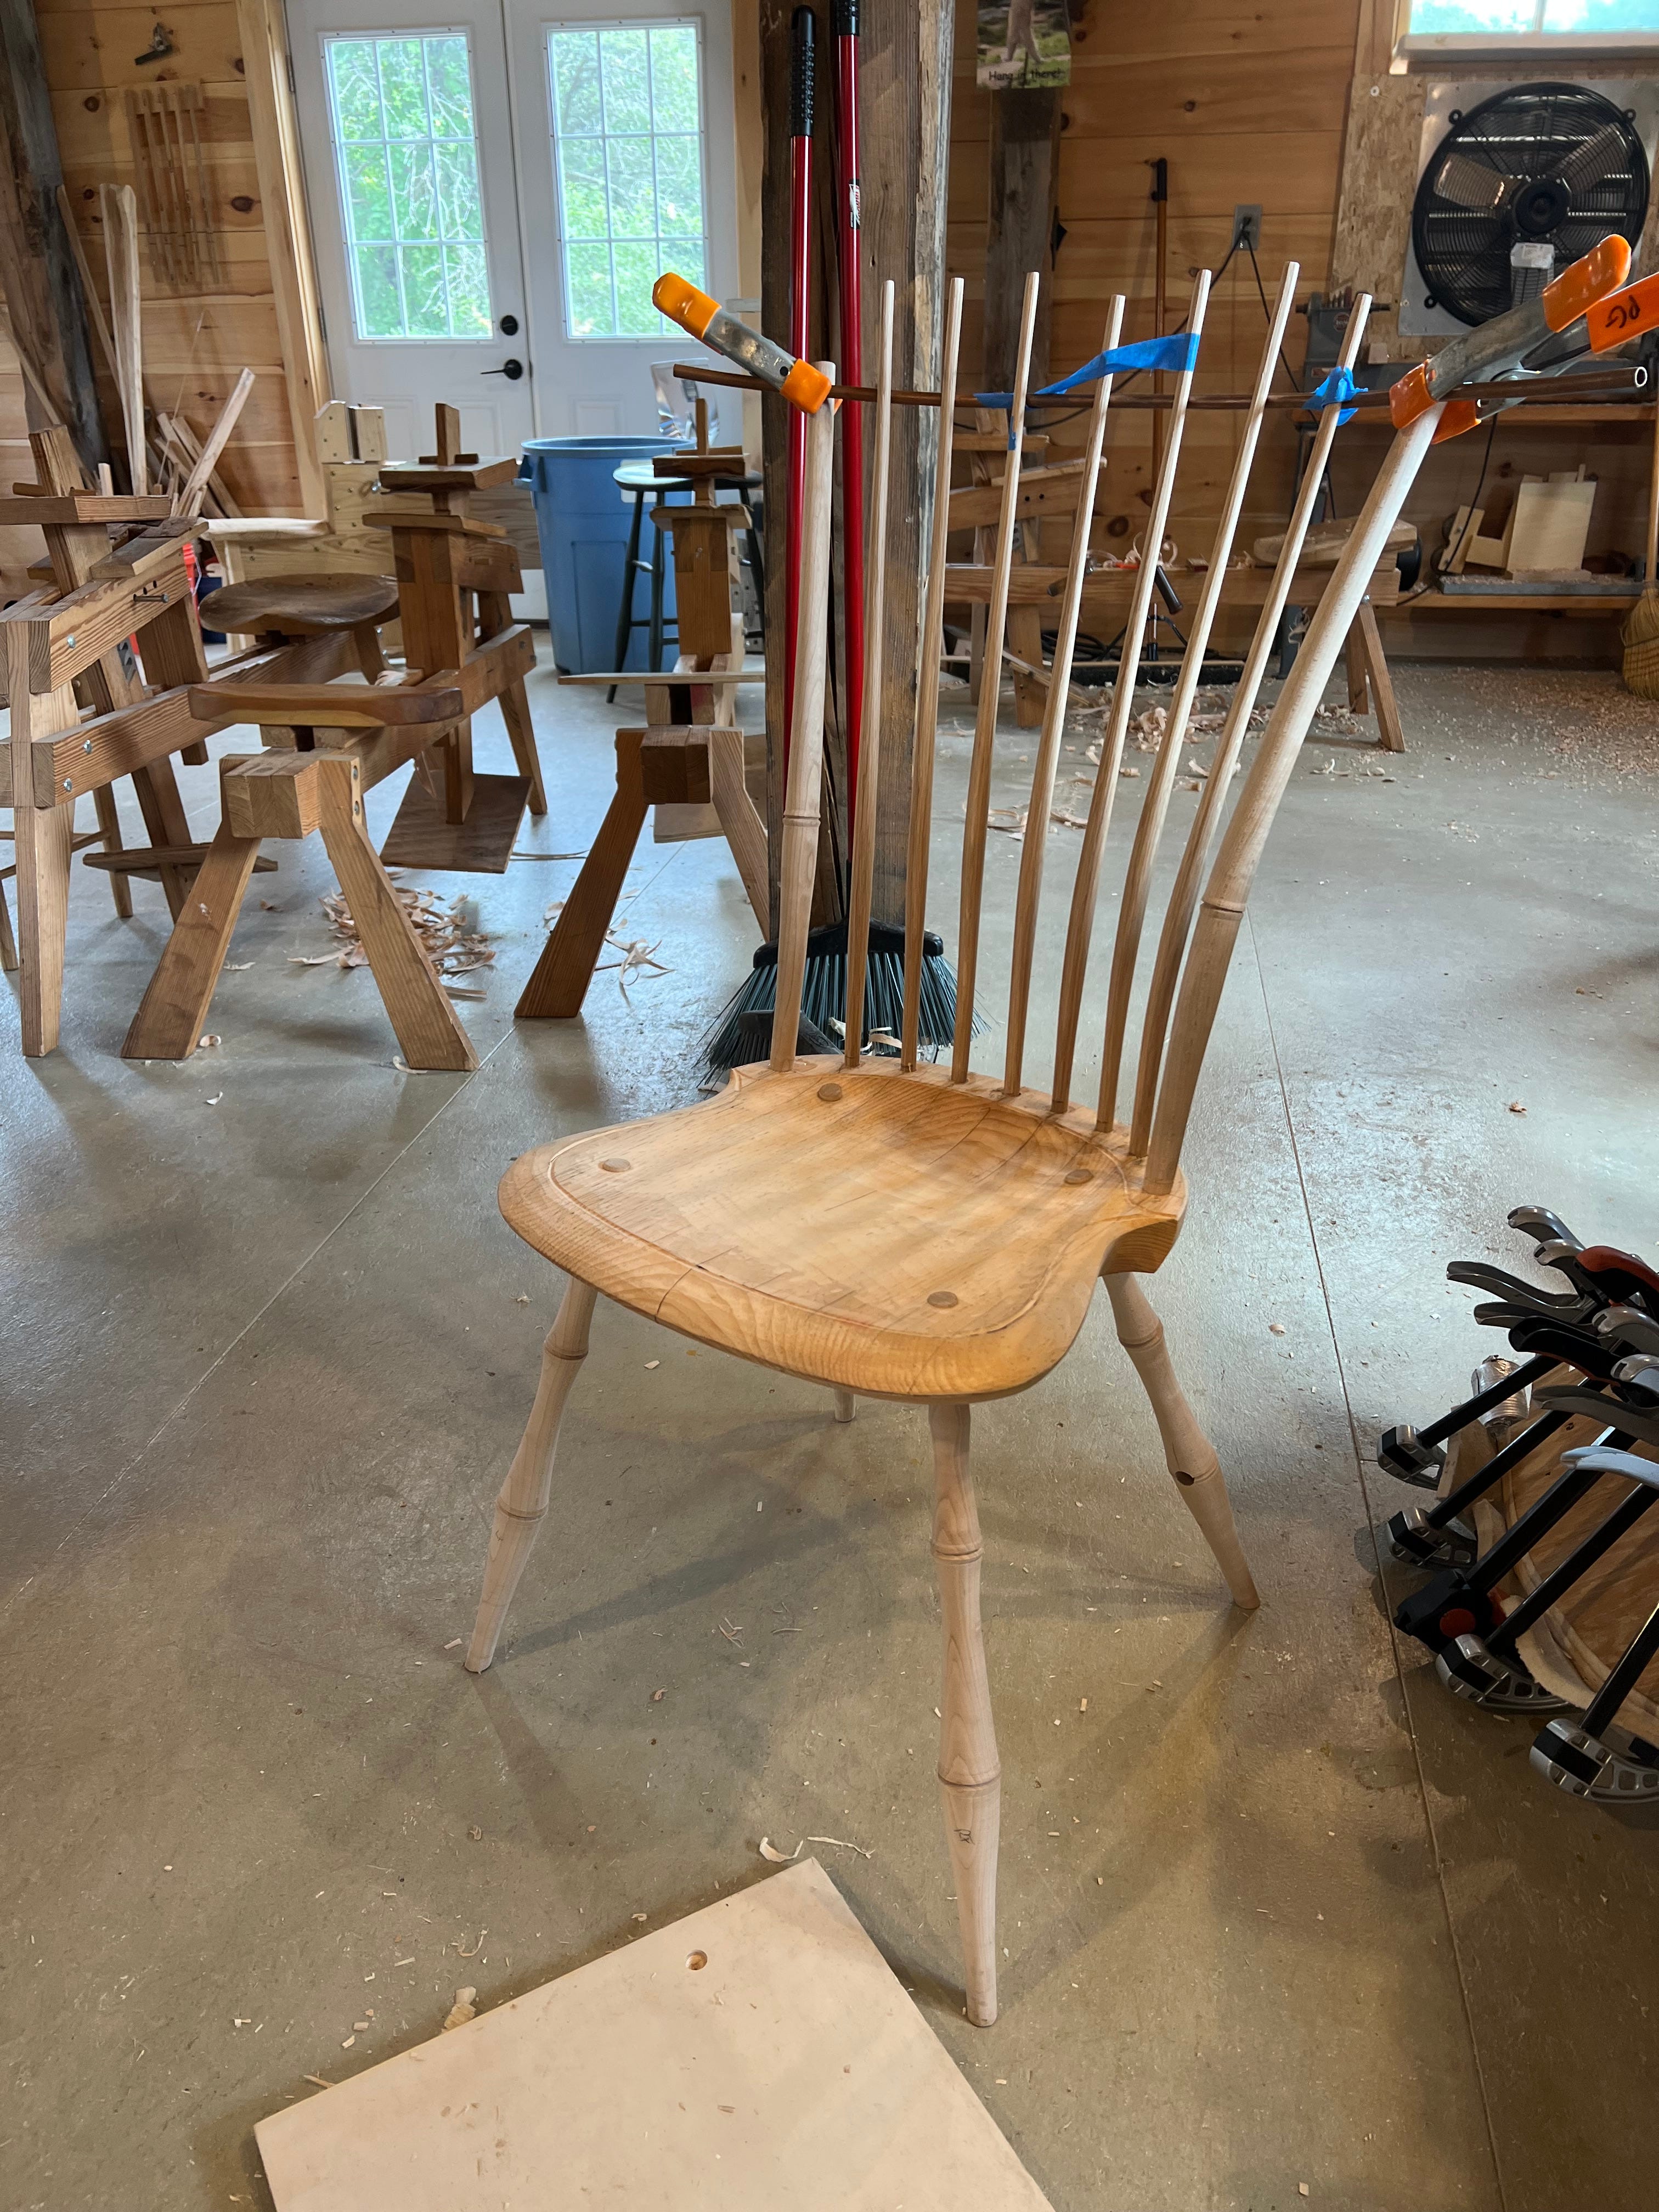
I’ve been plugging away at Birdcage side chair project. I love this form, it’s the one that drew me into making chairs. In the image below, I am using a piece of copper tubing to help work out the crest bend. When designing something with this many curves, it’s an interplay between the parts. I have an idea of the angle the spindles go into the seat, but where they end up at the top is something I map out with the copper. The copper and the spindles are flexible enough that I can adjust the curve for comfort and aesthetics. By rotating the posts in their mortises, I can slightly adjust the tilt of the entire back. Once I’ve dialed in the curve I want, I measure a couple of key points to make the bending forms. I need the distance between the posts and the distance from a line connecting the tops of the post to the center spindle.
Below you can see in red the two post positions and the relationship of the center spindle to them. Then I can use the copper or the adjustable curve tool (link here) to draw the center line. From there, I can add the mass of the crest to get the final shape and the bending forms. I like to slightly over bend these and then finish drying them in the kiln on a less bent form. This makes for a very accurate bend.
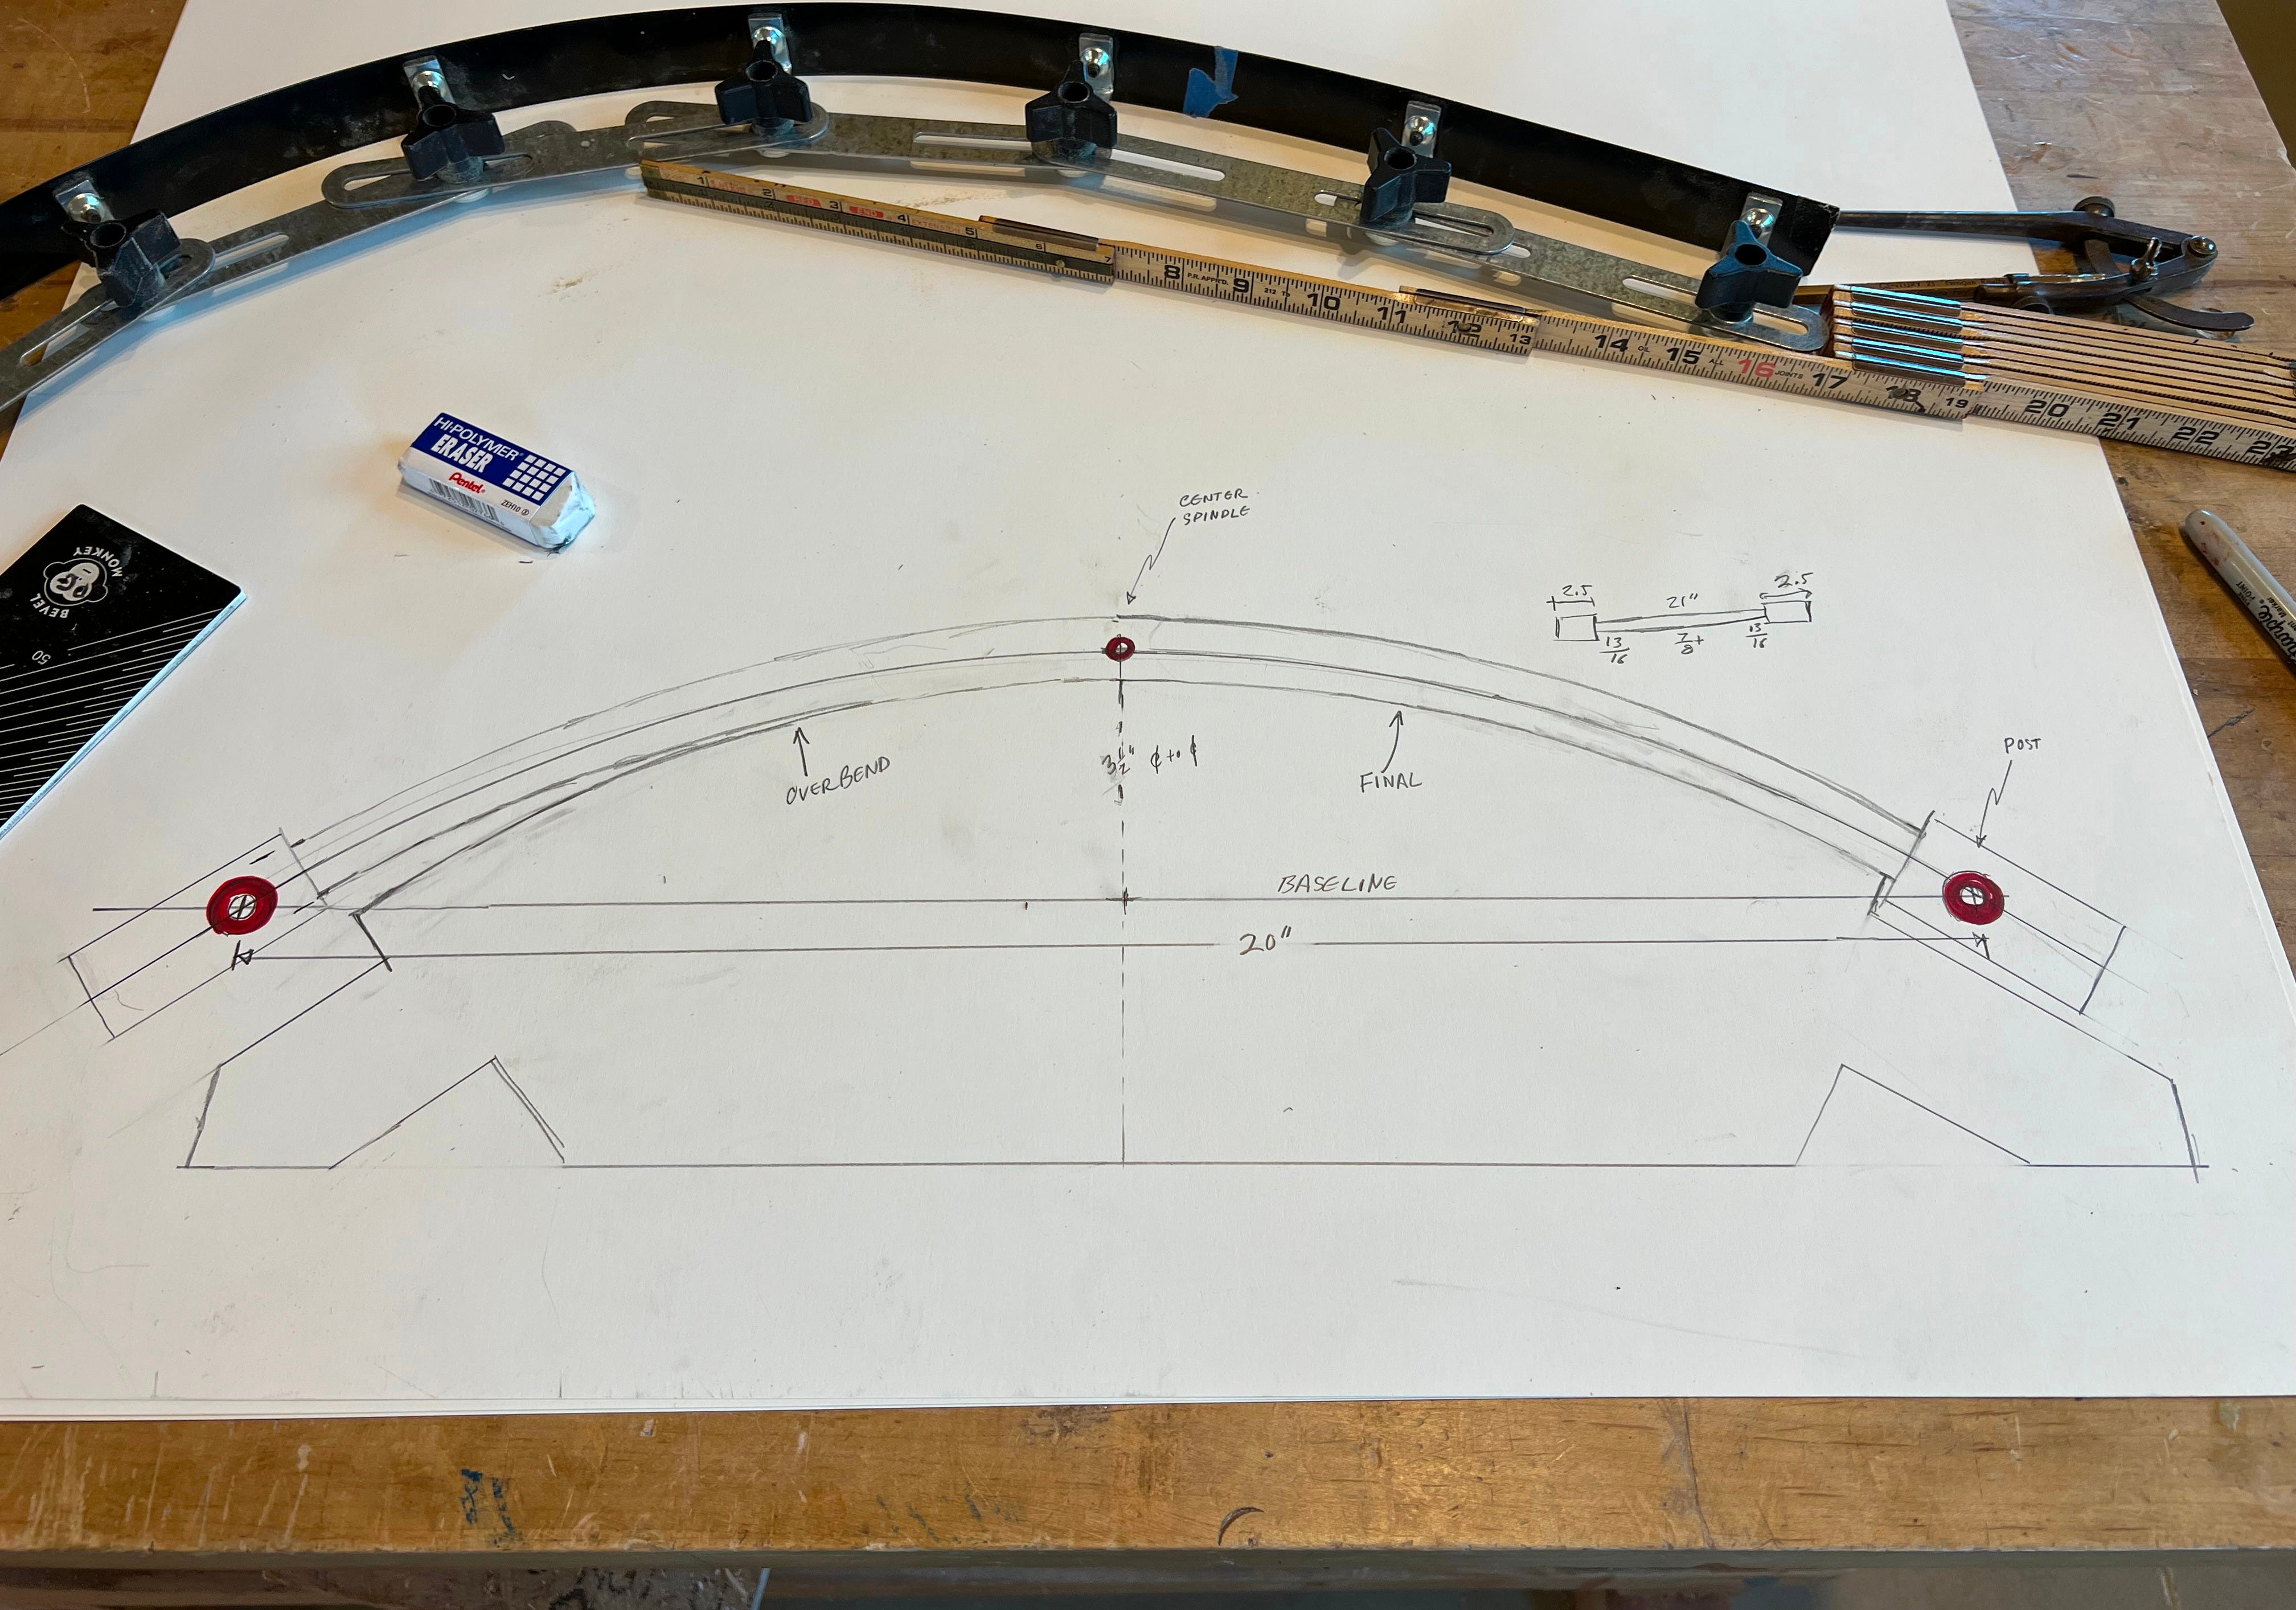
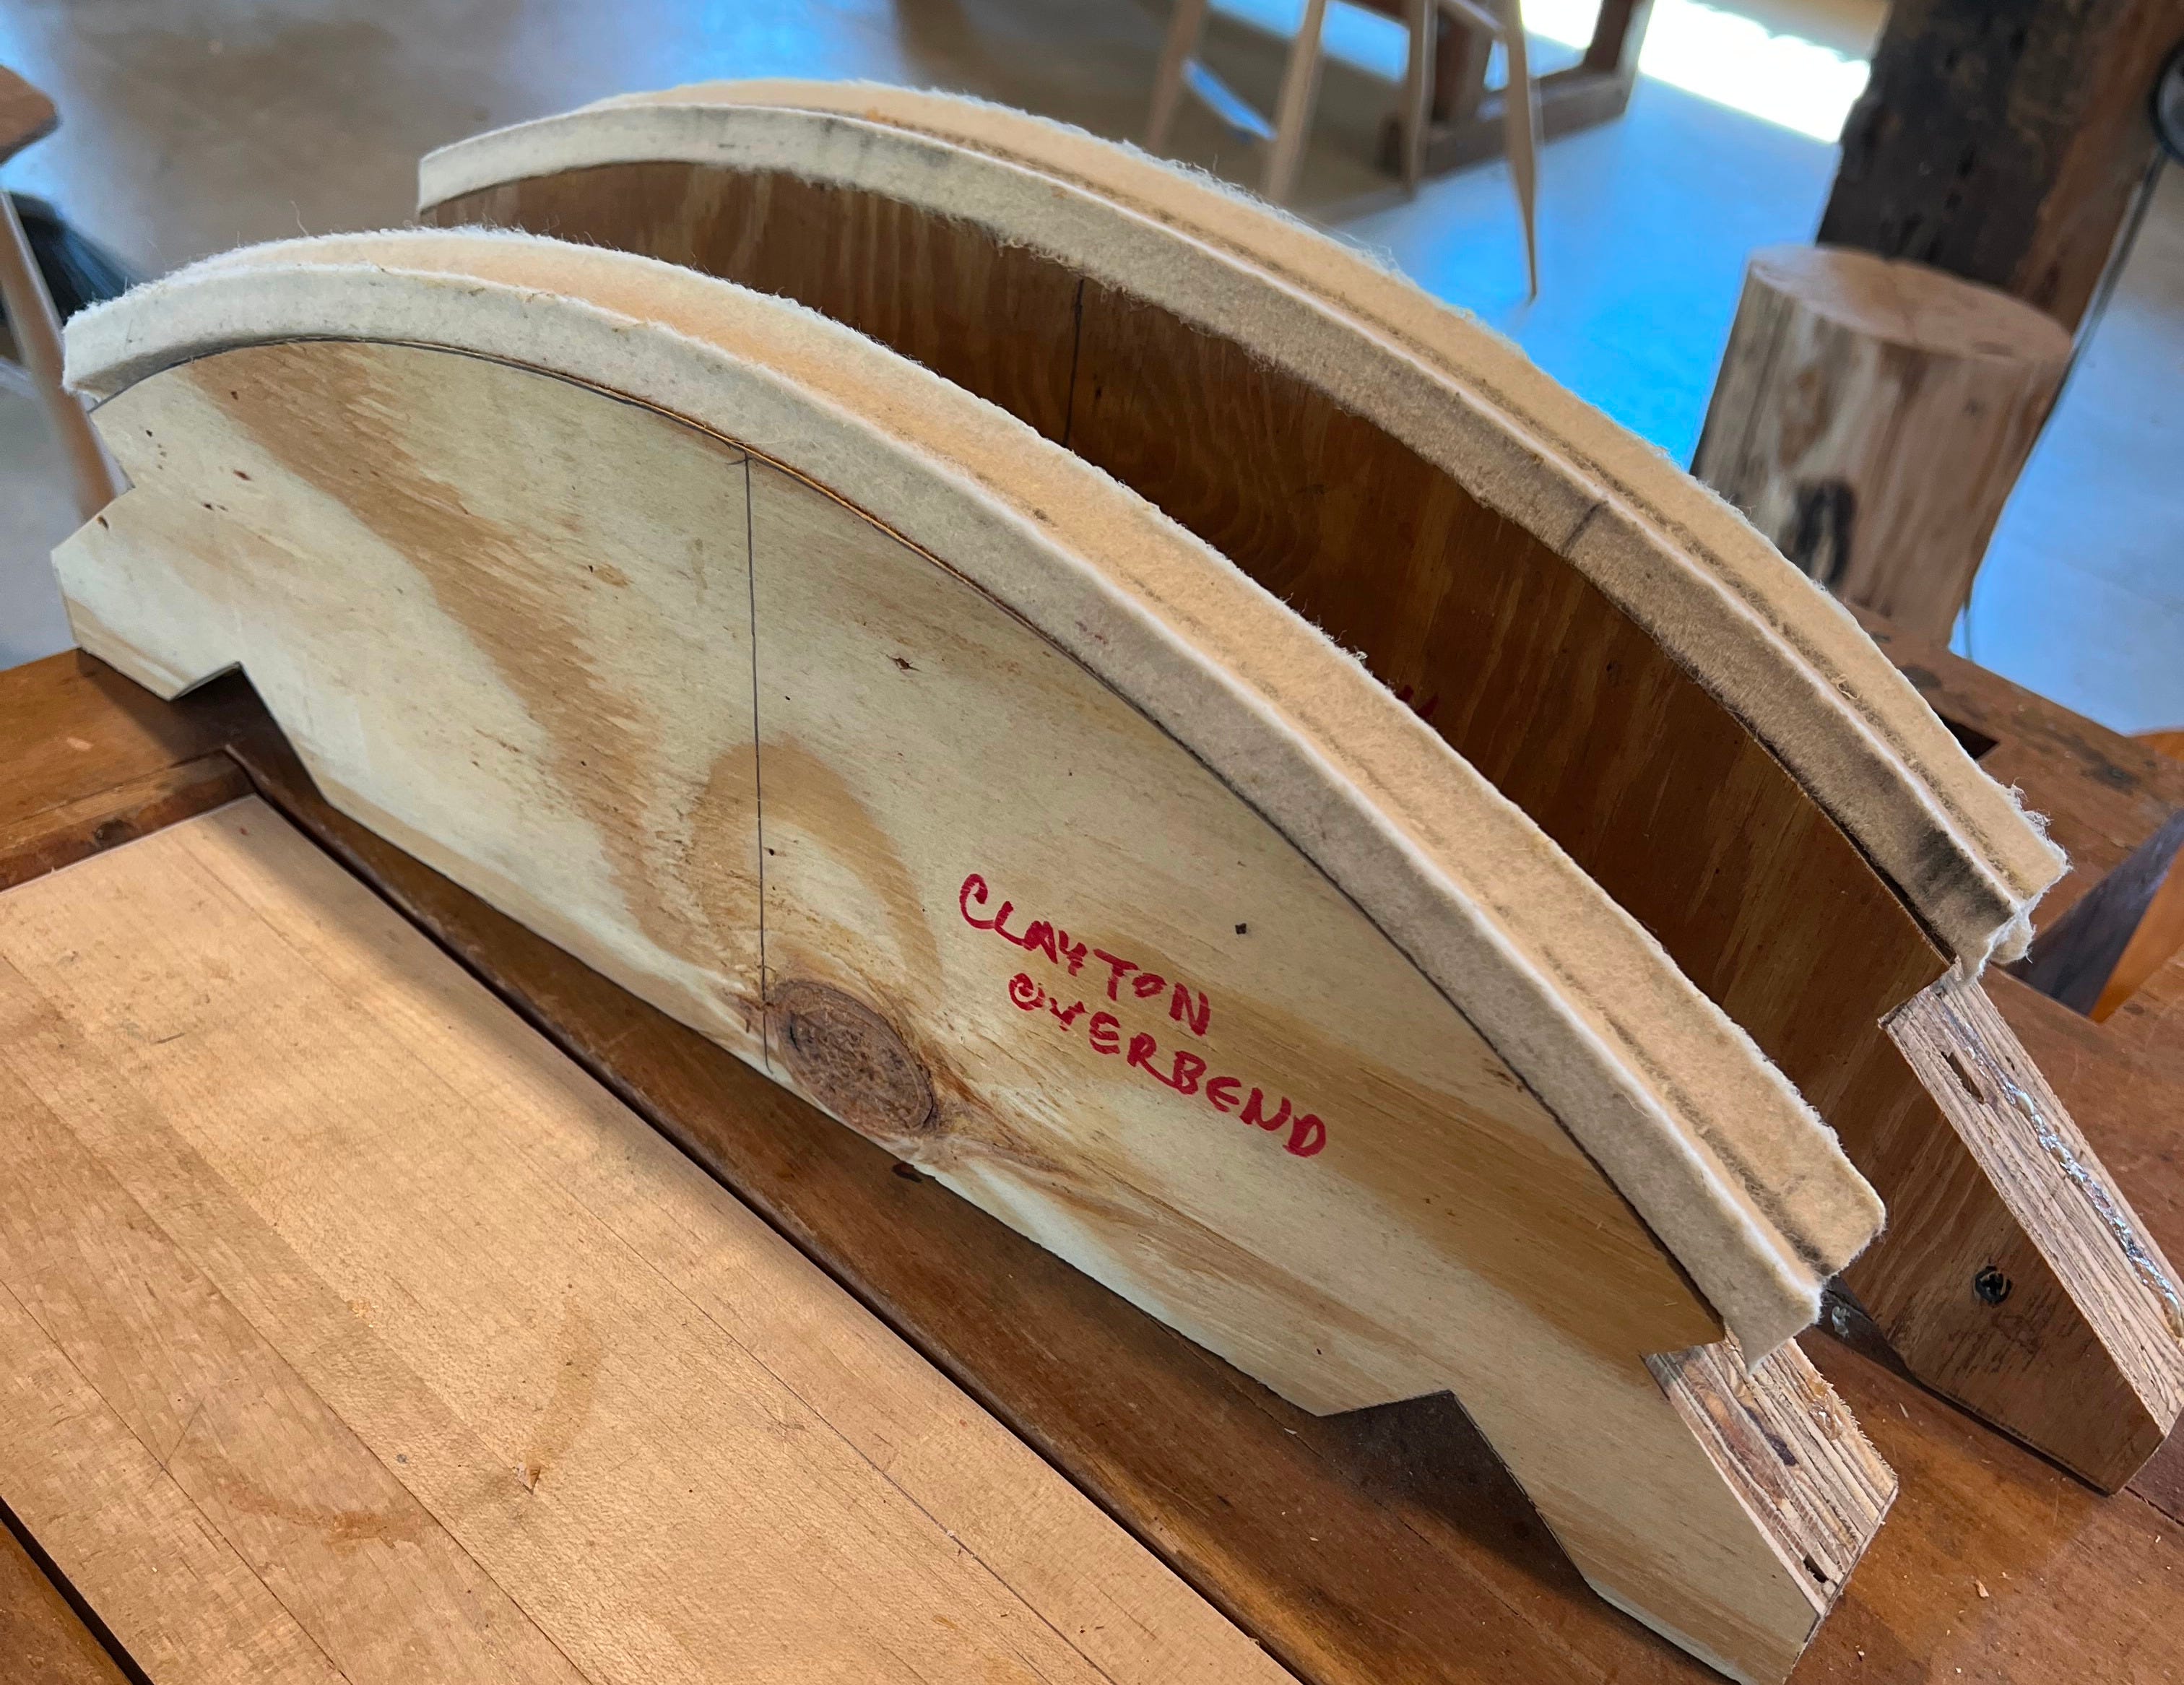
The left half of the form pattern is for the overbend and ther right hand is the final curve. Here are the finished forms.
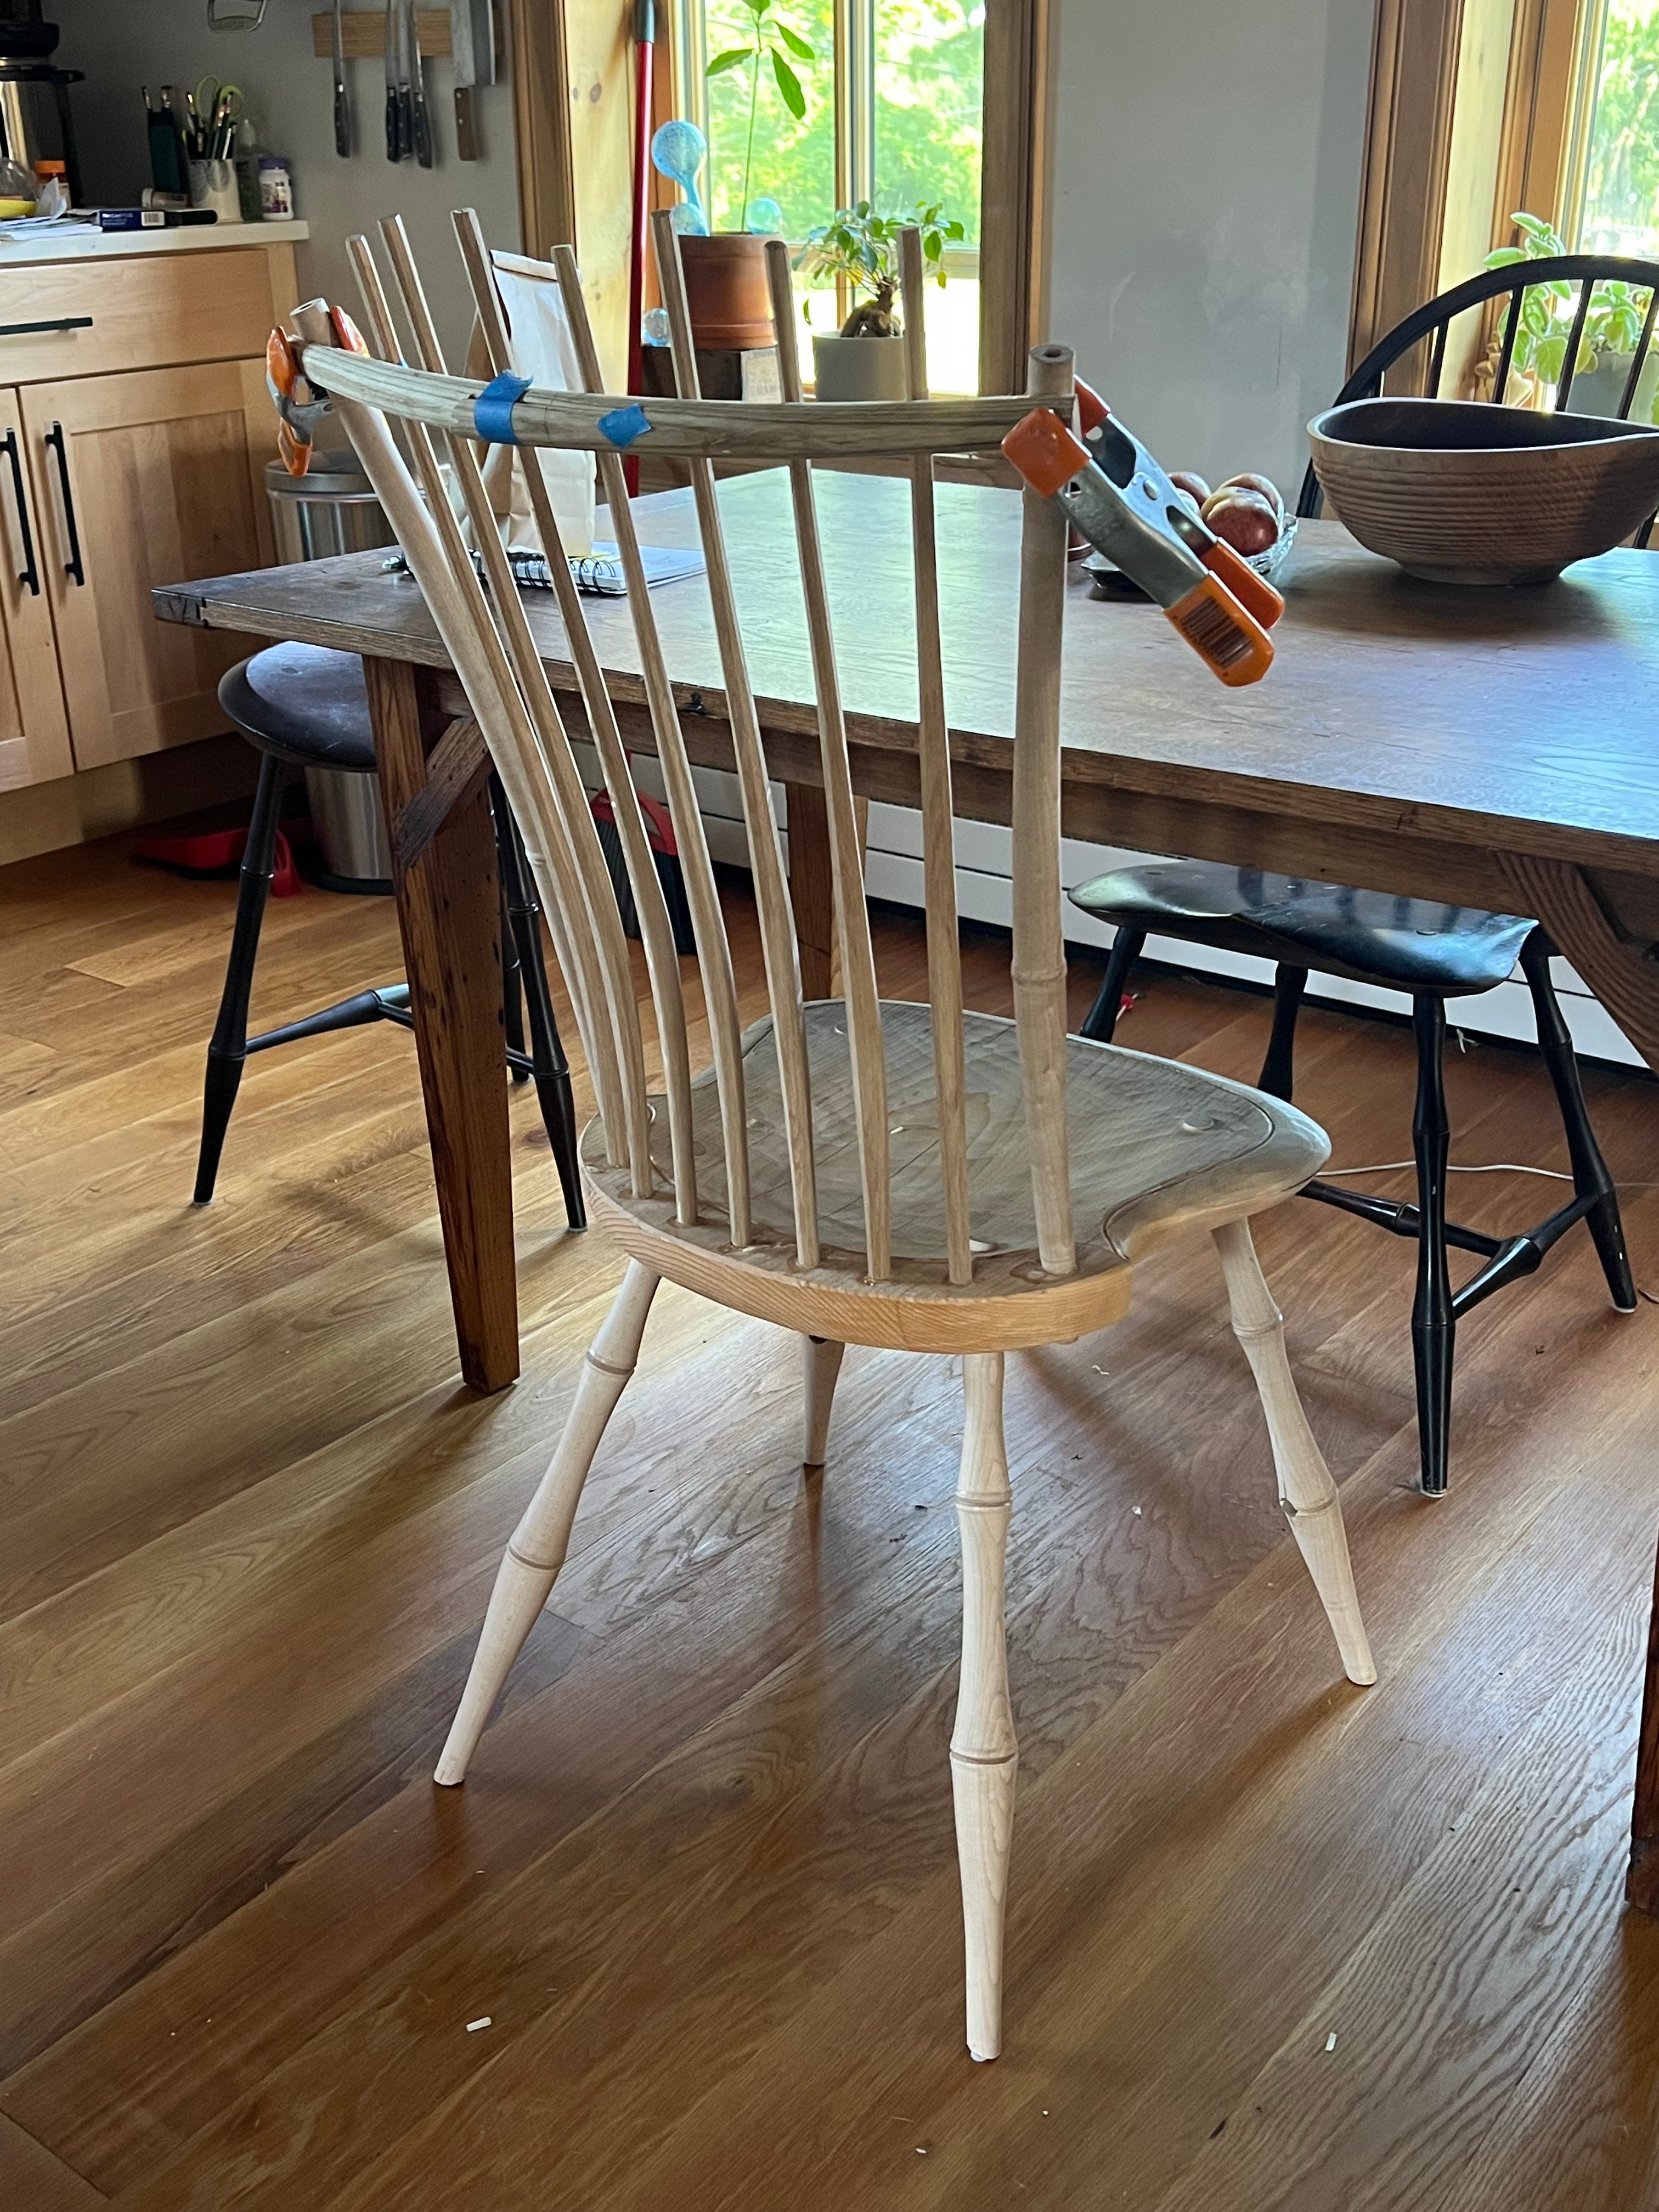
When working out a chair intended for use at a table, I always drag it up to the house so I can experience it in position. The focus at a table is different, you tend to look straight ahead and downward more and even use the table to add stability, it all shifts your body position.
I appreciate all the great suggestions for topics to cover here. Soon, I’ll be finishing talking about drawknife sharpening, drilling and positioning arms, rocking chair dynamics and packing chairs for shipping. Thanks for your support and encouragement, I hope summer is treating you well.
Your writings are truly fascinating and have inspired me to learn more about the ergonomic design process behind chairs. I haven't found any book or article that explains these principles in enough detail to help someone design a truly ergonomic chair from scratch. Your book and writings have come closer than anything else I've read.
Pairs well with the table. I would have not thought about setting at the dinning room table for a review as to its over all position. Great chair.