


Good Logs Make Good Times

The C arm class wrapped successfully on Sunday and, as usual, I’m picking up the pieces of life that I couldn’t attend to last week. This class had one especially exciting aspect, which was the white oak. This was some of the best bending wood I’ve ever had. Seven bows bent without a fiber lifting, the stuff was rubber. I know my students marvel at the C arm bend, but I’m a bit jaded by having seen it so many times. But this one reminded me of that magical feeling of seeing it for the first time. I could tell by the way it split as a log that it might bend well. The splits had lots of fibers crossing (webbing) from one side to the other. To me, this says the log doesn’t want to let go, which is exactly the quality I want in bending material. If the logs pops open with one blow, it might not be so great.
It also split along the fibers beautifully. Here is Lubo, all the way from the Czech Republic, splitting out some arm bows.
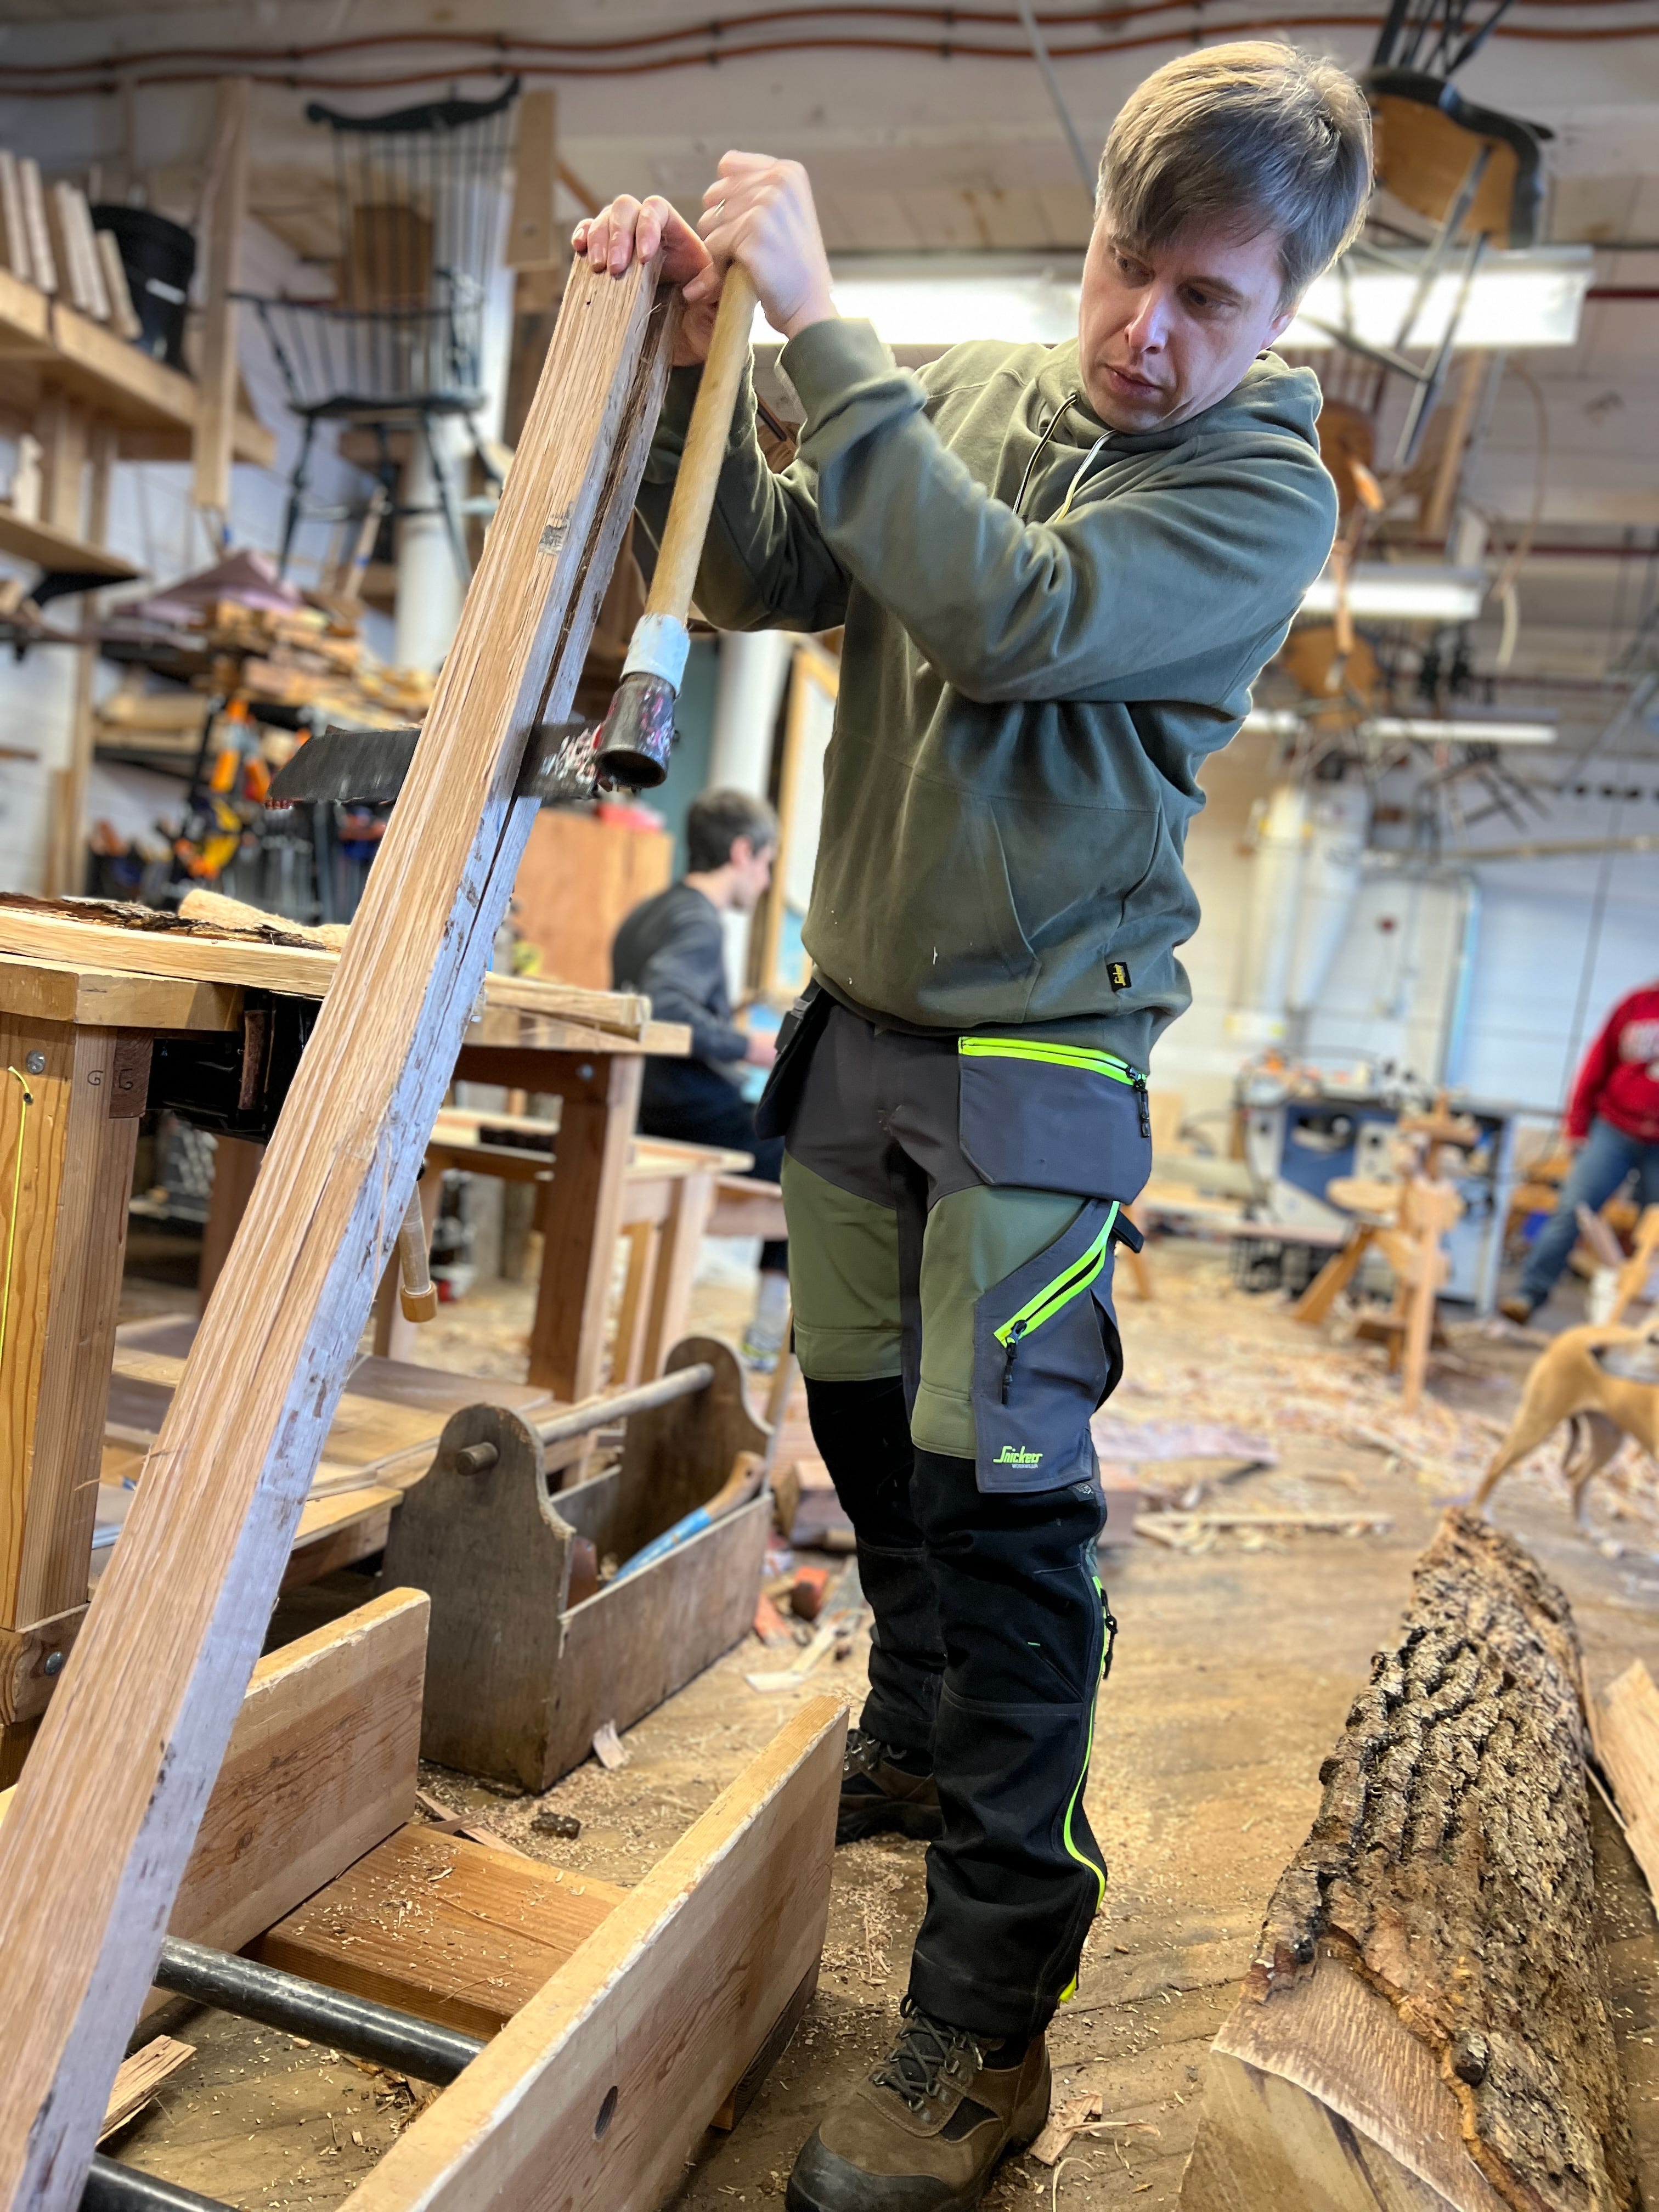
The continuous arm is actually one of the easiest chairs for new makers. One tough part is the number of spindles, but it also ensures you become very competent with the drawknife before tackling the other tough part, shaping the arm bow.
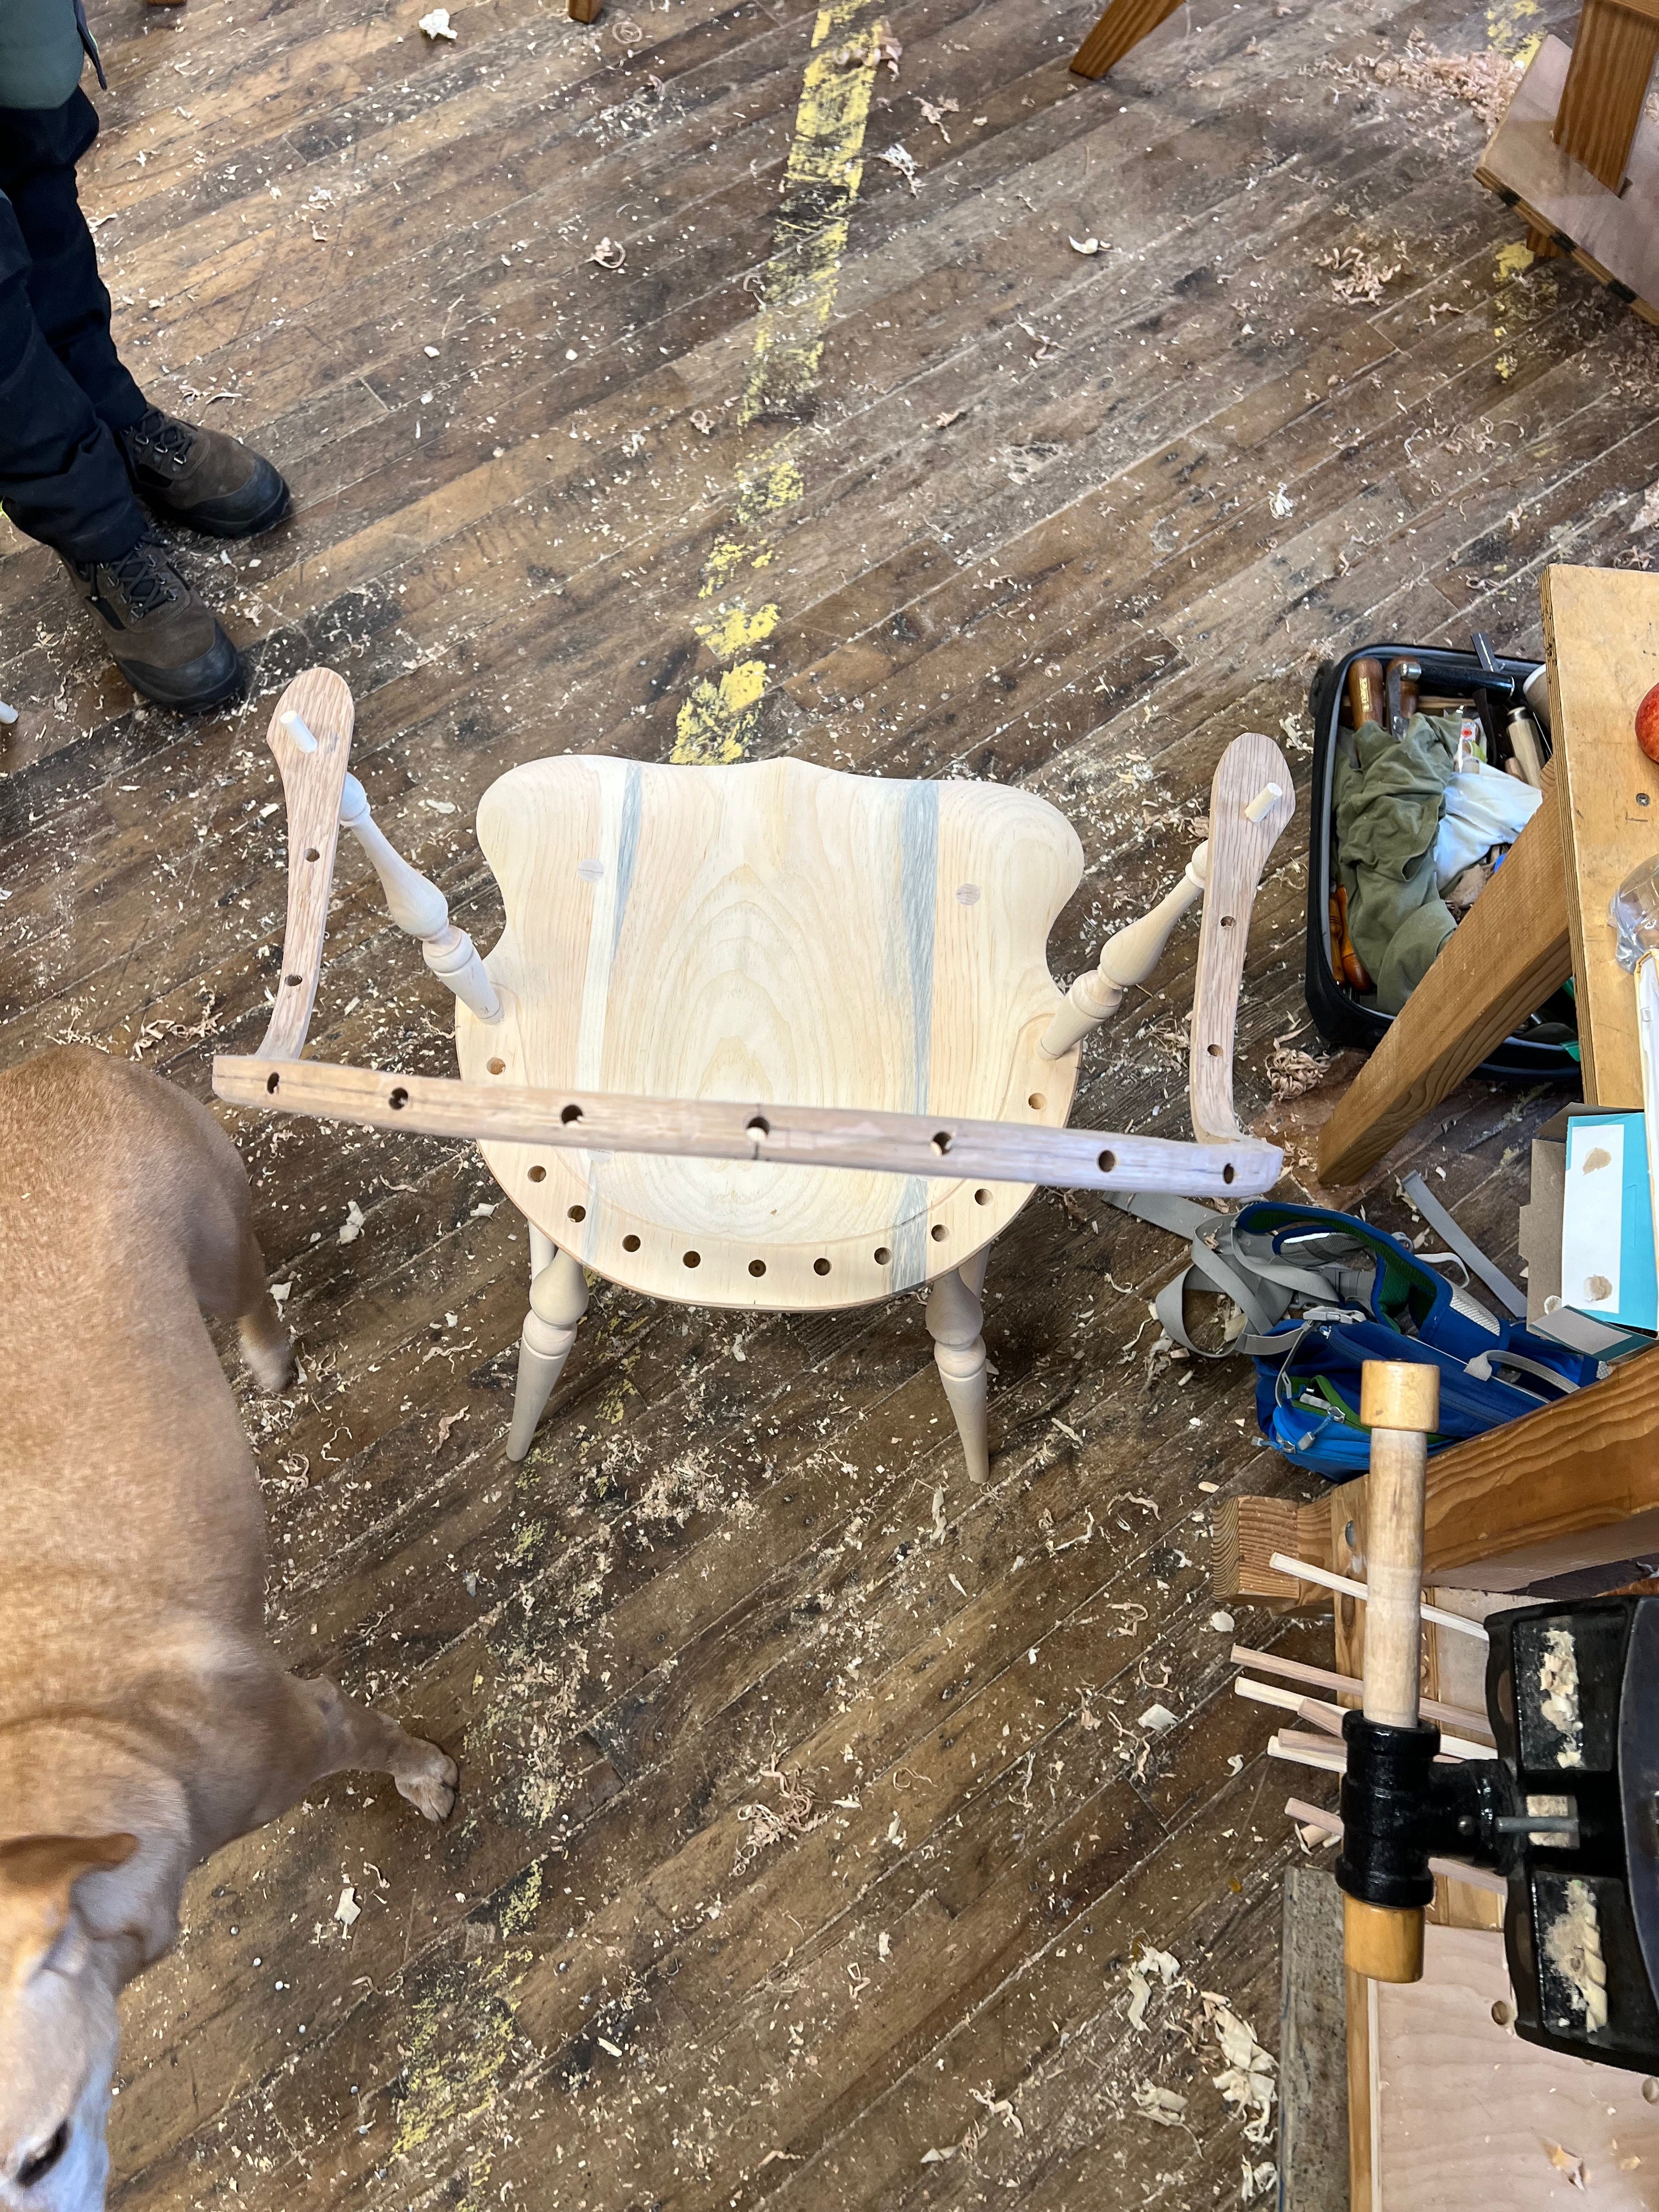
On the last day of class, we do the final joinery, which is the blind spindle holes. Here you can see Carrie drilling hers.

It’s at an extreme angle to the bow, which is part of the reason to do it “blind” and not all the way through the bow. It would remove too much material and weaken the bow at a critical spot if it went all the way through. I learned about this joint from Curtis Buchanan, but his technique is pure Curtis. You start with a spoon bit perpendicular to the bow and “walk” it sideways “til it makes a V shape and then drill in”. I don’t do this with method I was taught, and I don’t use a spoon bit, preferring a “bismark” style bit with a long lead spur, which allows me to start at nearly the full angle to the workpiece. I’m going to film an instructional on how I do this for an upcoming post. It comes down to understanding and using references. It isn’t actually difficult once you’ve run through it.
With class behind me, Aspen and I are jumping back into our bench project
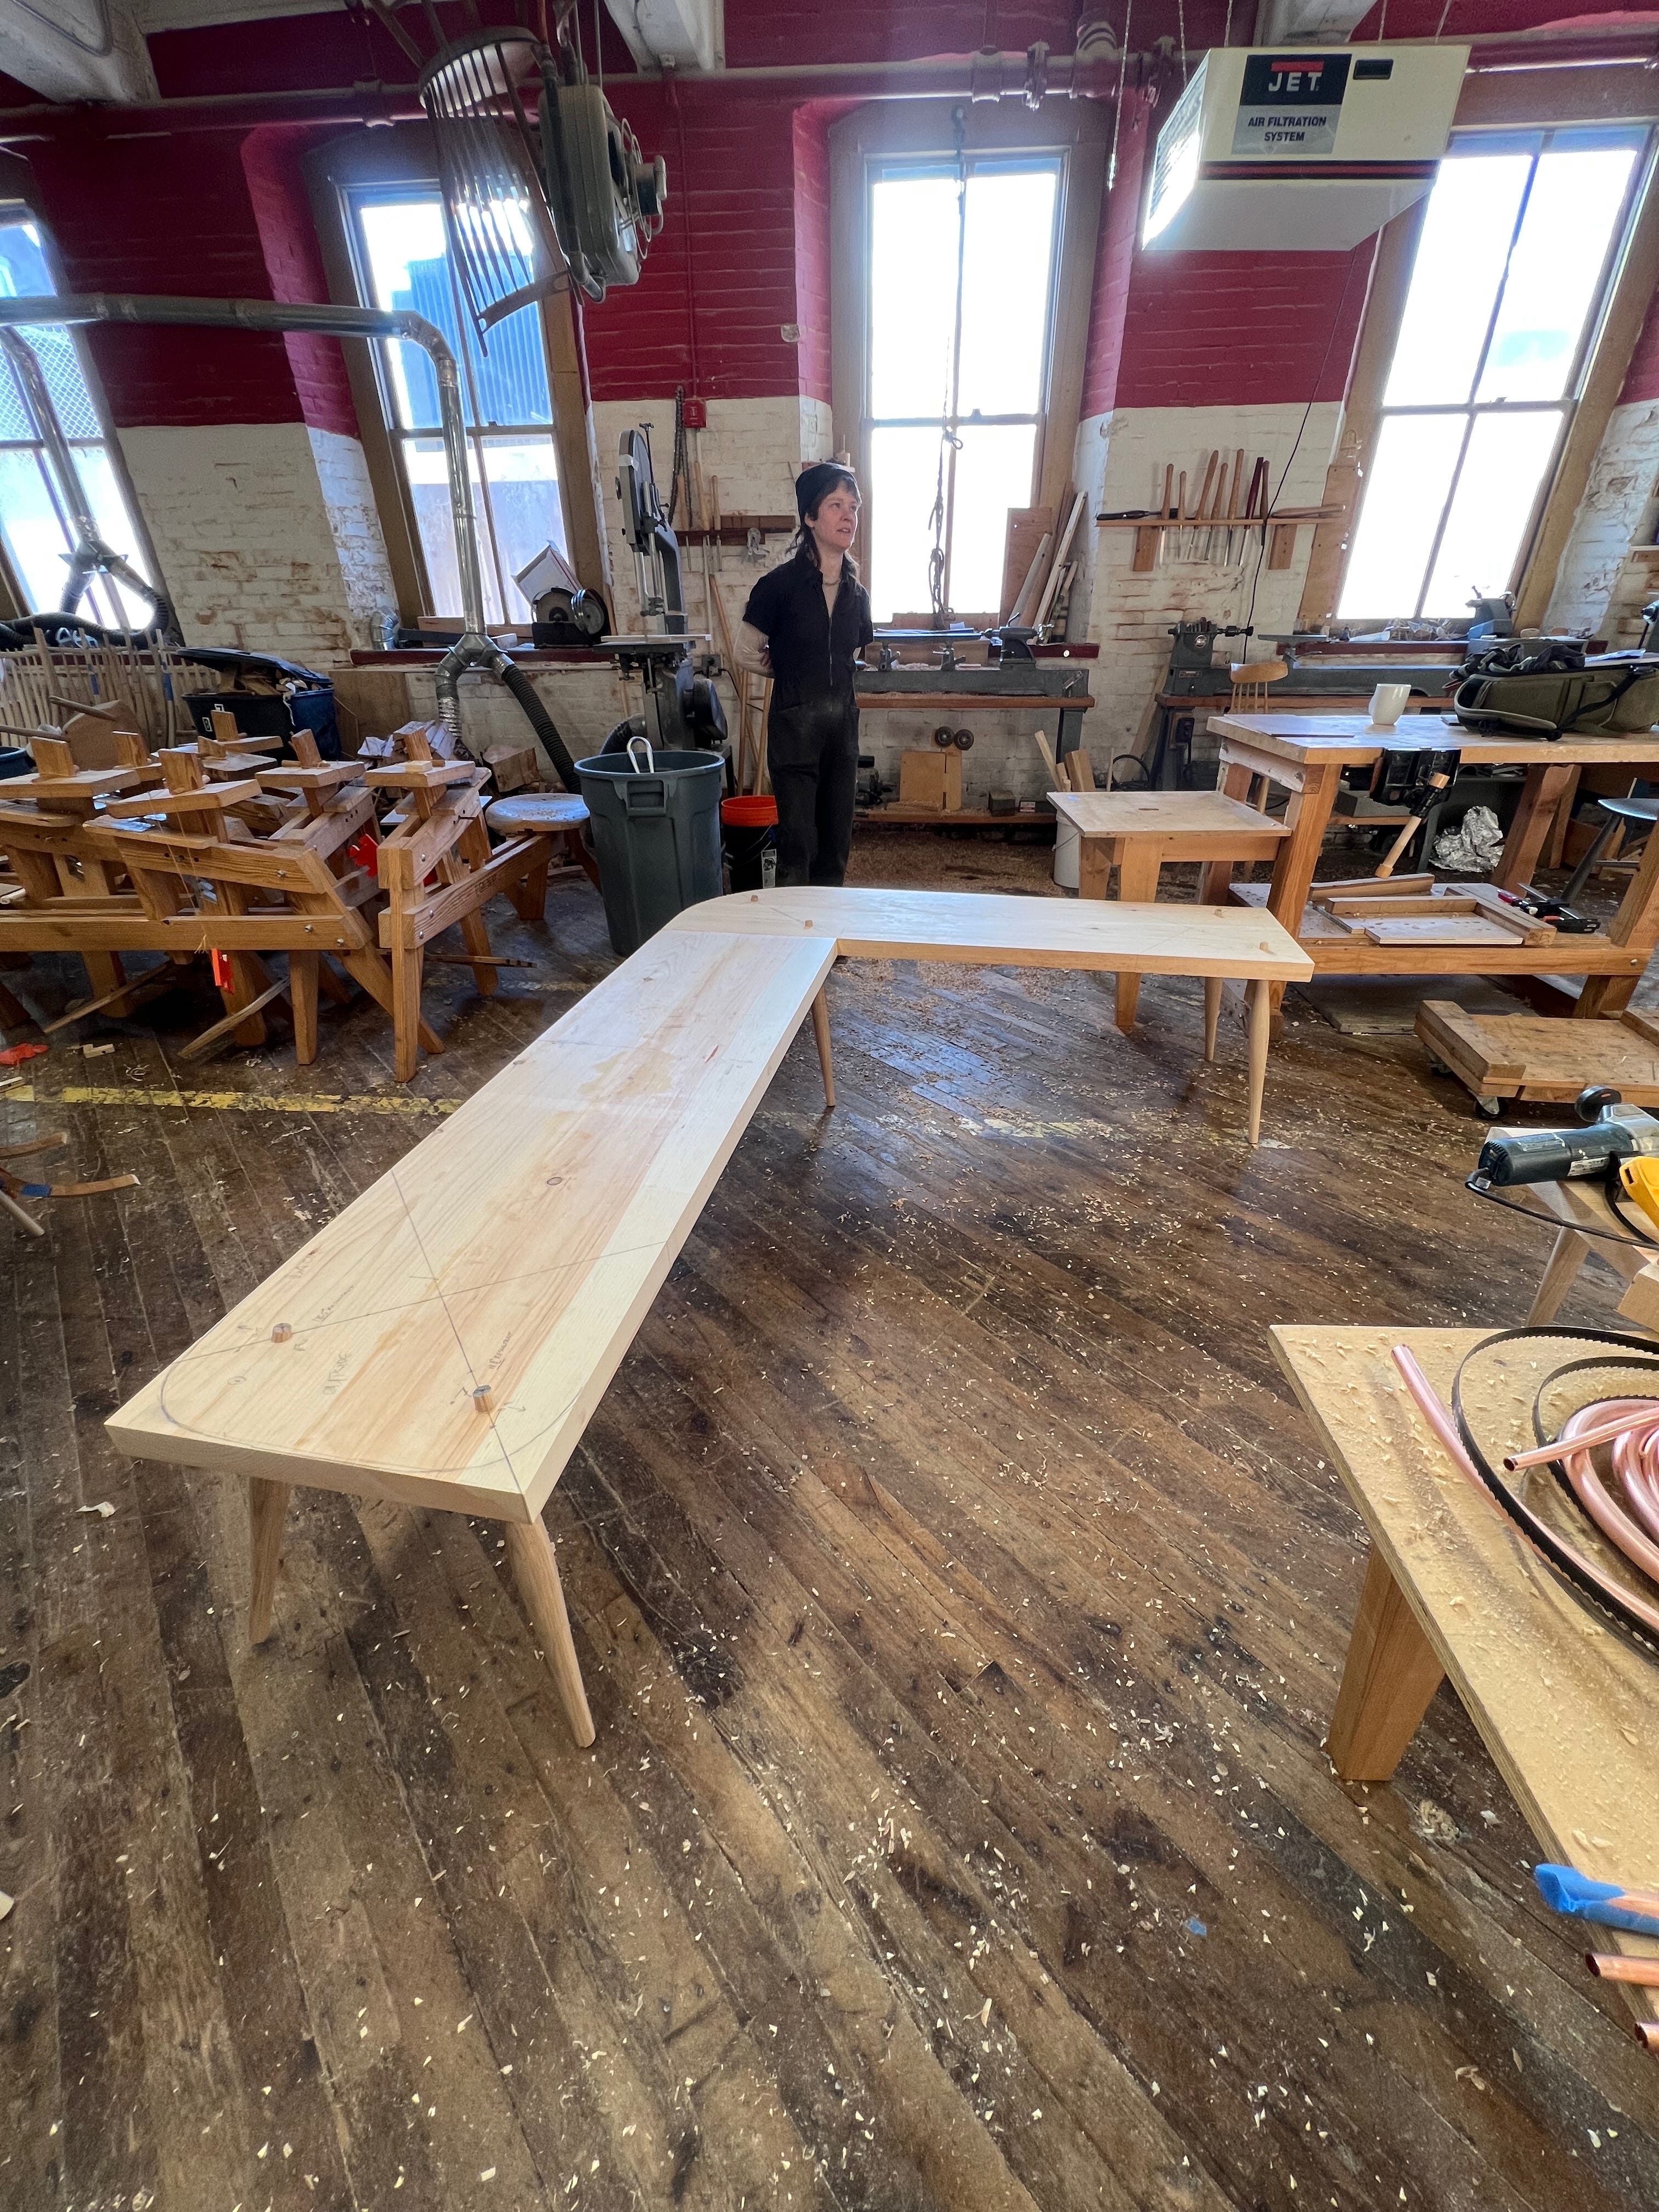
This isn’t the actual seat, but a mock up. The first mock up was a piece of plywood to help us visualize the scale and parts, but now we need concrete details so we made up this one from pine to create a more solid base. First, we took what we knew about the leg locations and angles to drill the seat. Then we played with the legs design, made some and put them into place. The overall goal of this step is to make and position the legs and spindles so we can use them to create the locations and shapes of the crests and stretchers. I hope you are enjoying seeing this process, I am loving being back in the creative side of my work.
For those following the shop build, we hit a bit of a snag with my carpenter getting pneumonia and my electrician down with a cold. Plus, winter has been kicking our butts around here. We are still making headway, but the move in date is getting pushed back. I hope to get in by the end of April. I will certainly be an easier move witout all the snow!


Appreciate the blind spindle comments. I’m just about to drill mine on a CB-based settee. That strategy makes a heap of sense!
Looks like it was a fun class. I’m looking forward to seeing you guys this weekend. I’ll try to bring some sunshine.