
The Armature

*A spot just opened in the October 14th Temple Chair class, visit the website for more info, email info@petergalbert.com to enroll *
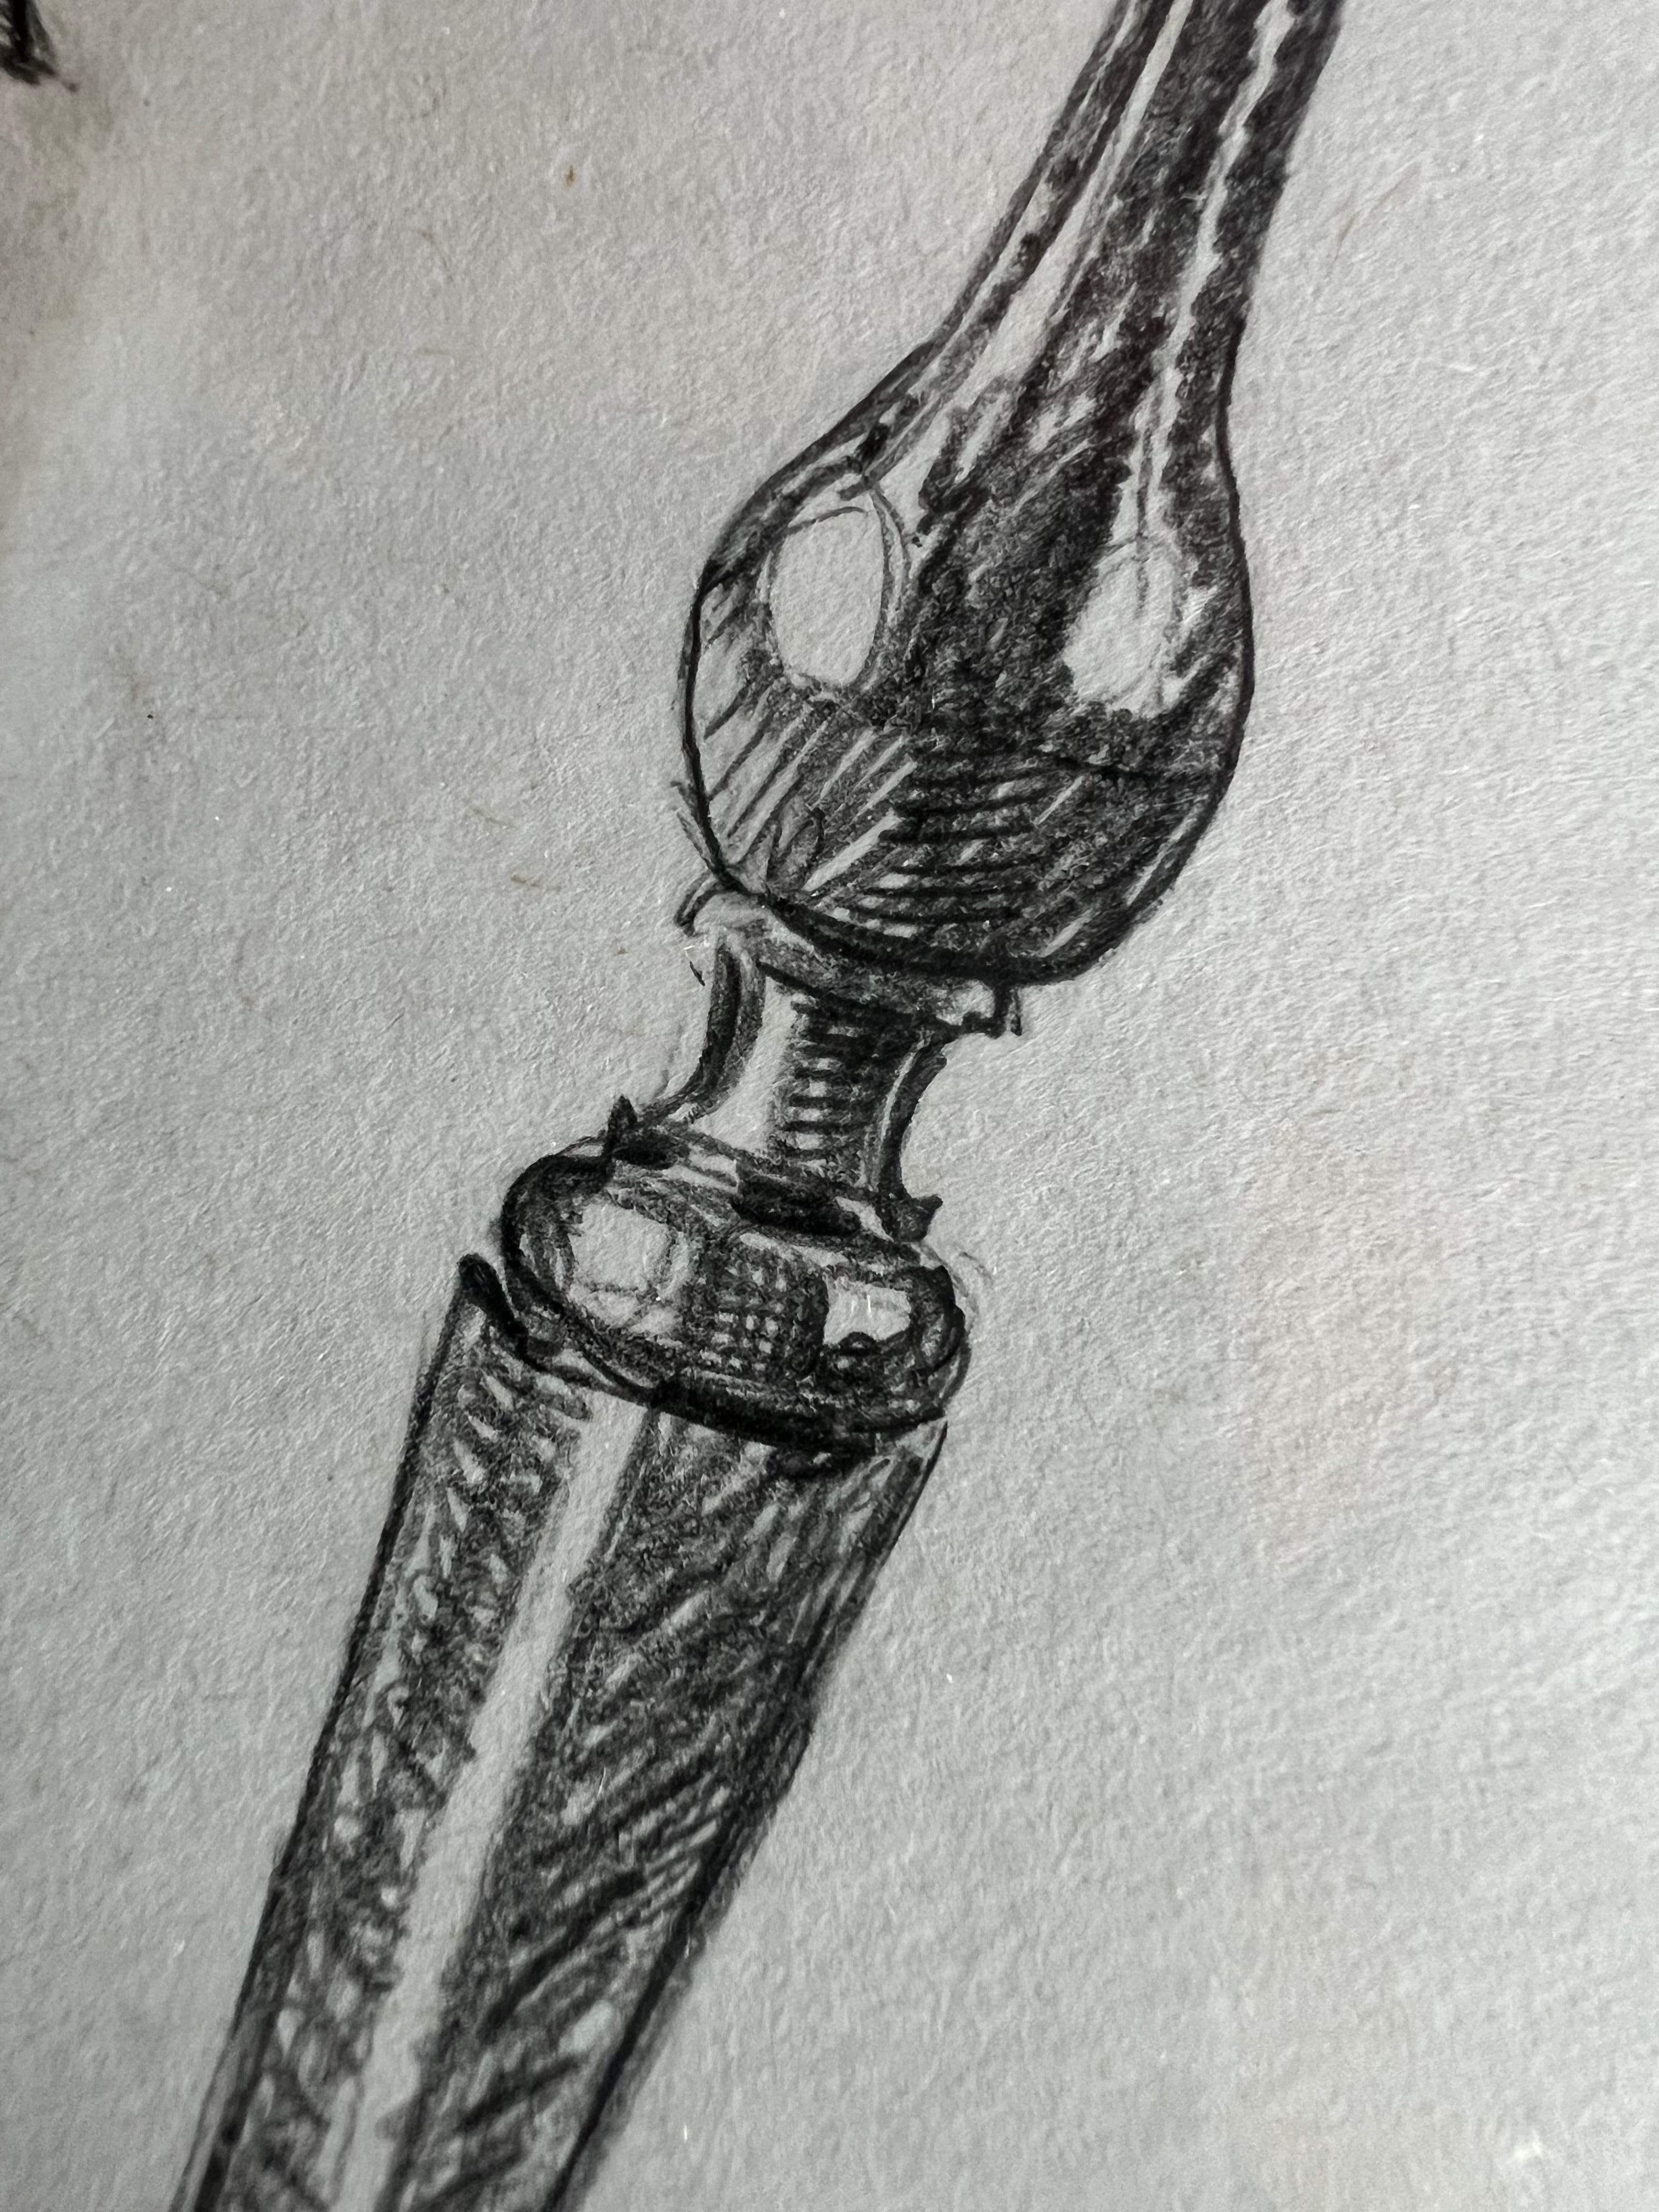
“Choosing to do the drawings for my book might have been a mistake.” This is the thought that ran through my head as I realized how many there were and how long it was going to take. I was slow and the drawings were looking labored. I even called Chris Schwarz to ask about using photos, but he reminded me that I’m a control freak and wouldn’t be happy, “Just keep drawing”. With no relief in sight, I put my nose down and started drawing…fast. I learned a lot doing this. Some images looked great and others didn’t. I compared them and came to the conclusion that the good ones weren’t the most detailed, but had nailed the light source and structure of the forms.
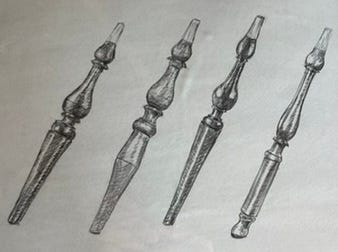
Everything else could be scribbles, but they all fell into place if the main structure was defined.
It reminds me of building armatures for figure sculpture. The armature is a support system, usually wire or steel. If the “gesture” of the model is captured in the armature, you have great freedom for expression and interest in how you render the shapes and surface.

This can cut both ways. If you have ever looked at a figure sculpture that falls into the “uncanny valley”, which is were something is recognizably human, but somehow seems off, it might be the underlying form is off and all the perfectly rendered eyelashes and blouse folds don’t help. It still looks mannequin like and has no life of it’s own. This also plays out in woodwork.
My introduction to making good Windsors was from Dave Sawyer. Dave was definitely an armature guy. His attention to proportion and scale is impeccable. Once he had those down, he would sand the parts, paint them and call them done. I’m not being critical, he nails it, and it’s still clearly handmade. They are vibrant and lively. I practiced for about a year on my own before seeking out instruction from Curtis Buchanan. Curtis’ house was on the way to my mothers in Atlanta and I had packed a chair to bring to her. I showed it to Curtis and he pointed out the sanded surface. He thought the structure was there but the surface looked homogenous, muted…kinda dead. It left no need for further investigation once you got close. Plus, sanding was more work. During my class with Curtis, and subsequent years teaching along with him, I gained an appreciation for how far one can push the surface texture, once the overall structure is buttoned down. If you visit his website and look at his chairs, you will notice the overall attention to the forms, but then look at the close ups. His surfaces are coursing with lively tool marks. His carvings are playful, verging on naive. But it all holds beautifully together. If you have any wonders about his consciousness or intention, check out his turnings. They are impeccably rendered, downright perfect. He might contest my interpretation, but the series of gestures and choices are what brings the work to life. I could have easily written this post about Dave Fisher, but I think you already get the point of my obsession with his work. The through line is the intense focus Dave puts on the structure of his pieces, which frees him up to render the surfaces with tool marks that add to the overall impact.
By the way, if you haven’t visited Dave’s blog, you are missing one of the great treasure troves of woodworking knowledge.
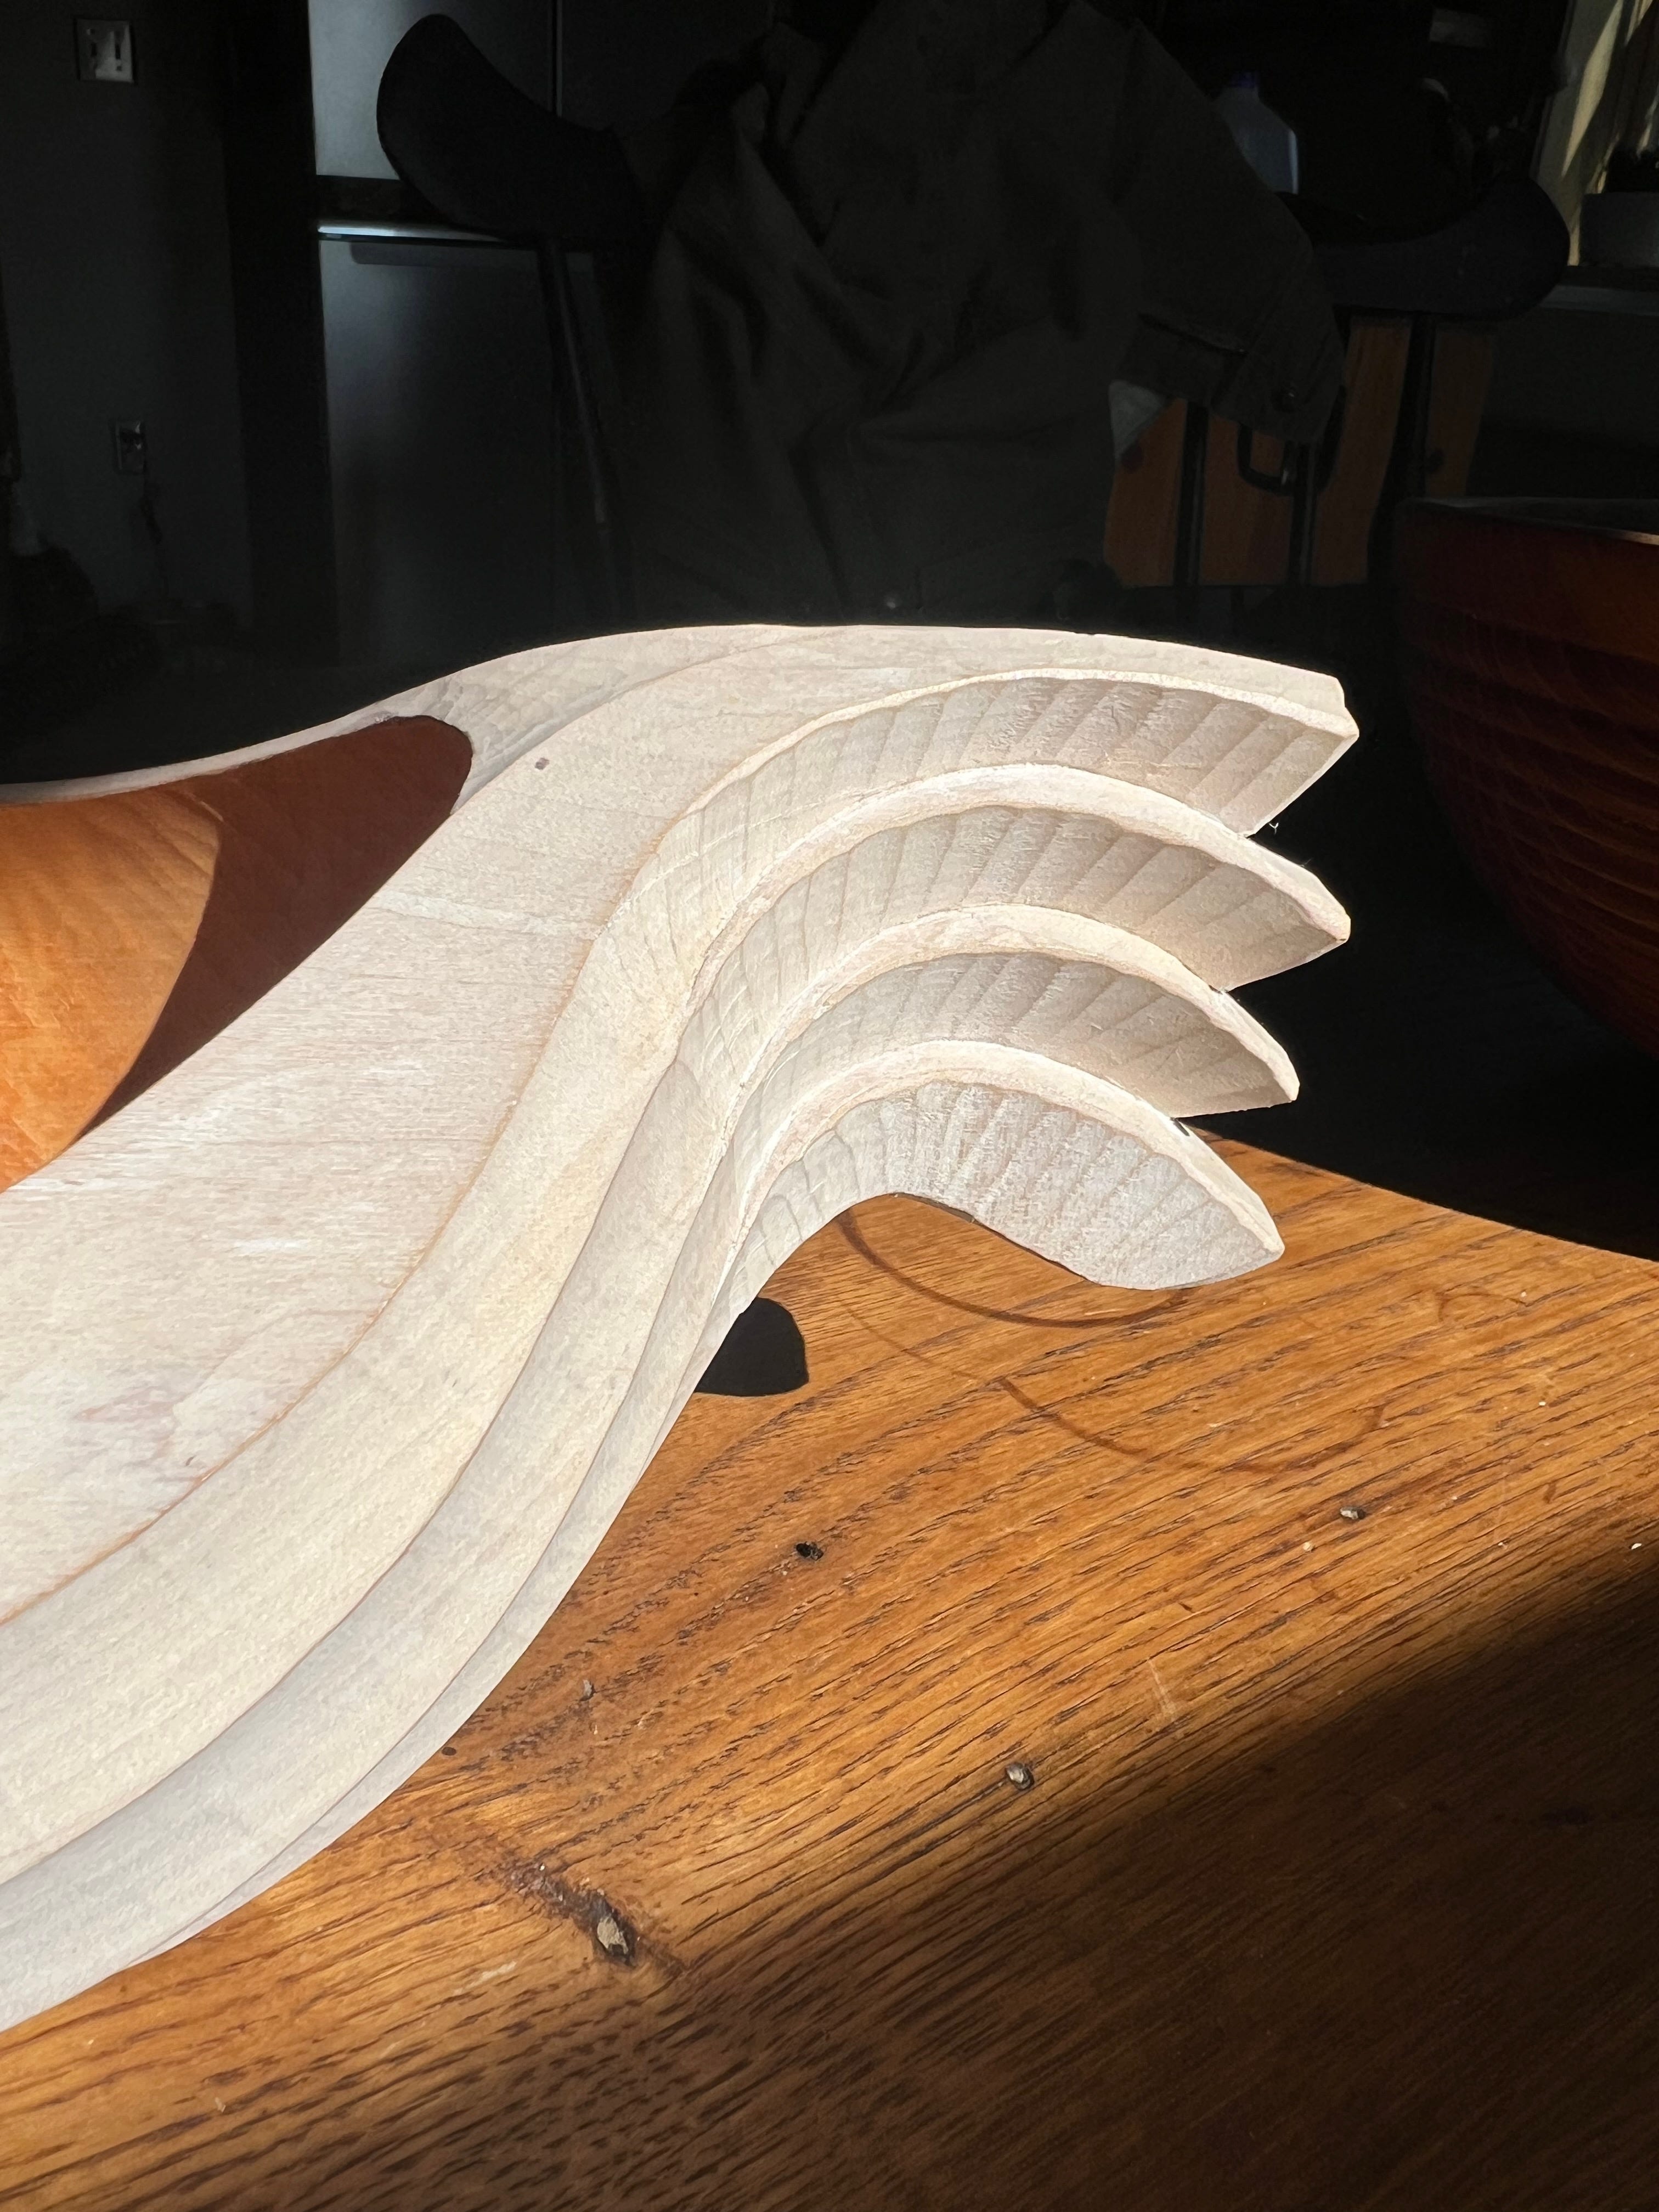
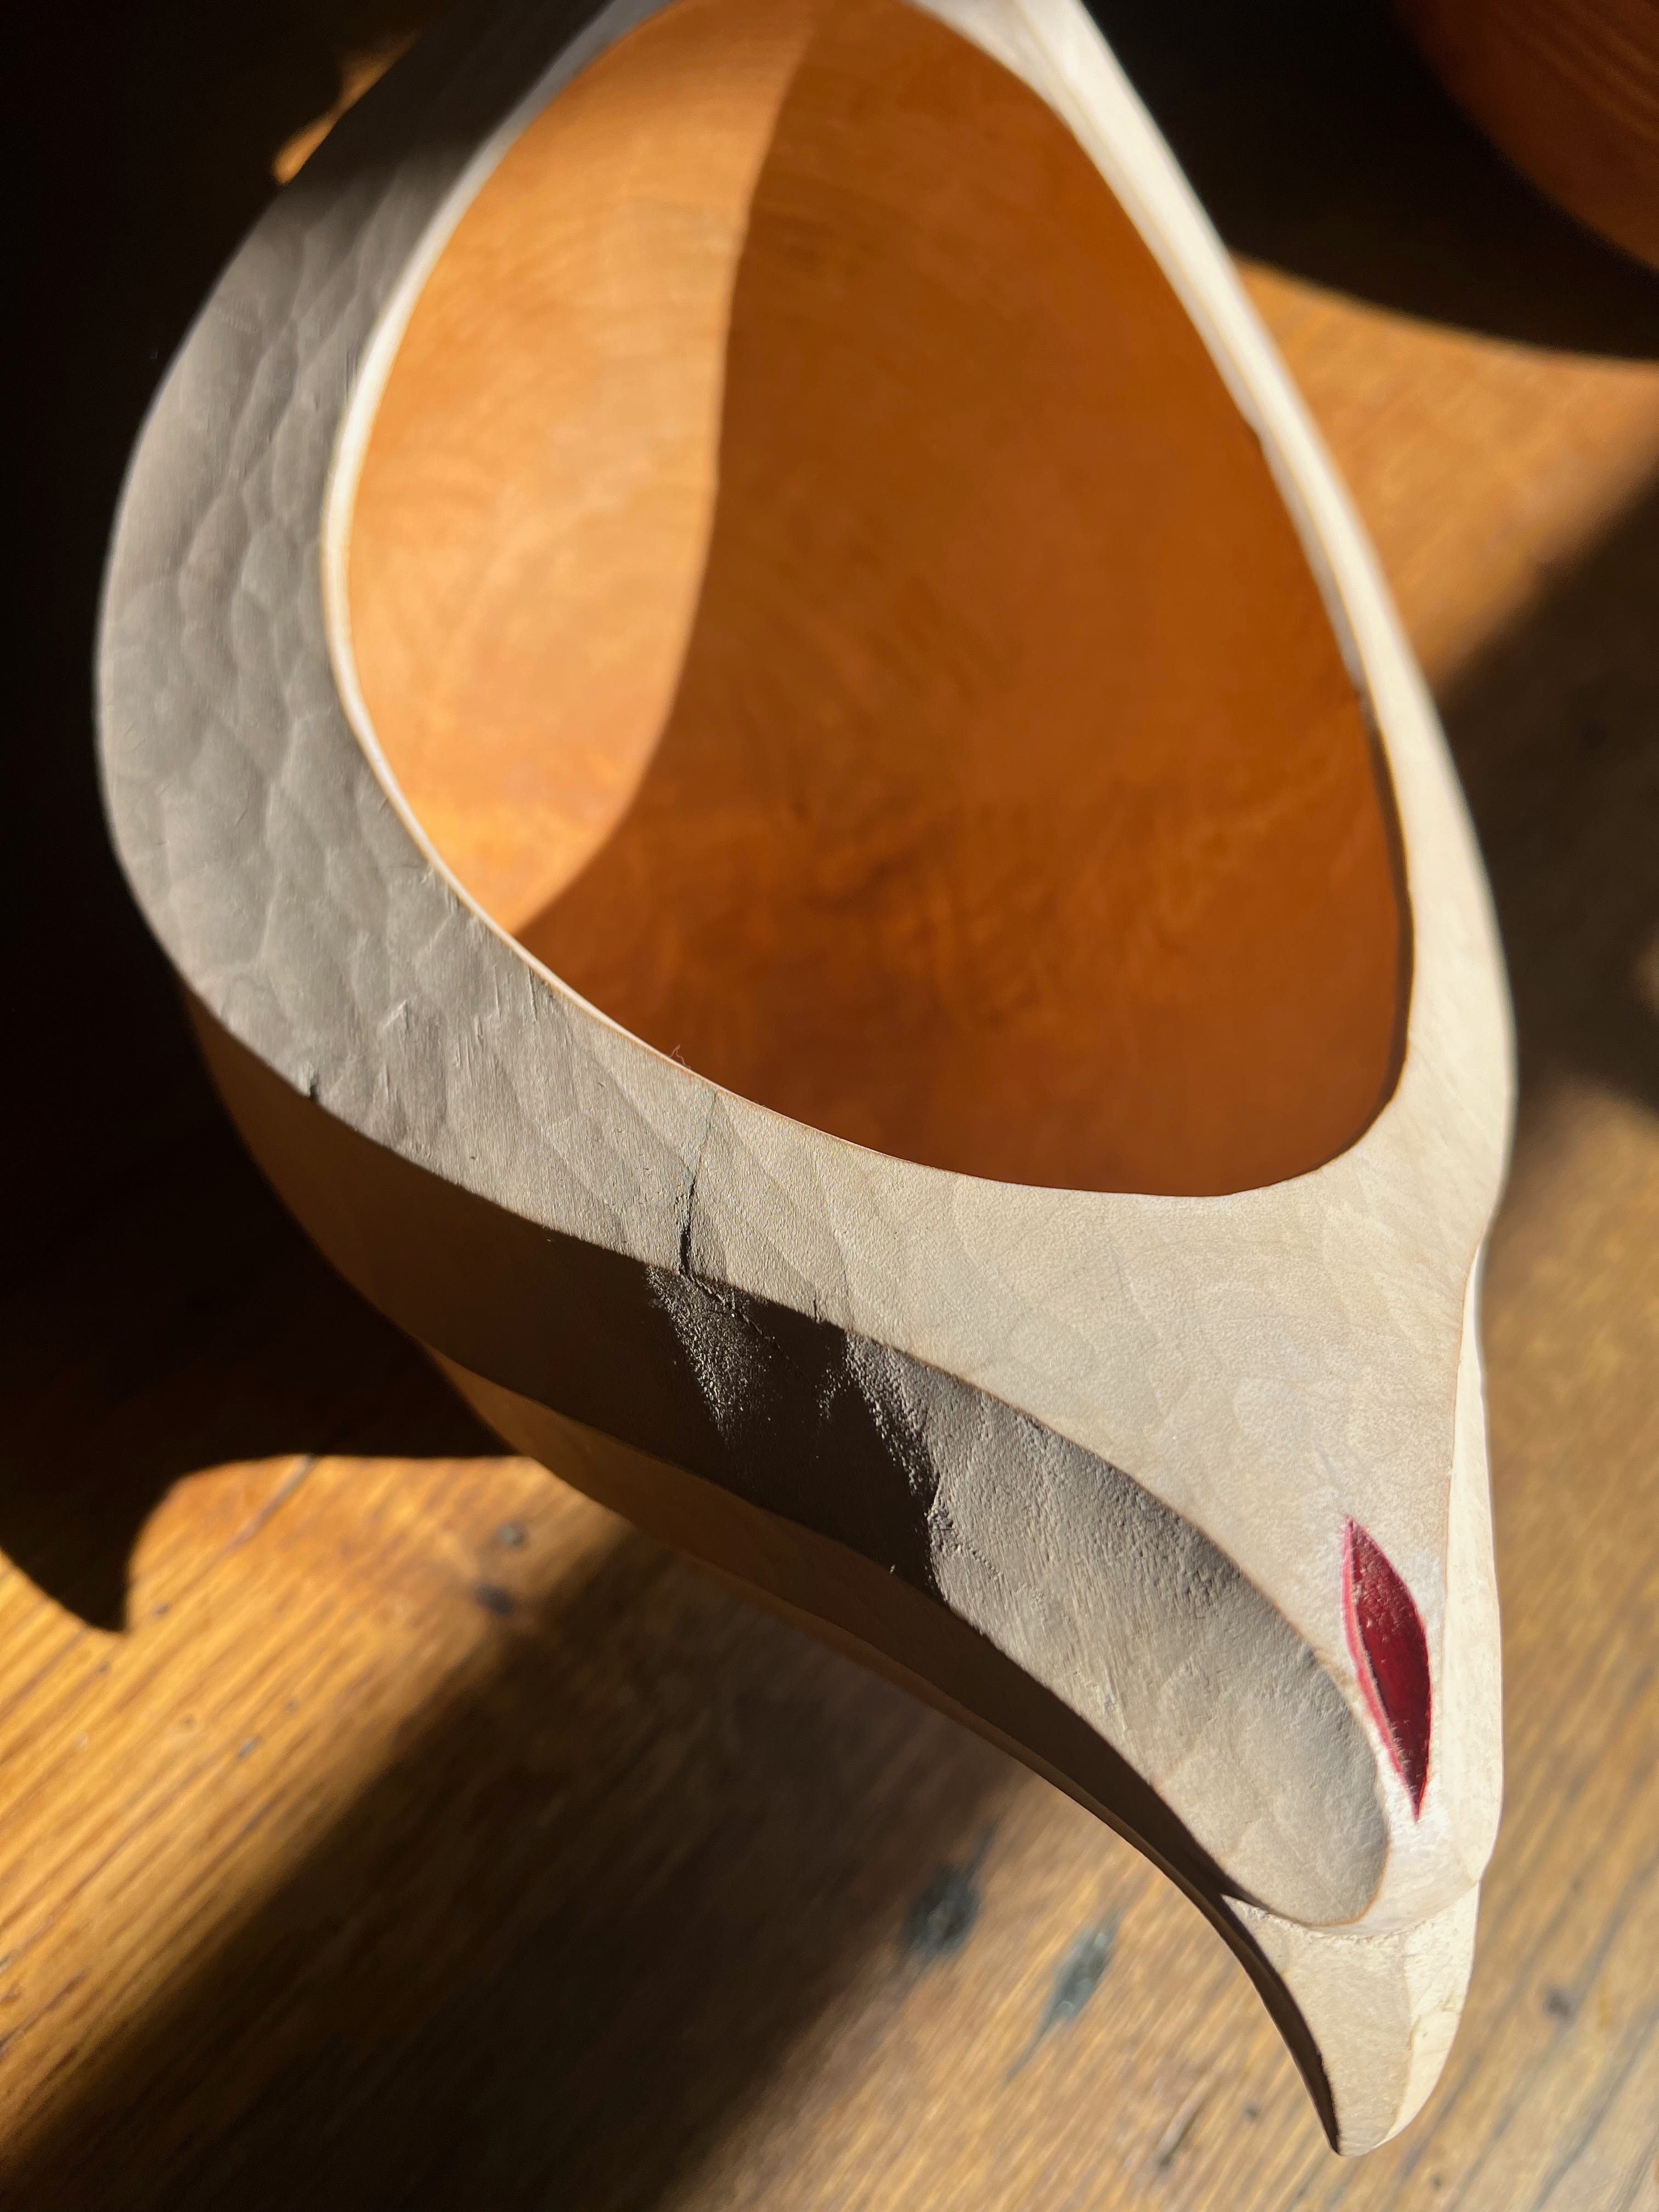
When done poorly, as I did in my early book drawings, a wonky structure with overly worked surfaces is distracting. On the other hand, leaning hard into scribbles or tool marks to make up for bad structure is an easy trap to fall into. Tool marks can be the auto tune of the woodworking arsenal. Intense tool marks on a surface can distract from the underlying flaws in the structure, but they can’t save it. The caveat to this is folk art, where the skewed structure and vibrant tool marks can work beautifully. I’m many things, but I’m not a folk artist. I’ve seen too much. Some parts of my chairs are sanded smooth, some smooth off the skew, and others have the telltale facets of the drawknife or spokeshave. There is no right answer, just what feels right to you and the part or piece you are making. But having a strong structure to hang on is key.
I’m about to start drawing the handbook for my Temple Chair class and video. I know how this will go. I’m out of practice, so I’ll fall into the pitfalls of the novice, overworking the details and surface in hopes of covering my tracks. I’ll loosen up, I’ve been there before. At least I know where to start.
Thank you for another essay perfectly calculated to tease our minds and waken our senses. I dearly love the way you nudge us all toward thinking anew, or thinking differently.
Really appreciate these thoughts. I’ve been playing with sculpture/whittling carvings of animals on furniture and found there is a visual tipping point. This helps put words to it.
They need to be Structured enough that one identifies it as a crow versus a starling but if you go too detailed you have to make it realistic of it looks like shit. That balance of structure and texture.