Before I jump into this last section on making drill bits, I want to share some class news and openings. We’ve had a few classes at the new shop with Tim Manney, Peter Follansbee and myself teaching and it’s been everything I had hoped for and more. Here are a few shots from the events.
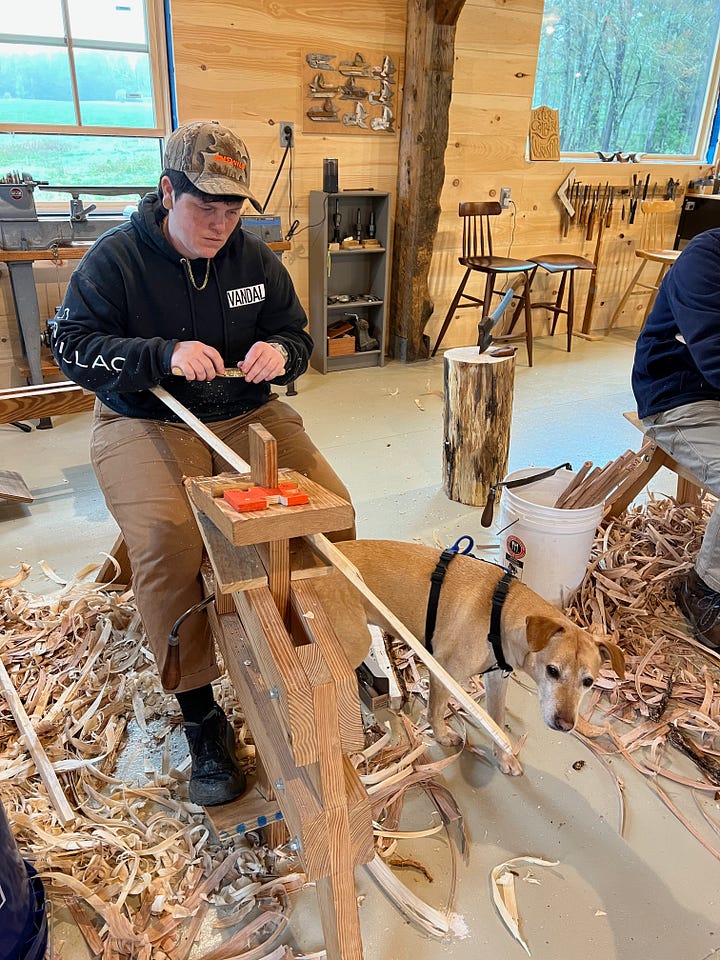
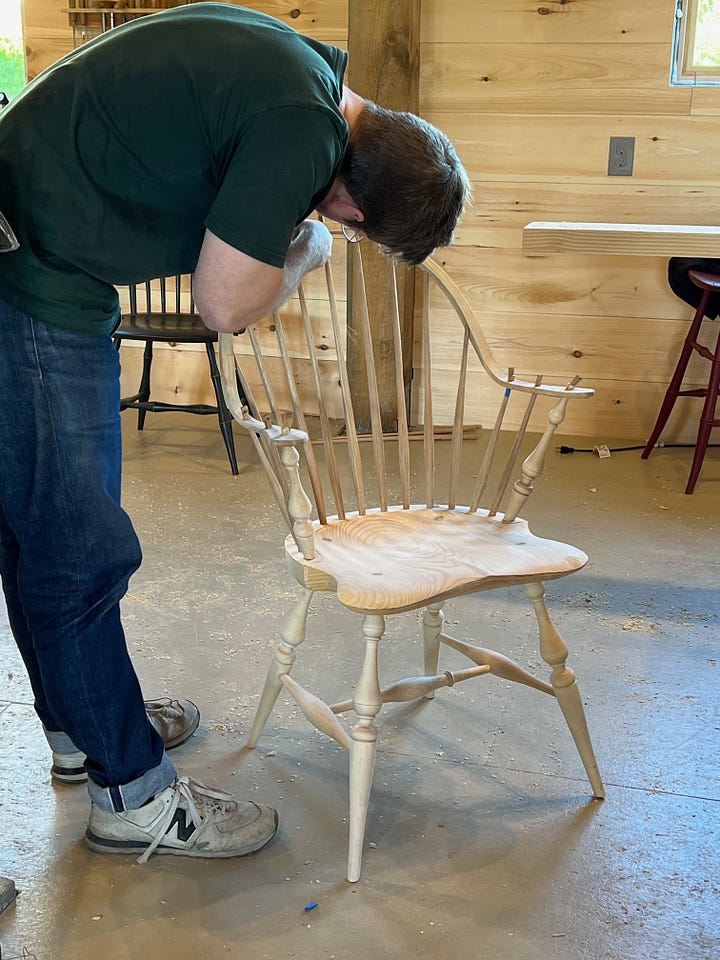
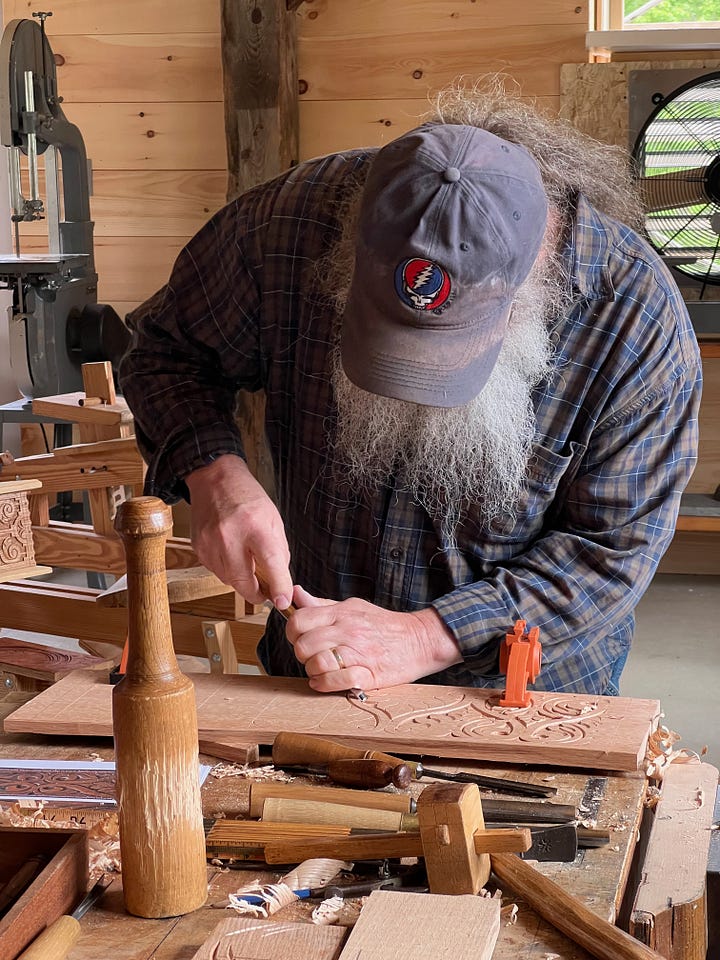
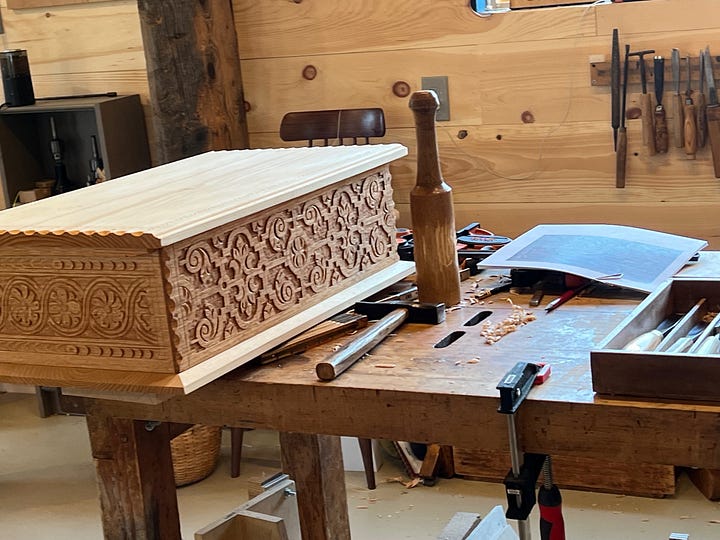
I’ve added a Turning Class to my roster for this year on October 11-12. You can register now by emailing info@petergalbet.com, the tuition is $650. I’ll be putting it on the schedule page on the website soon.
I also have a spot in the July Rocker class, you can find info and register here. There are also spaces in classes with Tim Manney, Andy Glenn and myself later in the year, check them out! I’ll be announcing a bunch of other new classes soon.
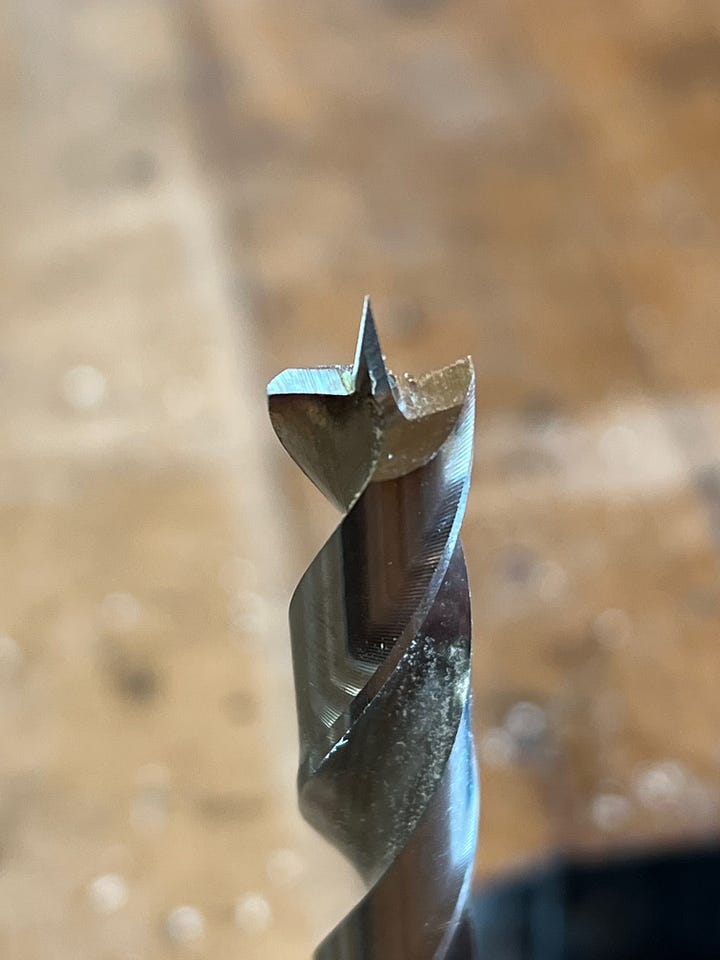
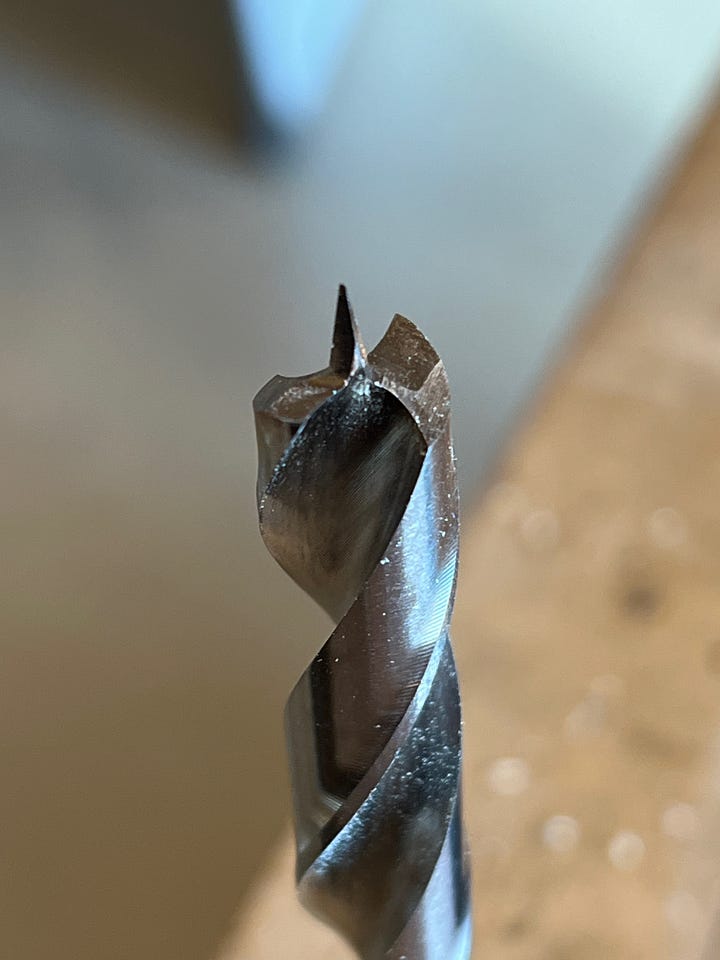
Here is a short video on making brad point drill bits. I started my drill bit making with brad points and they are a good way to ease into it. There are a few variables you get to control when making them. The size of the lead spur and the relief angle being two of the most important. If the leads spur isn’t large enough, the bit can get “grabby”. The leads spur helps center the bit, but it can also slow and stabilize the rate the bit advances, giving a smoother hole and feed rate. The relief angle will control how aggressively the bit advances and can be adjusted for different woods. In my book, I show how to alter the shape of an aluminum oxide (friable) wheel to make the nickers more pointy. I’ve found the CBN wheels, which I can’t alter, do a fine job creating a sharp enough point that I usually get super clean entry holes, even though the knicker is not very pointy. If you have issues, just feed the bit very slowly at the beginning of the hole and it will usually leave nothing more than a little fuzz (it depends on the species of wood being drilled).
Keep reading with a 7-day free trial
Subscribe to Peter Galbert's Chair Notes to keep reading this post and get 7 days of free access to the full post archives.

