
Travisher Tips

I am in my post class haitus, so I thought I’d talk tools. Here are the proud makers from last weeks rocker class.
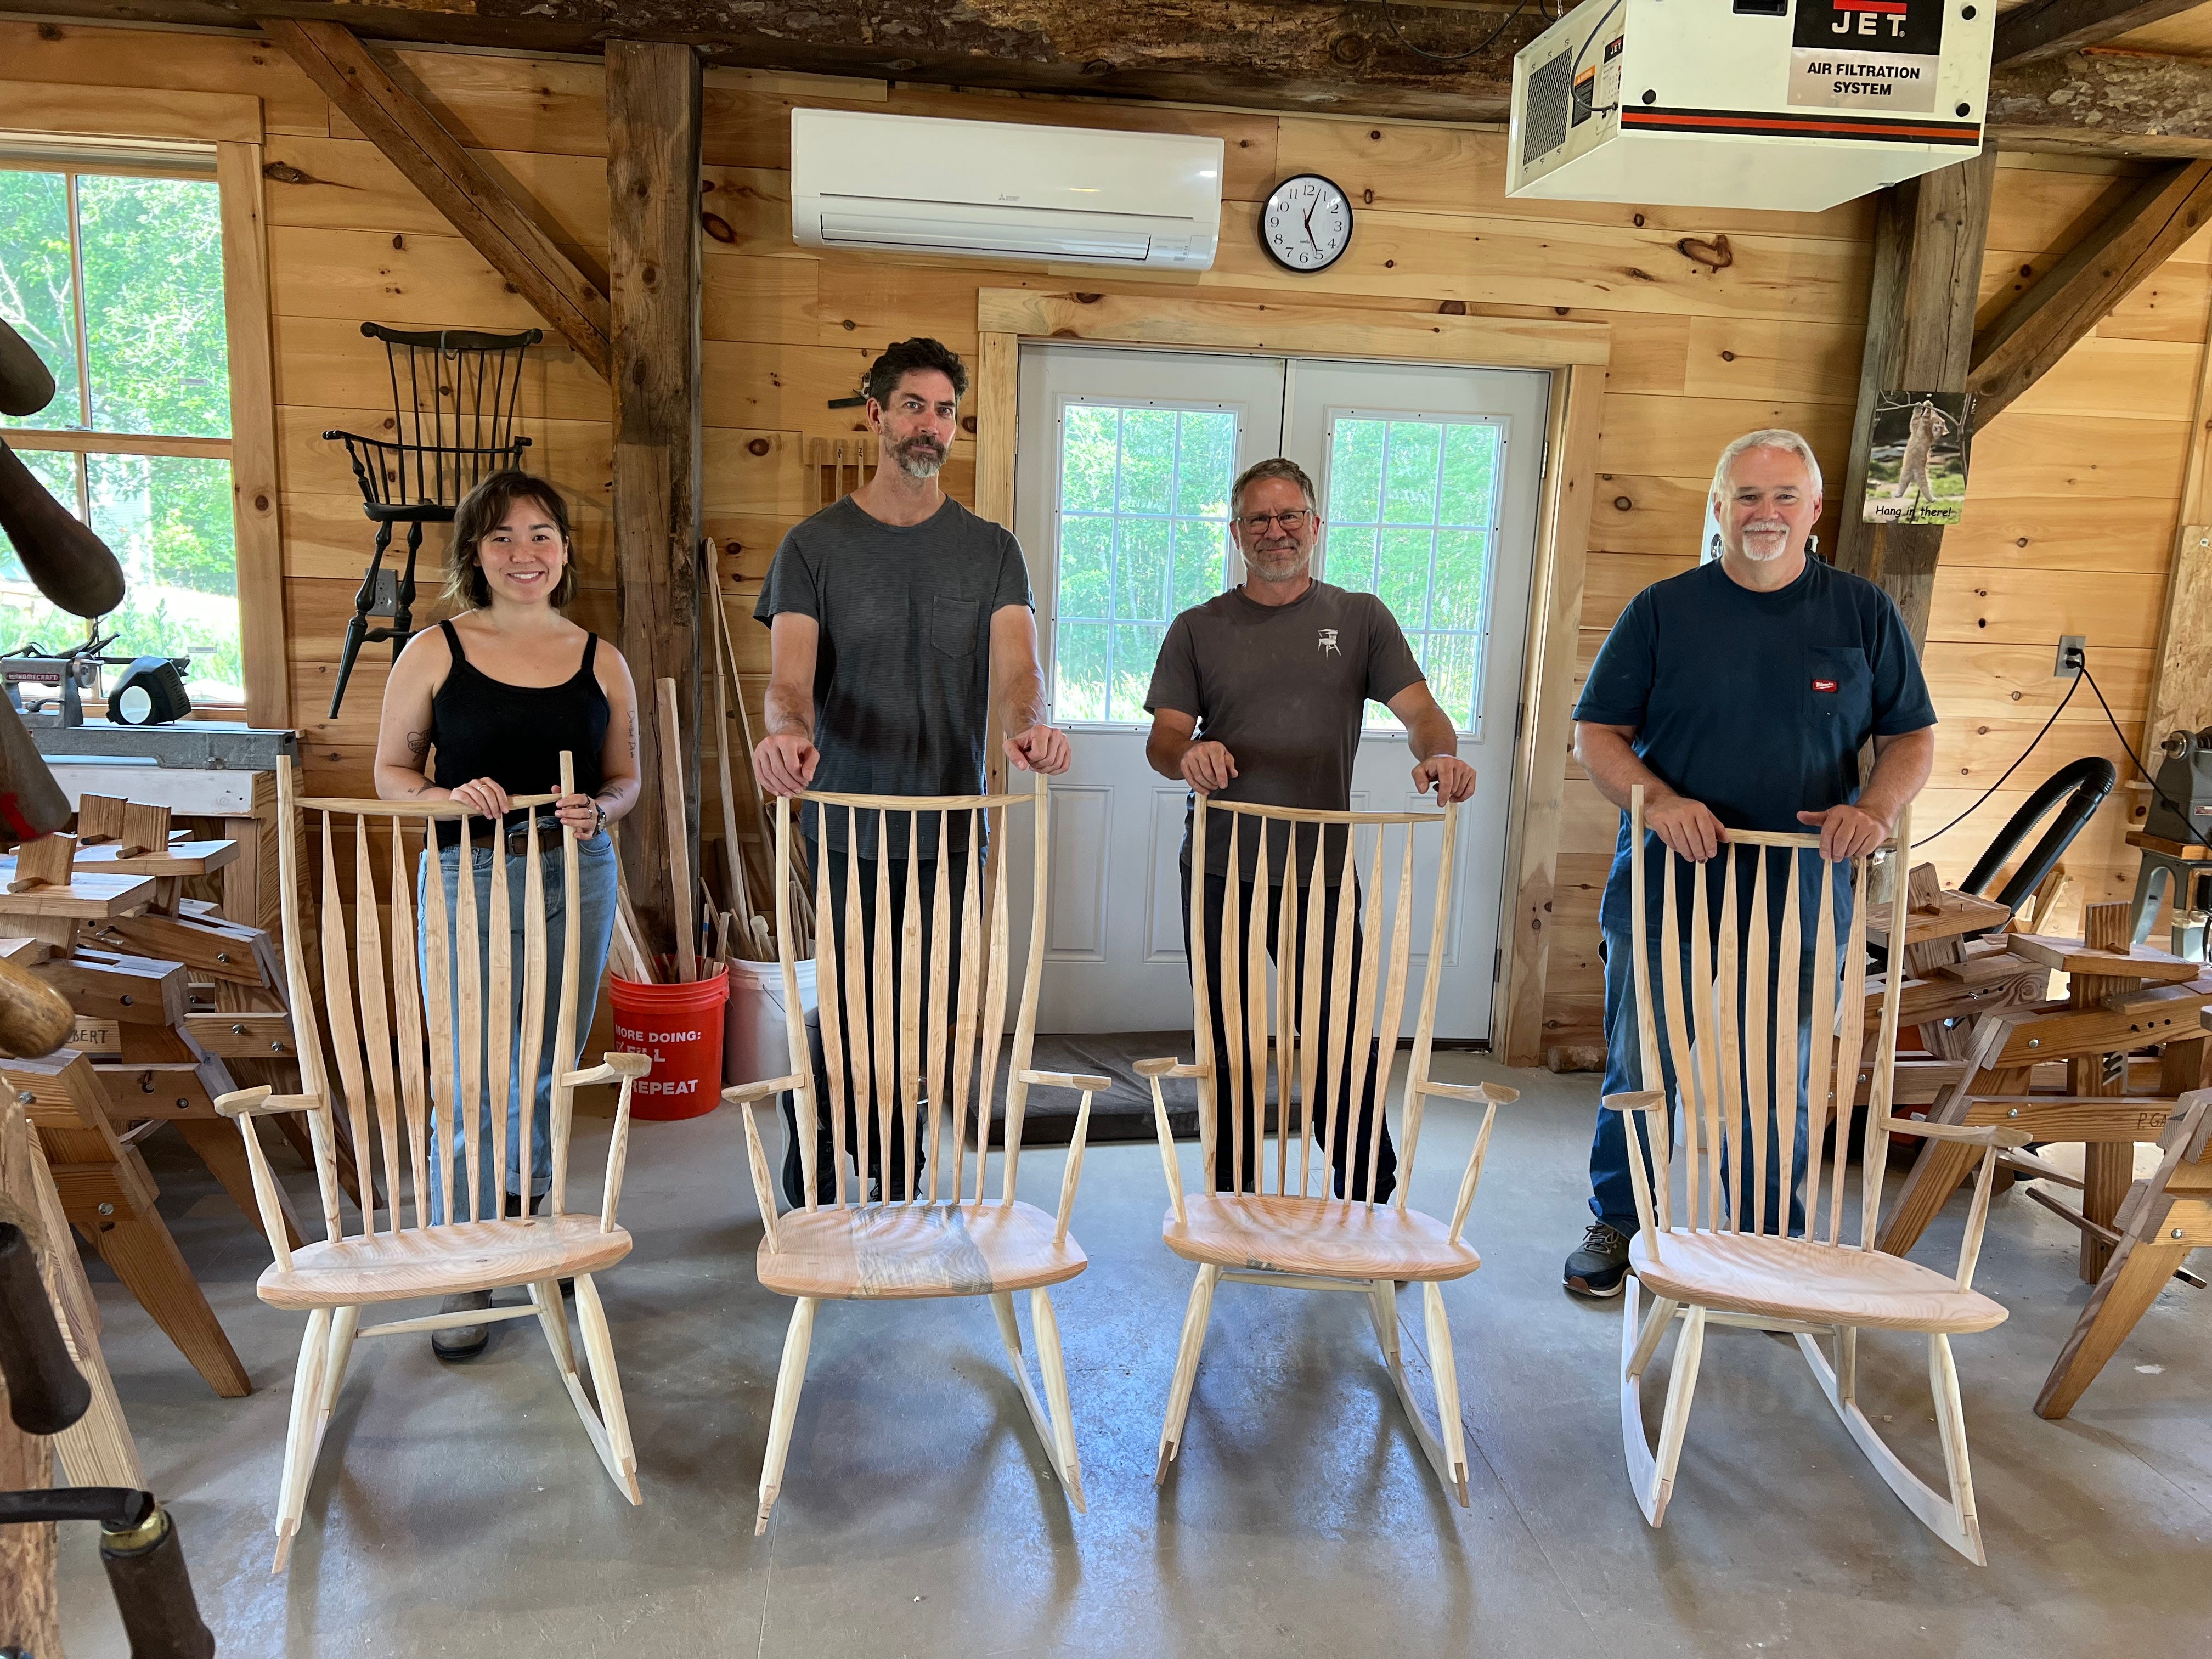
It’s been a long time since I had a small class, the chill vibe was pretty nice. I’ll be finishing the chair I built and posting it on the website for sale. Here is a fav photo from the week. Like I said, chill vibes.
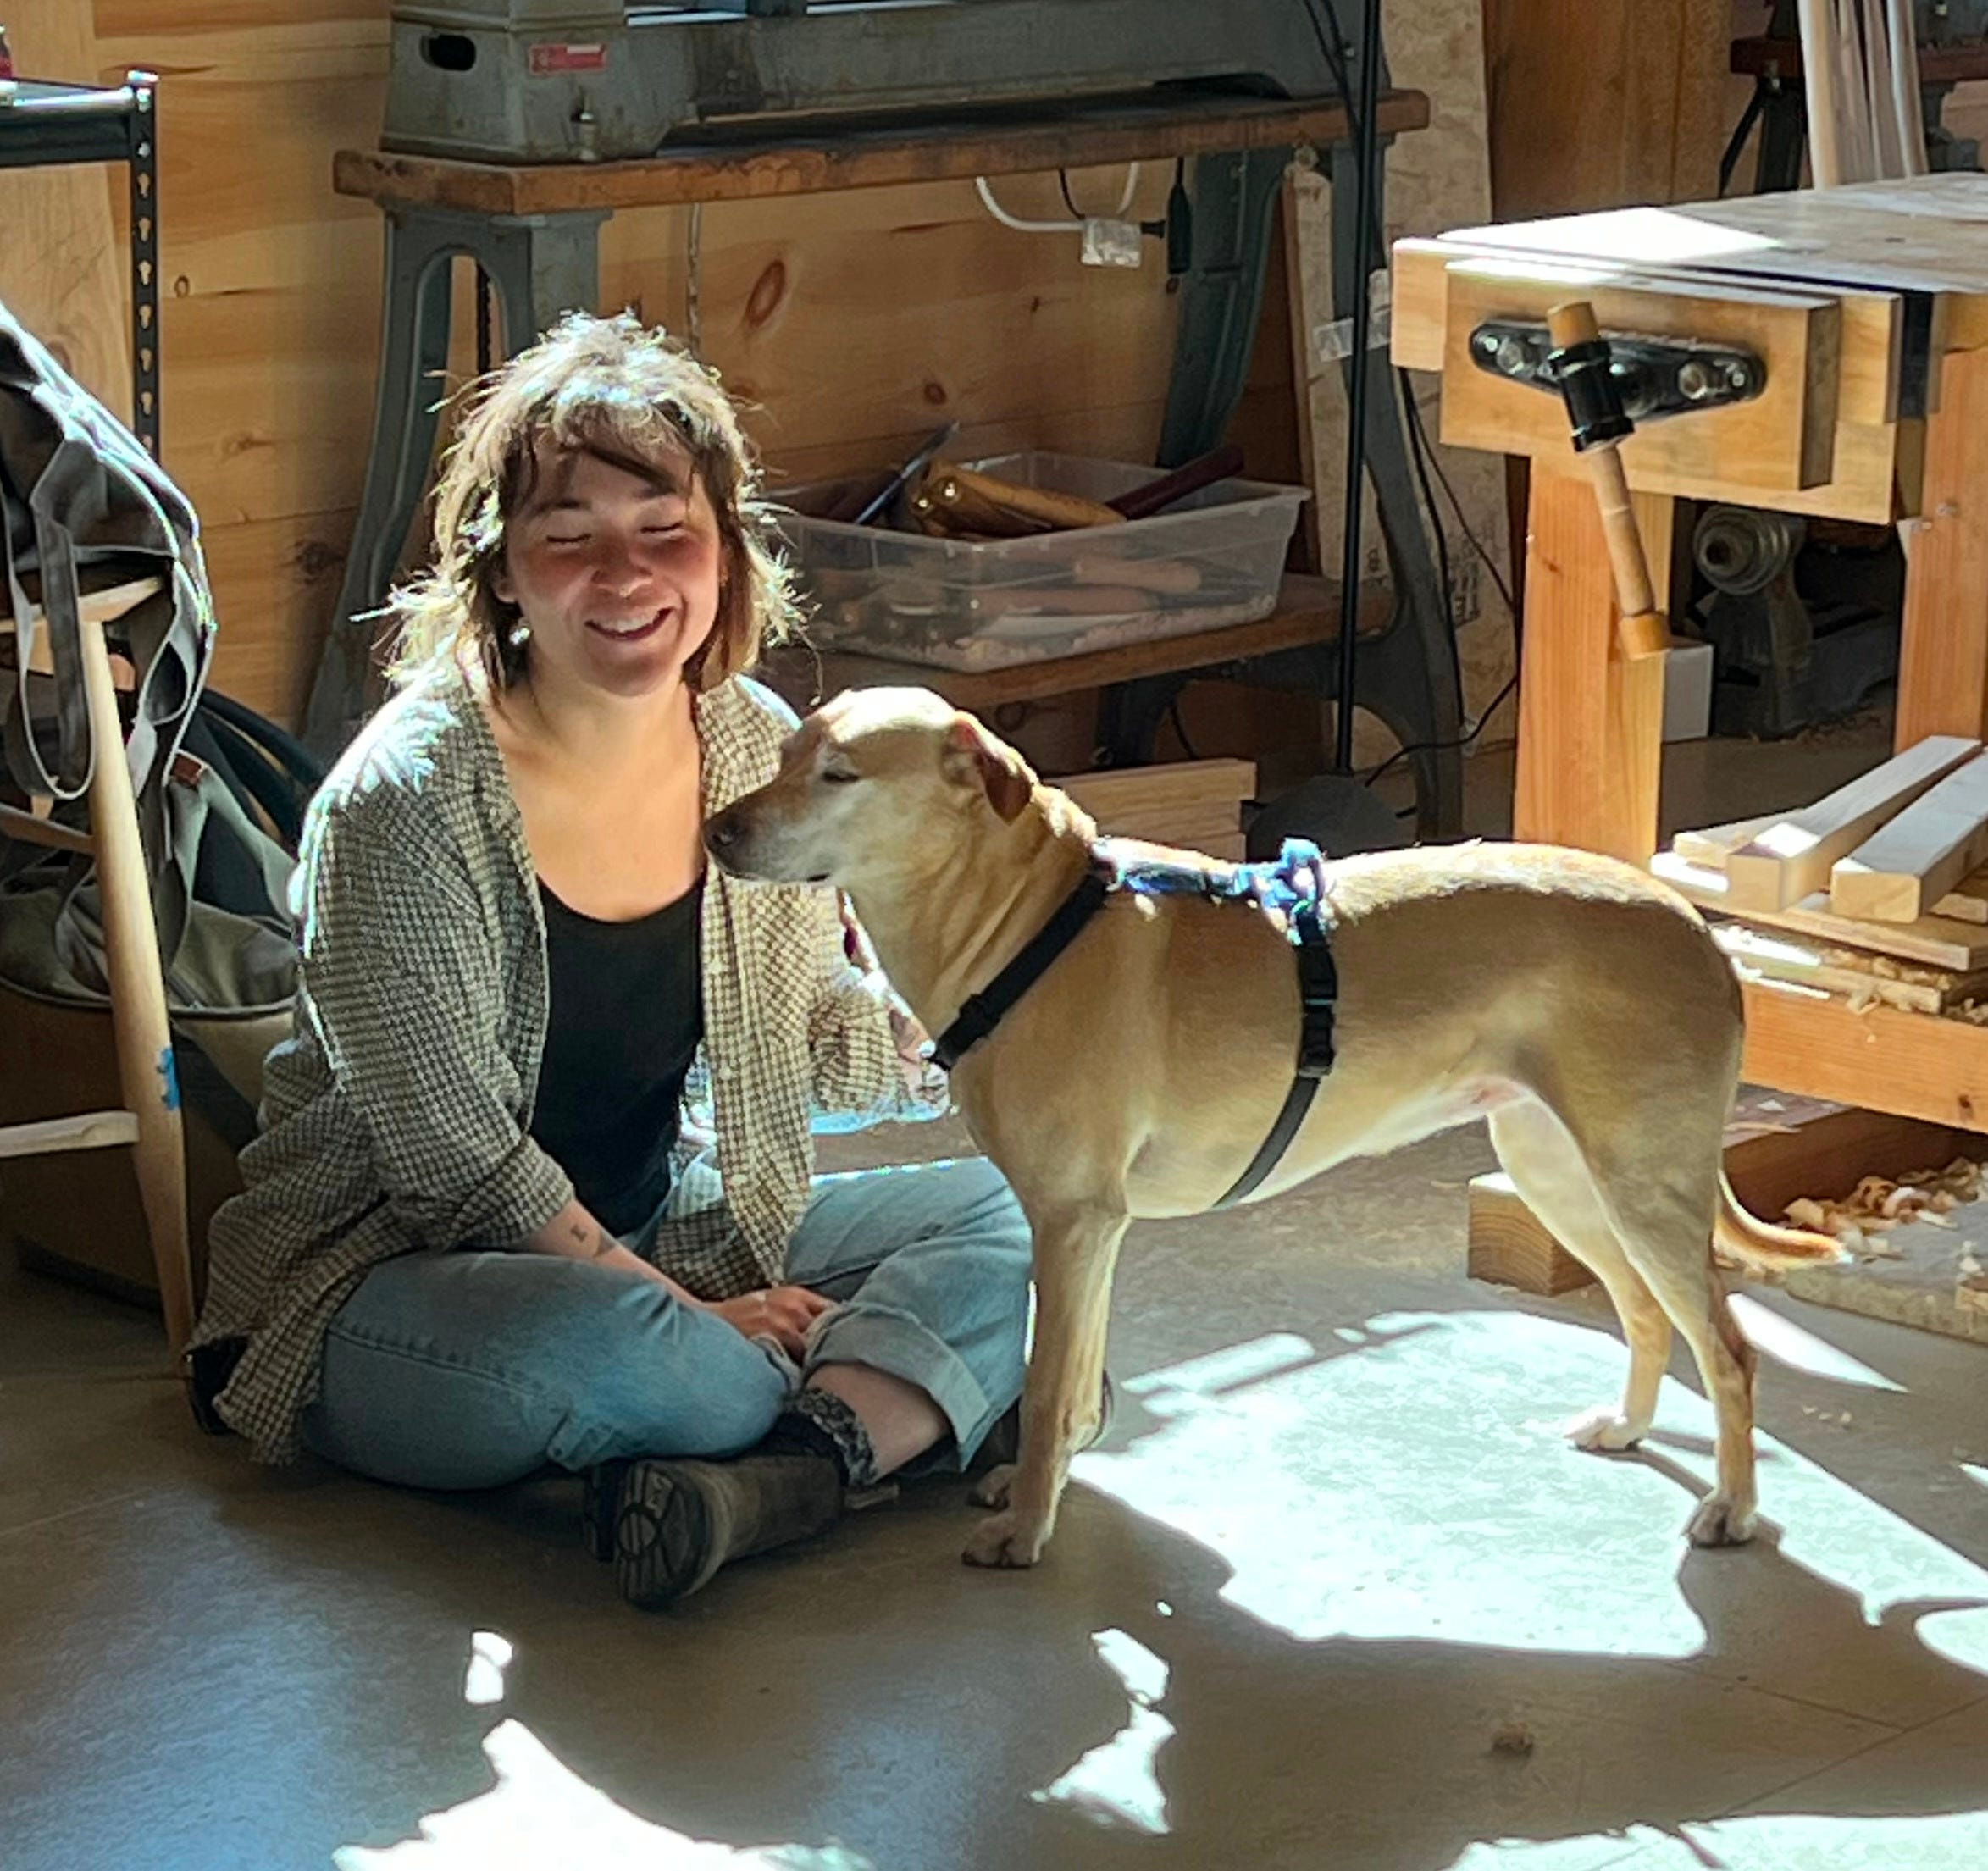
At first, I thought, too bad Grace’s eyes are shut, then I realized it matched Georgia and made it a much better picture!
I sent out a bunch of new T2 travishers last week, so I thought I’d cover some tips on using them as well as how to sharpen them up. I’ve had a long relationship with the travisher, it’s one of the first tools I made and using it transformed how I think about shaping wood. I recall making a “Buckhorn Scraper” from a Fine Woodworking Article for seat carving and it was not fun to use. I love scraping, but after I made a travisher, my Buckhorn scraper became a paperweight.
Lots of travishers have some sort of adjuster, but I don’t include them on my tools. If the sole is shaped correctly, you can vary the depth of cut by tipping the tool a little. I want to be able to take a bunch of thick hogging cuts and then light finishing cuts without looking for my allen wrench. Don’t get me wrong, most tools can be adjusted somewhat by the way you ride on the sole (as I show in the video), even with the adjusters.
Here are some thoughts on using the tool, next I’ll cover sharpening.
These days, I have my students carve their seats without adzes or inshaves. Yes, the travisher will be a hair slower, but they gain control and confidence quickly and the results are great.
Buncha years trial and error summed in 5:49. Excellent, thank you.
Your rocking chair class and getting on of your T2s is on my to do list. I was hoping to be part of that class, but timing didn’t work out this year.