
Two Ways

I just wrapped up a rocker class, which is one of my favorite to teach. When I first considered teaching the rocker, I looked at my process and realized I needed to do a lot more work to make it more suitable for classes.
My method for making rocking chairs had far too many variables that needed to be dialed in to correctly position the curved rear posts. The long curved posts are the key components for the visual appeal as well as the comfort of the chair. I knew the position I needed for the posts, but drilling and reaming them required a series of steps to understand each bend and it’s relationship to the tapered tenon at the bottom. Then, it required precise drilling and reaming in a curved piece. The added complexity of fixing the angle and rotation of the curved part while trying to ream it to depth was harrowing to say the least. Usually, I would sweep the shop twice before doing this step. It was make or break for the chair.
To my way of thinking, it comes down to two ways to address the problem. Either I needed the ability to read and adjust to whatever that relationship between the bend and the tenon turned out to be, or I needed to make the parts so the relationship of the bend to the tenon would be known and repeatable. For many years, I defaulted to the “adjust to whatever you bend” solution, which I still believe has great merit. That way, anyone can make the chair, no matter how their bend comes out, plus being able to do so is invaluable to designing new work. But in common practice, it proved to be too complicated and uncertain.
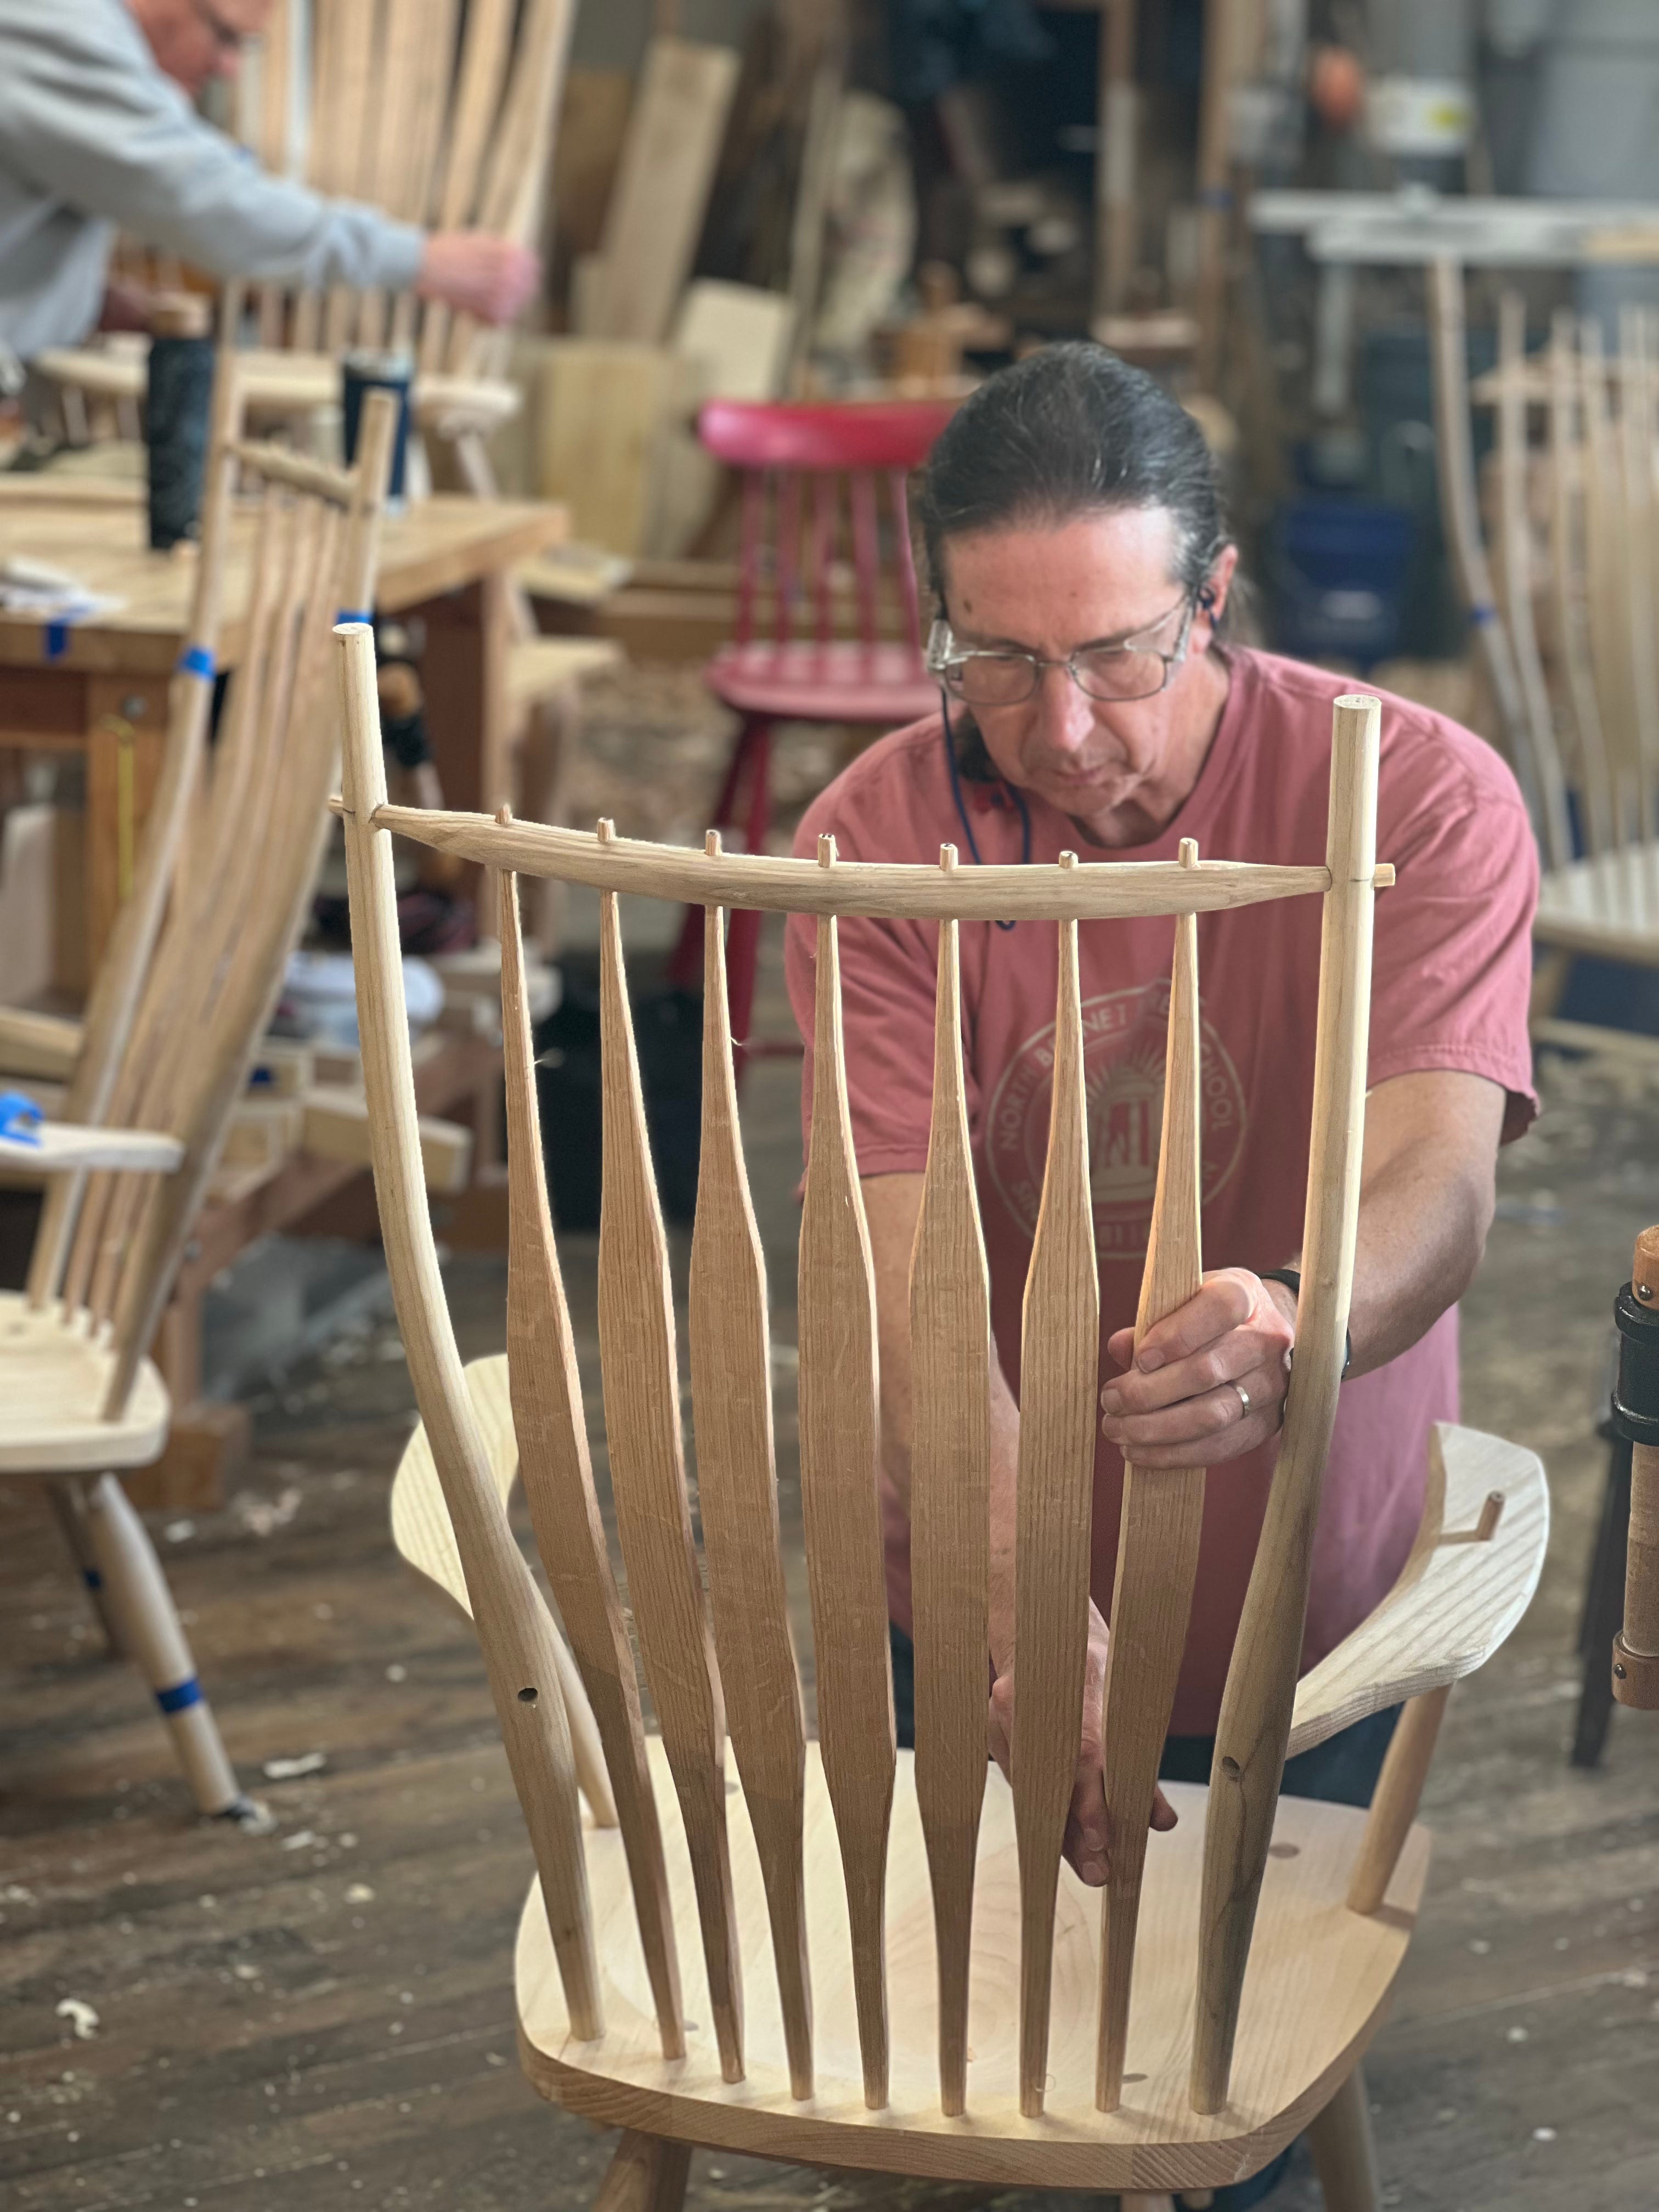
The other solution, to create consistent bends with a known relationship to the tenon was less appealing to me. It smacked of the kind of “perfection” that most woodwork calls for, with interchangeable parts. It didn’t seem to fit the greenwood that I was working with. But once I started working more with dried wood, it became more inviting. Dried wood maintains more of it’s original shape and sets the bend rapidly and consistently. Plus, I am able to selectively dry and turn the tenon to completion prior to bending. This allows me to fix the position of the tenon in the bending form by including a mortise. Here is the bending process in action.
The tenon hangs outside of the steam box while I steam the rest of the post and the first step is to set it in the mortise in the form and then I can be assured of the relationship between the tenon and the bend. Now, when I teach the rocking chair, everyone starts by drilling the same angle for the rear posts and because of the shape of the bend and it’s relationship to the location of the crest, any variation of the rotation of the parts works out fine. This way, folks can make aesthetic choices regarding the look of the chair without affecting the way it sits.
Here is an image that shows how this is possible.

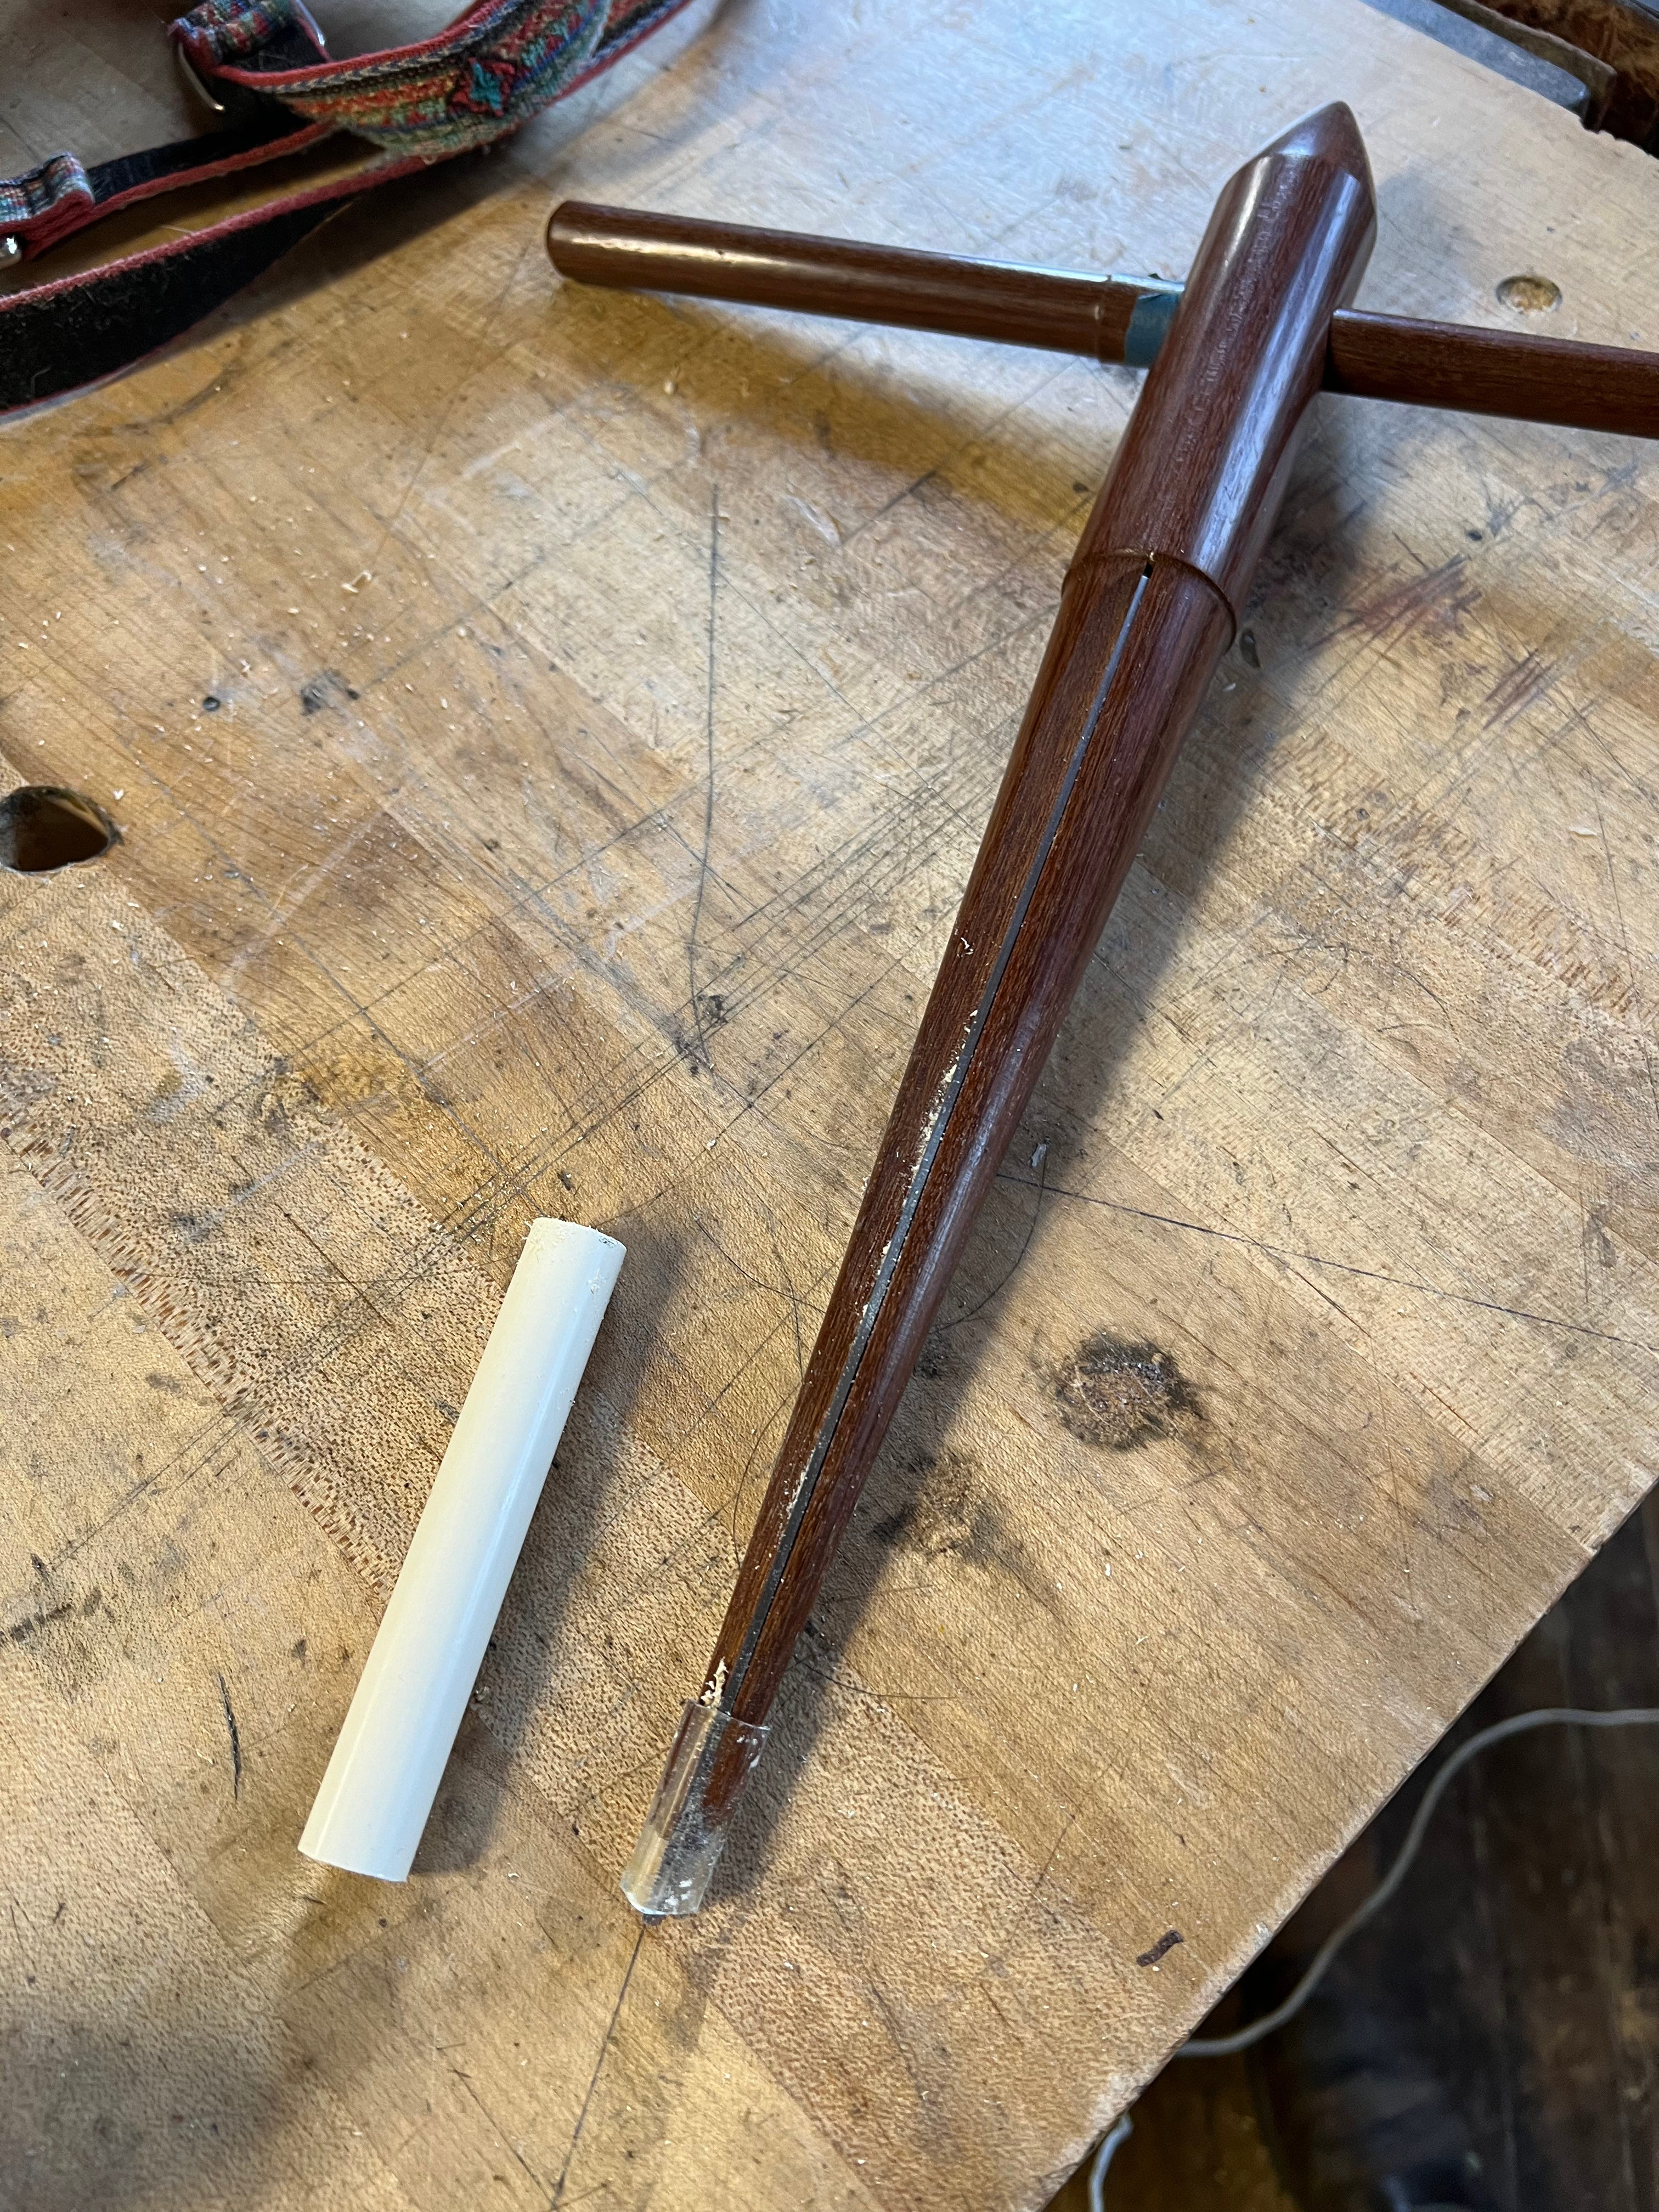
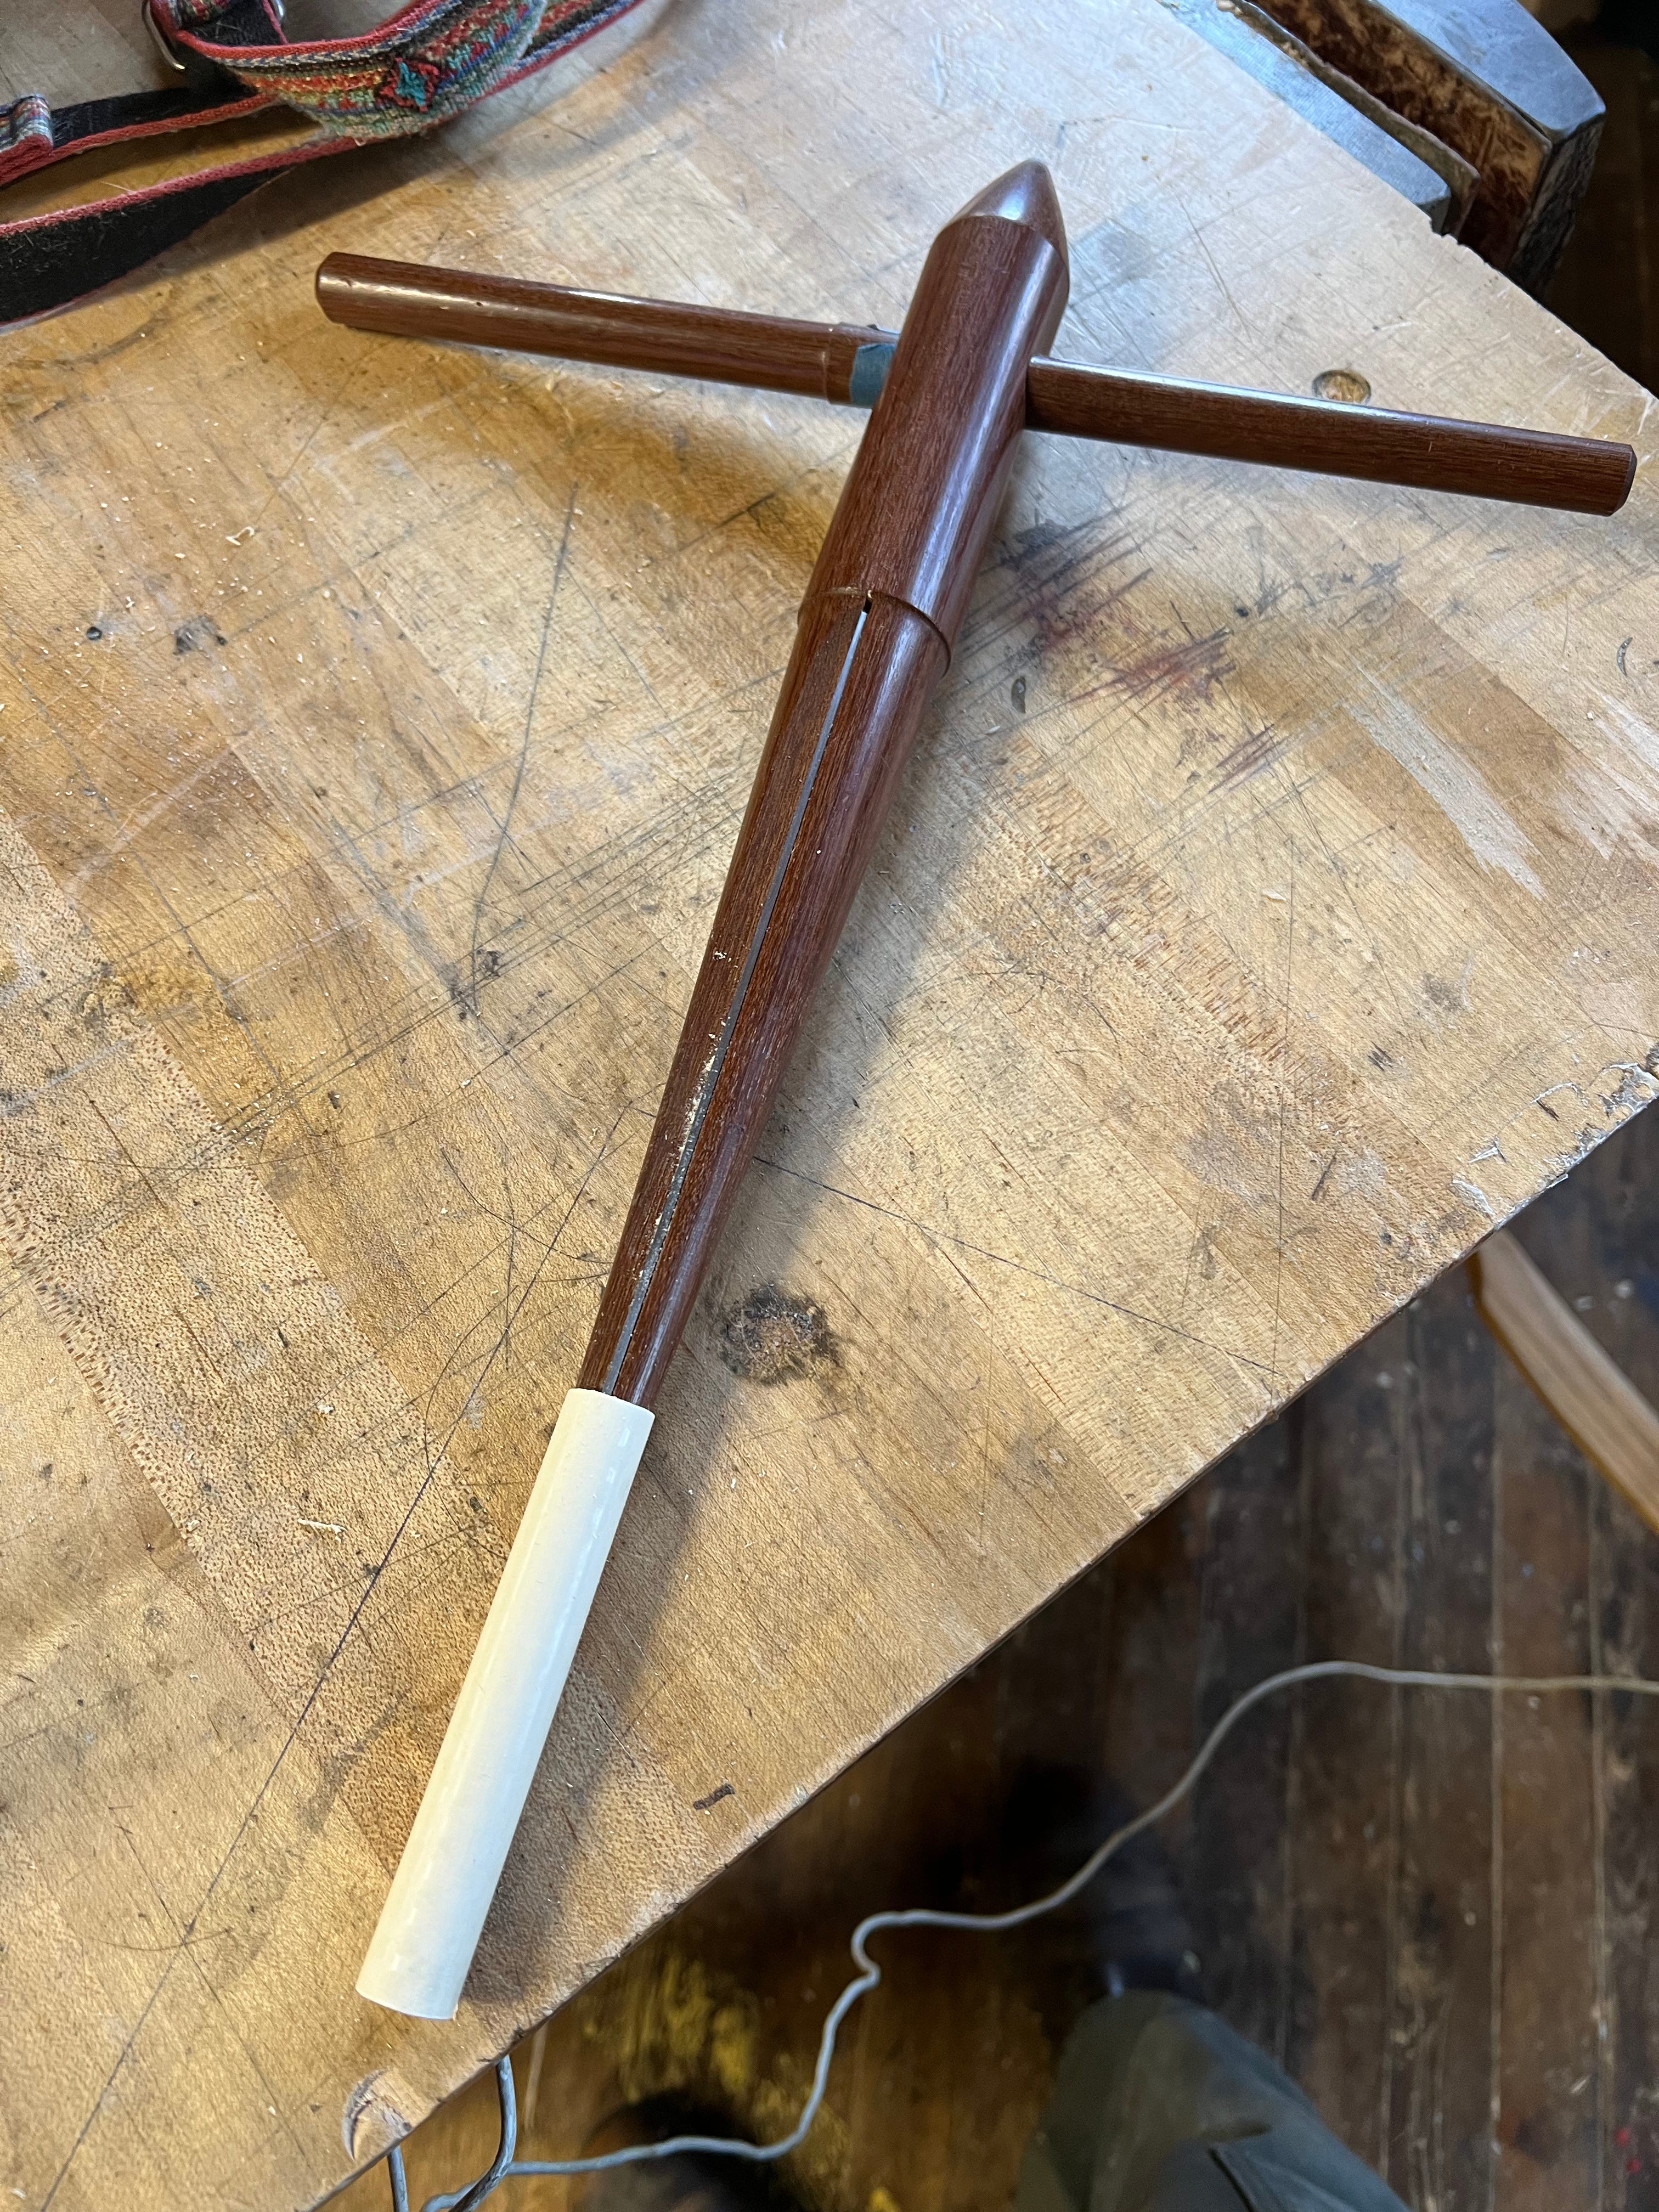
But what about the reaming? Anyone who has reamed a chair part knows that it can vary in the results. This is why I use a combination of a tapered and straight tenon, and ream with a section of pipe on my reamer to align it with the hole.
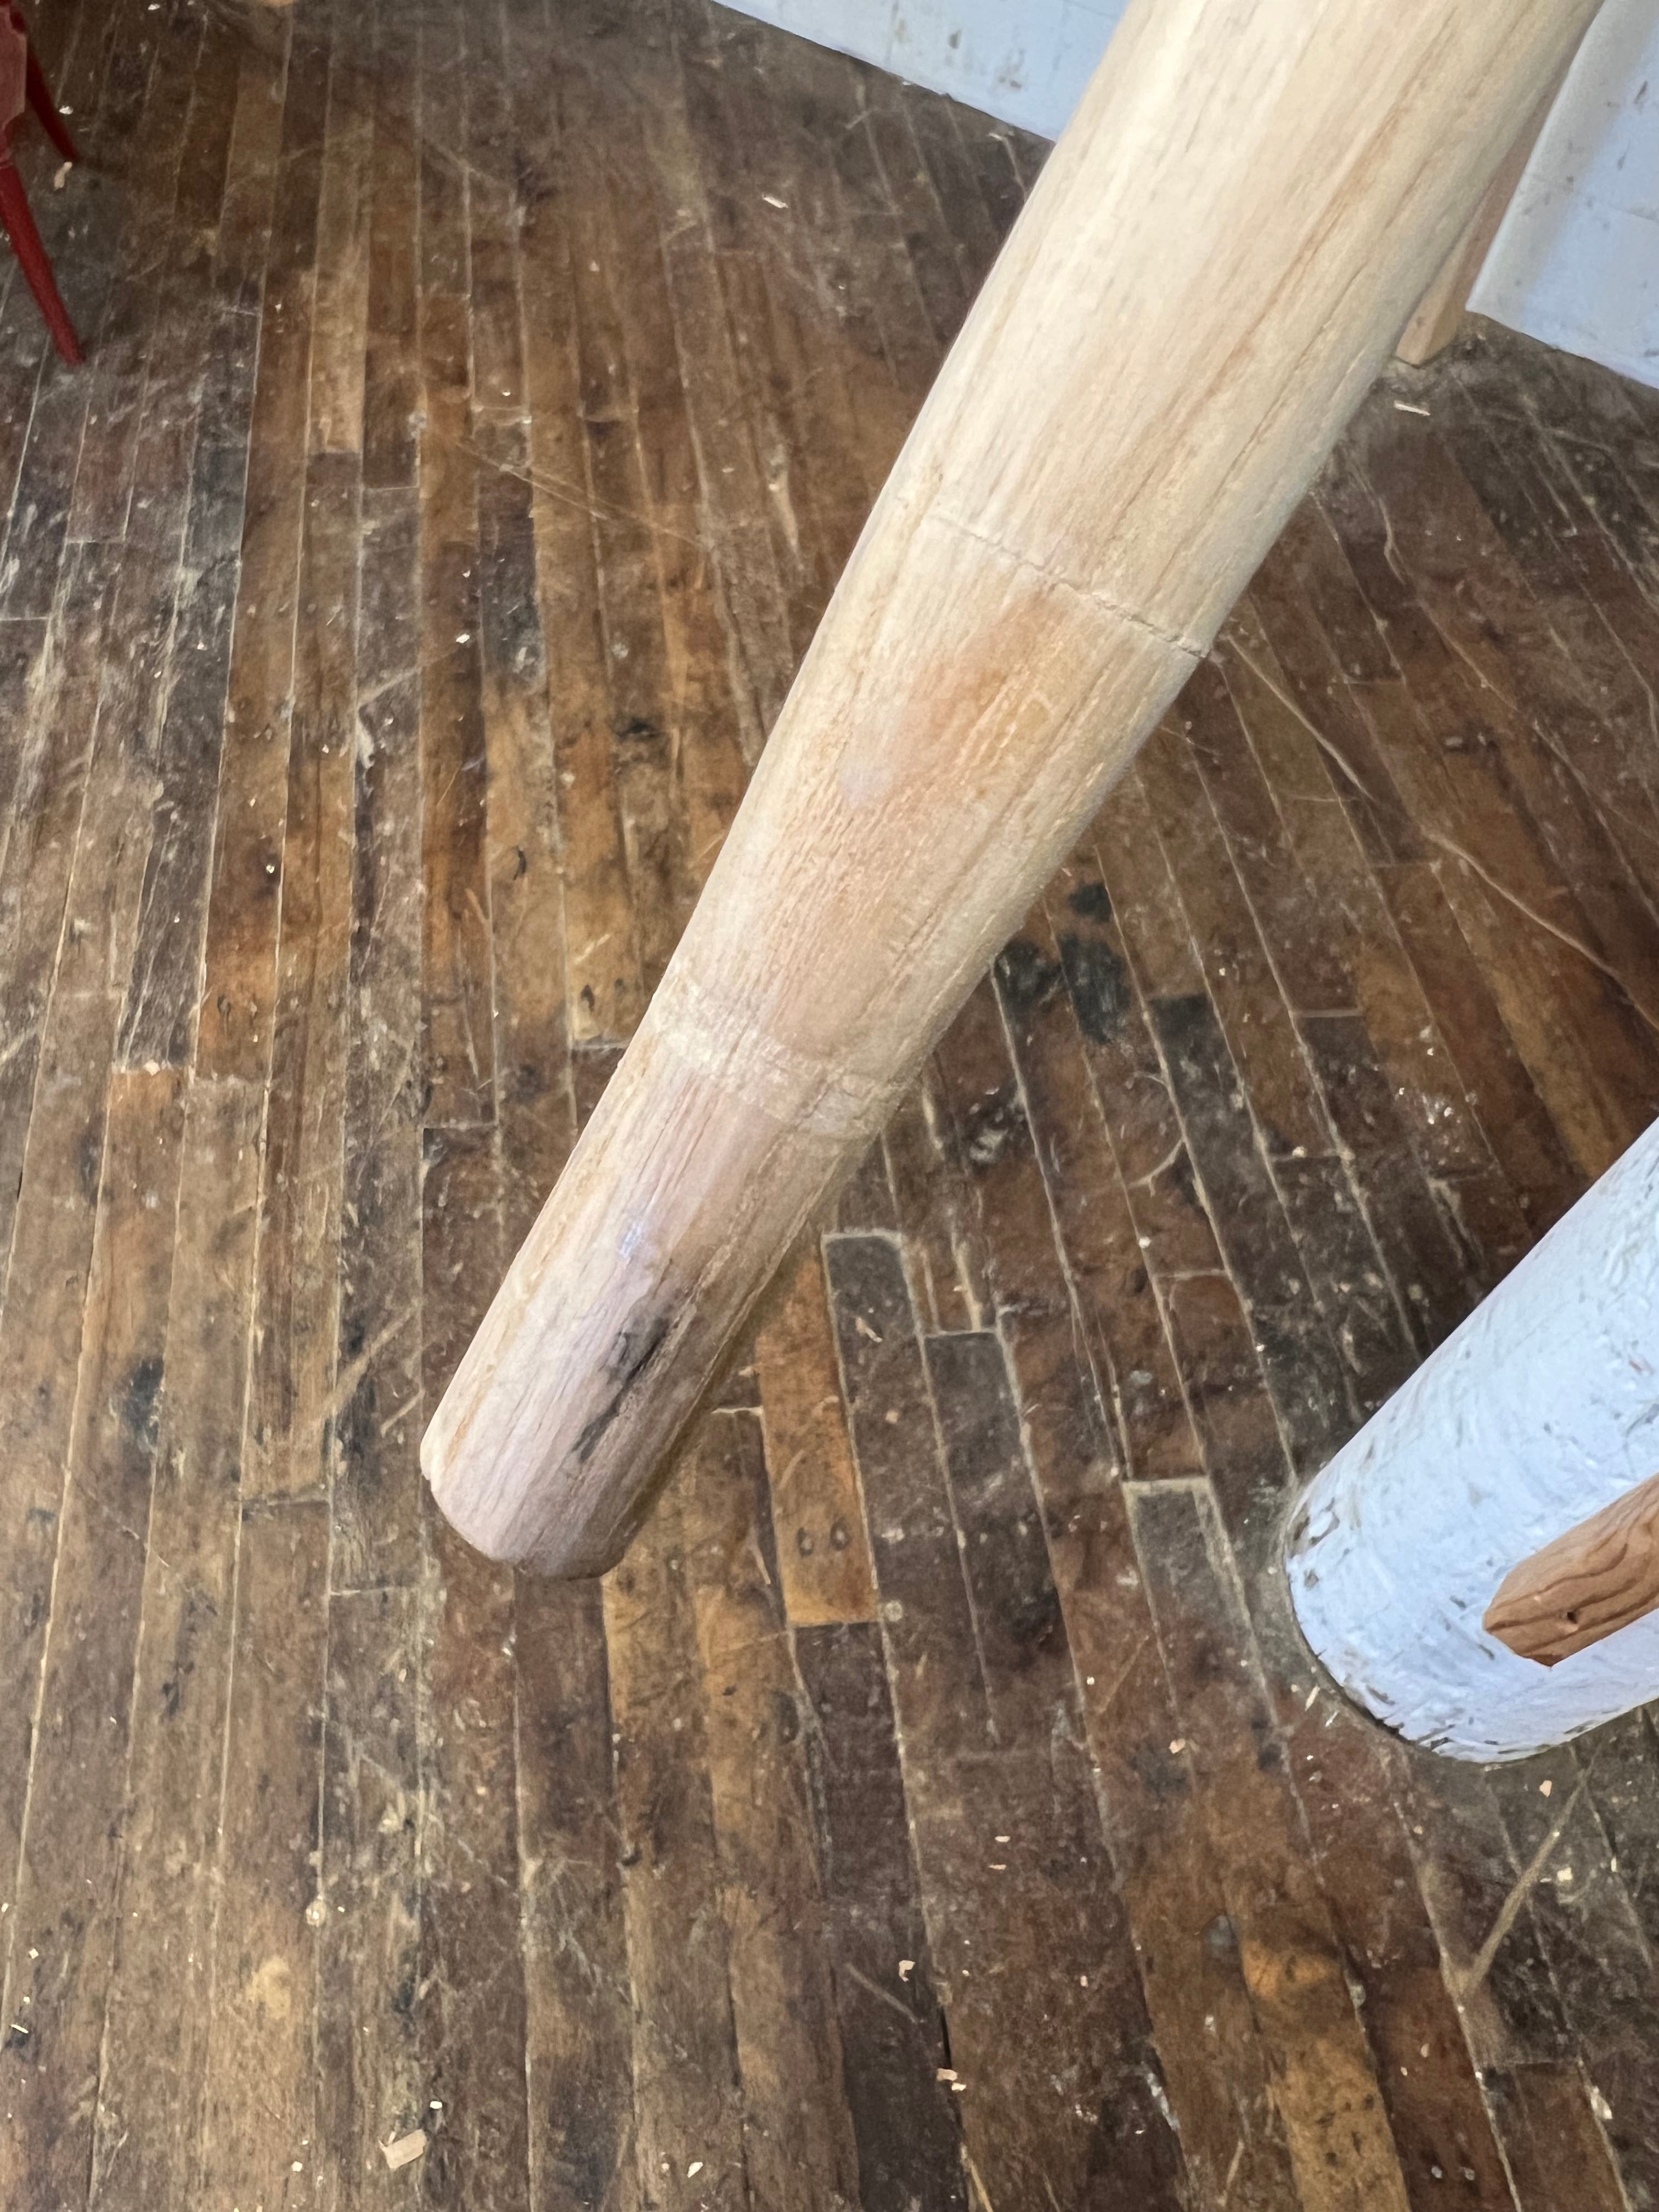
This is one of my favorite joints, because I get all the benefits of a locking taper, while preserving the correctly drilled angle. Also, when the bottom is wedged, it forms a true hourglass locking shape. It only takes a few turns of the reamer to get the post to depth and pipe guides the reamer the whole way. It works like a charm.
Once I had this process in hand, I knew that I could guide a bunch of students to success and I am always thrilled to see the chairs come out so well, then we just have to make them rock.
For those still curious, I’m working on the steady rest drawings and plaster demo, but first I have 1000 sq ft of oak flooring to lay.
That’s brilliant! The straight/tapered tenon is a fantastic solution. Have you tried the same technique for legs and arm posts?