

*There is one spot open in the July Rocking Chair class, here are the details*
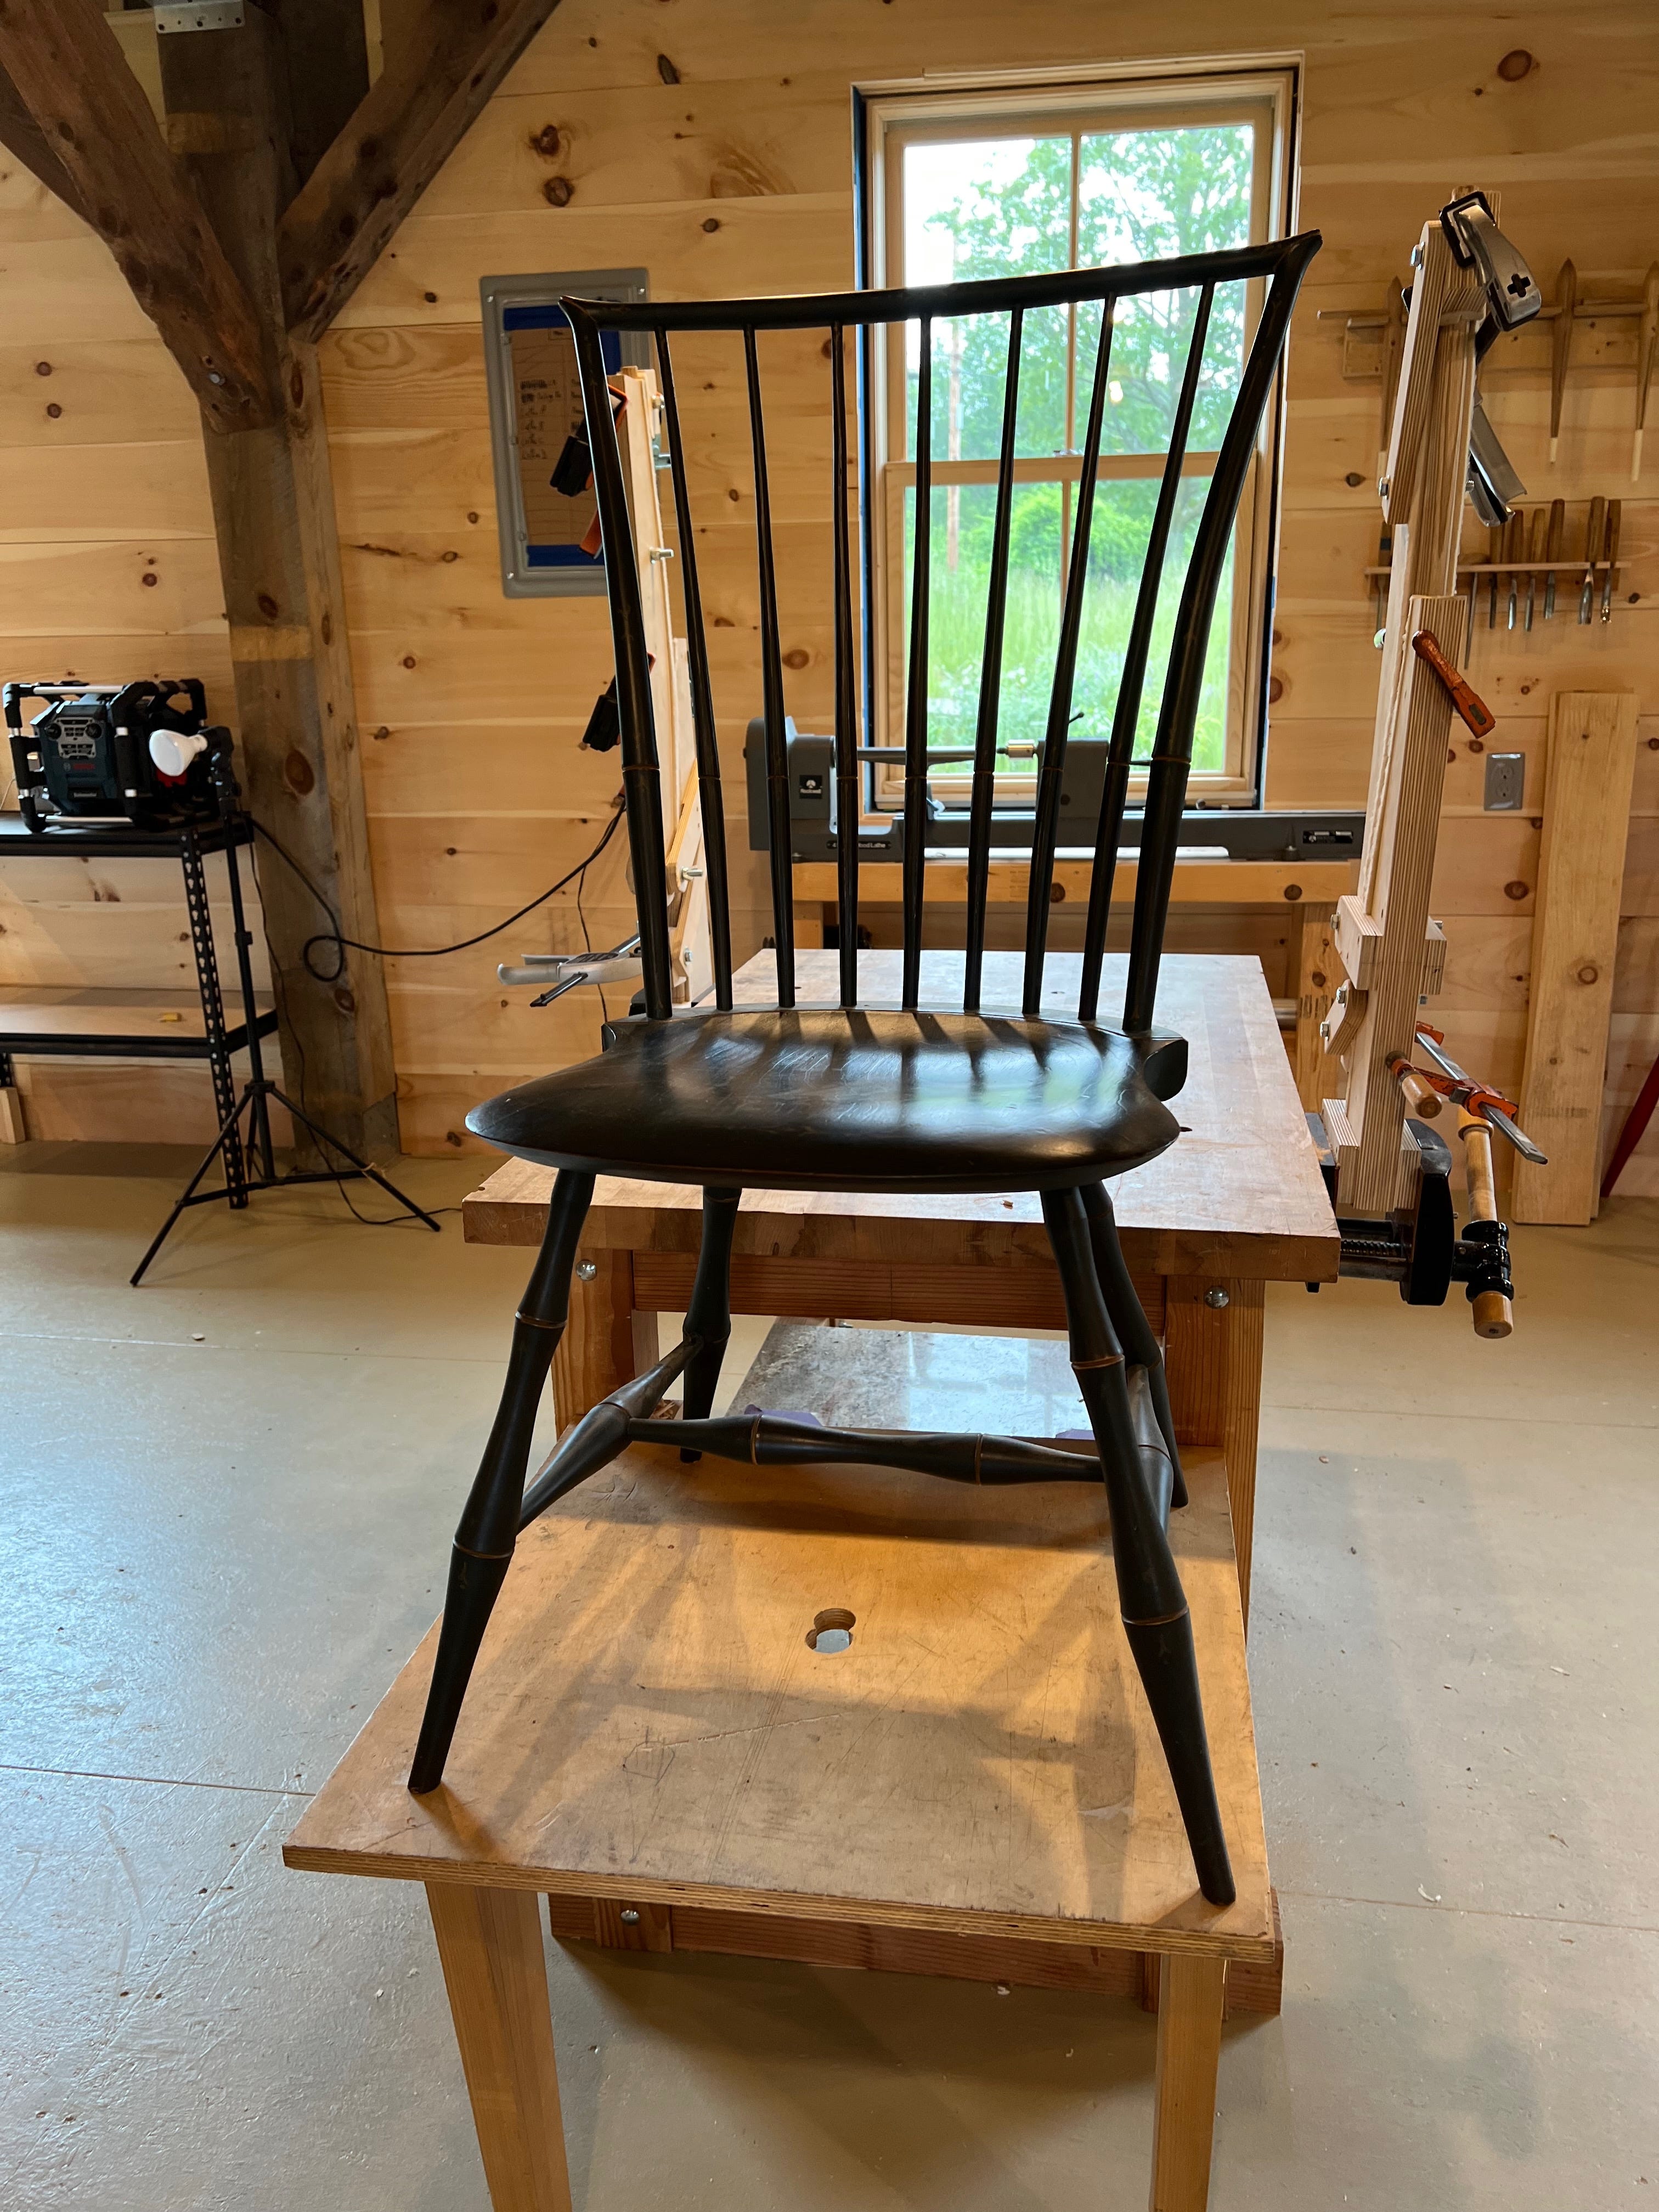
When I think about things to share, I try to keep the reader in mind and what you might relate to and find interesting. Mostly, I just need to geek out on the stuff that gets me excited. This might be one of those, partly because it was one of first hurdles I faced in chairmaking and it continues to excite and challenge me. It’s a view into a very specific problem I’ve come up against when making chairs with curved posts. Think rod backs, birdcages and my Contemporary Rocking chair.
These parts are especially demanding to produce and assemble.
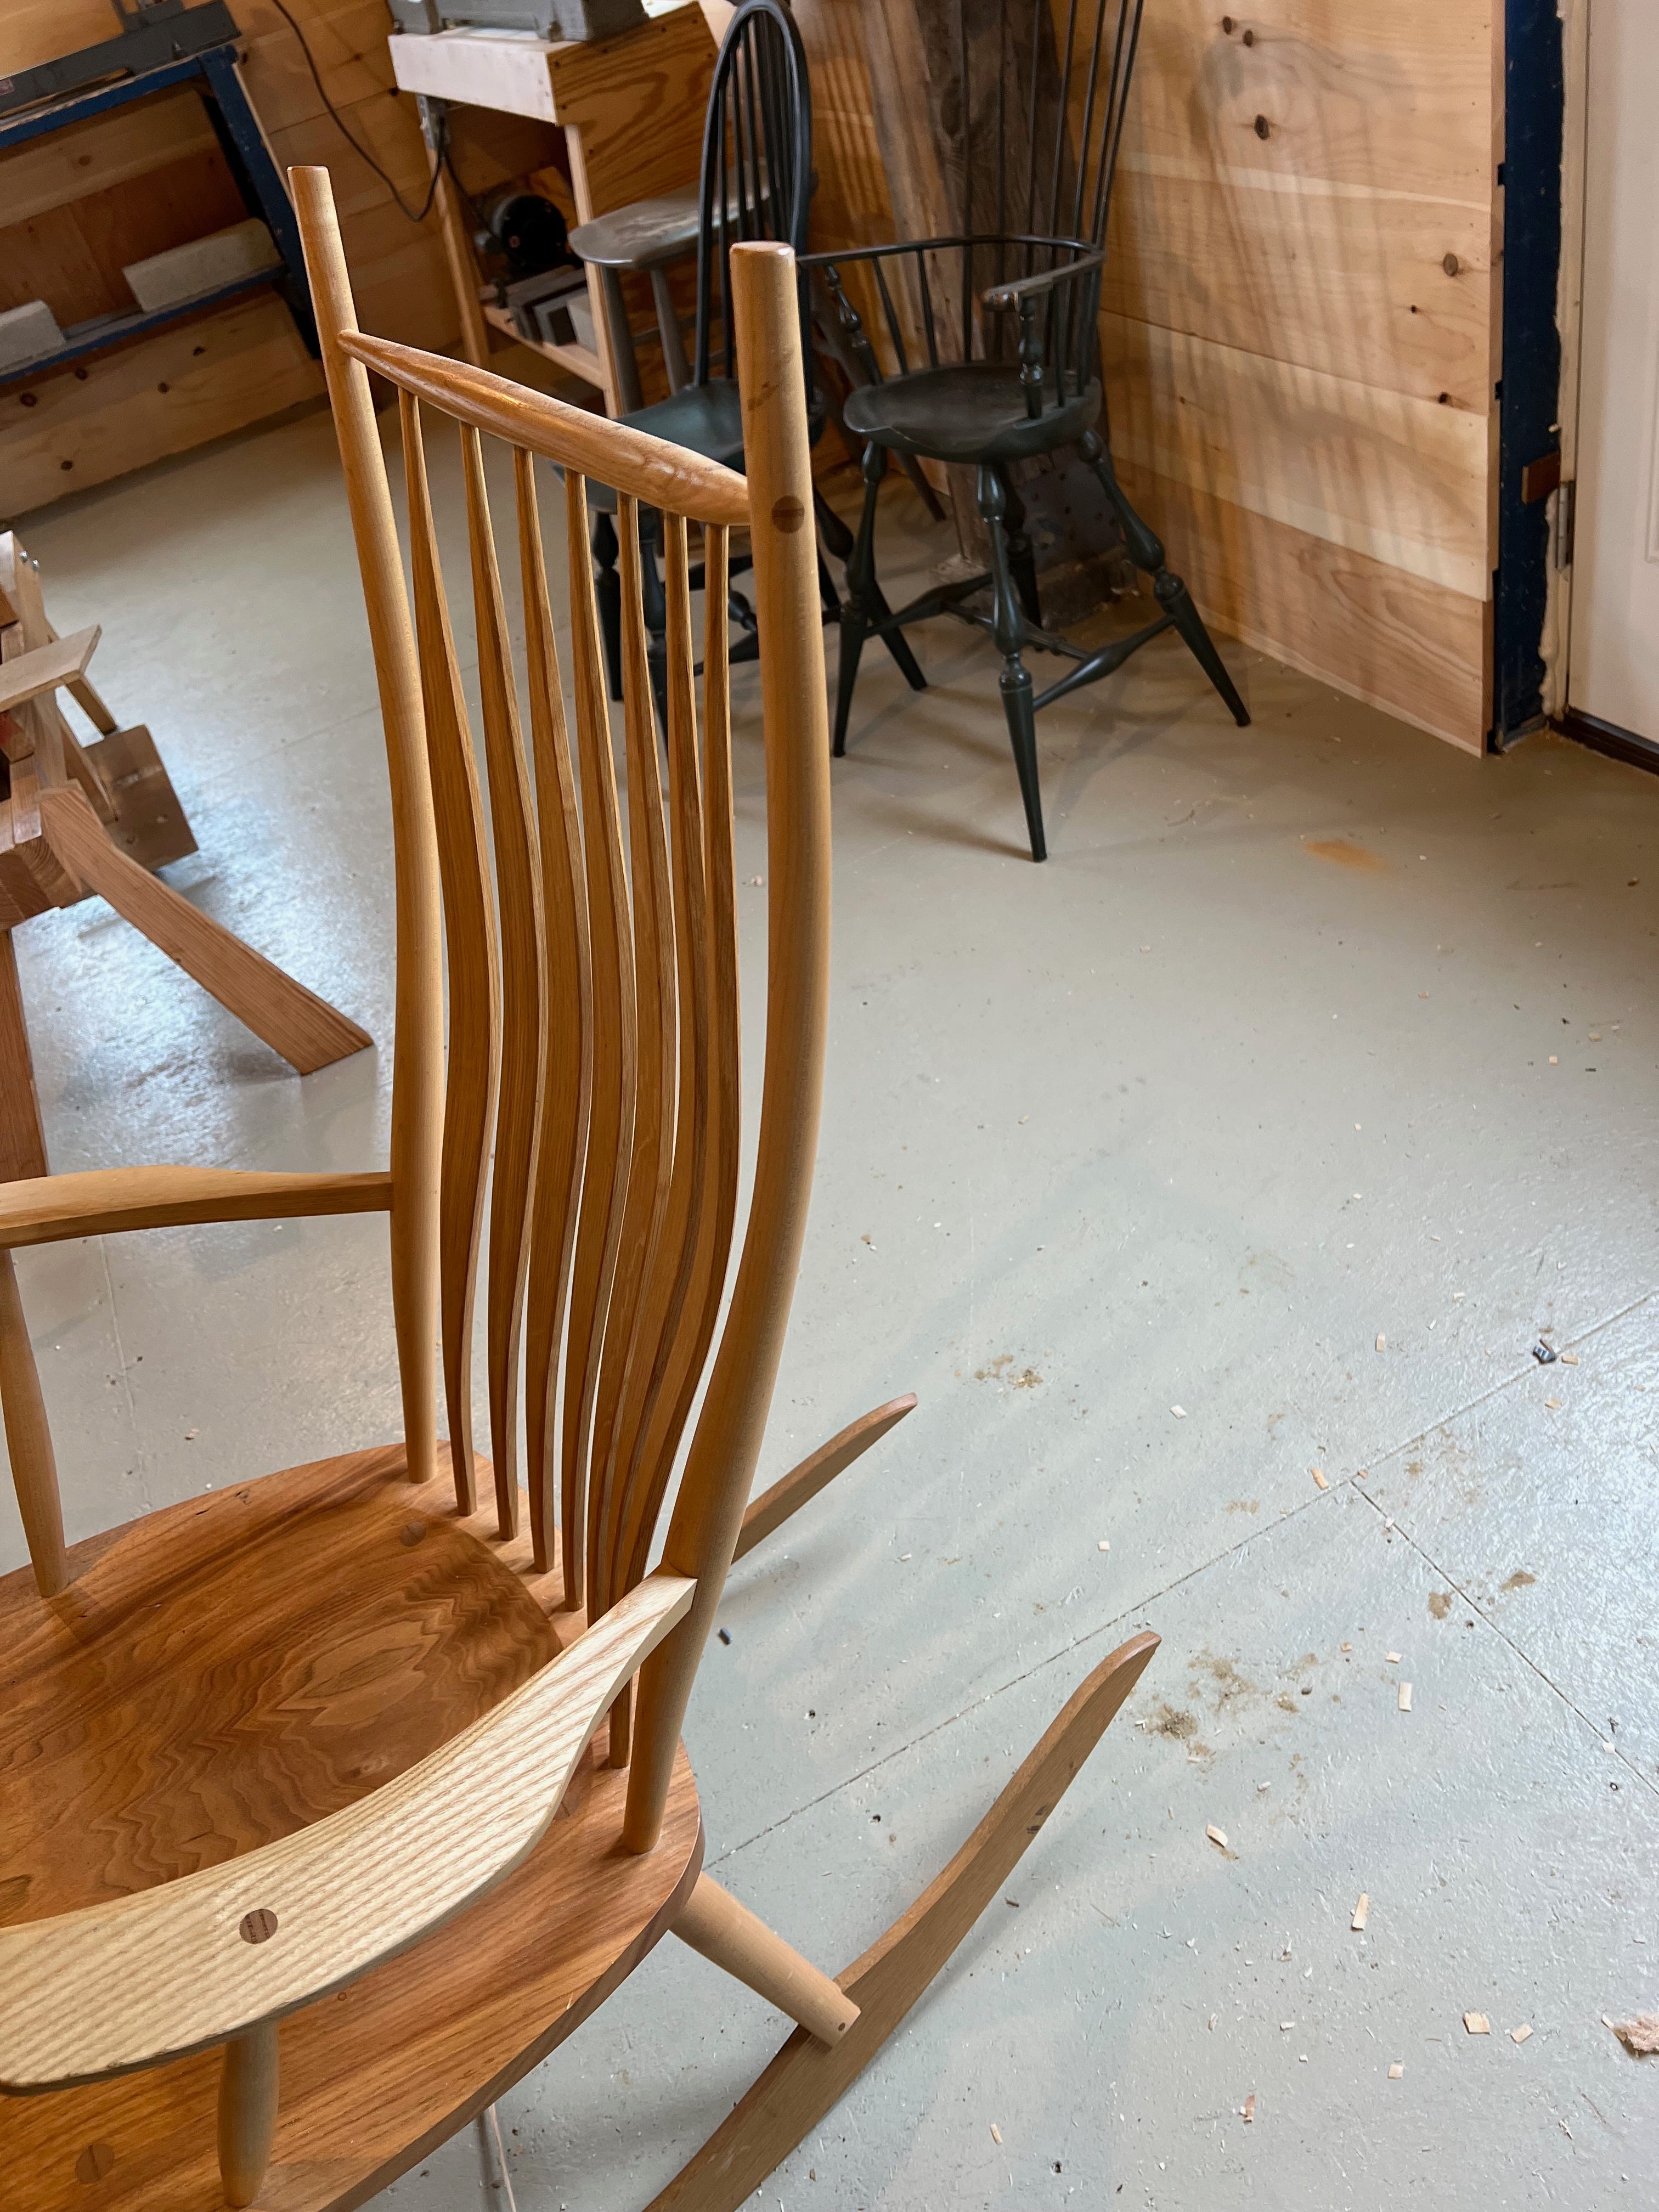
First, there is producing consistent parts. This takes time and/or planning. If you make the parts green, it’s important to let them dry to ensure consistency. Usually, I set the bend by using a kiln. I’ve found using dried wood, either by kiln or air, sets the parts more quickly. Dried wood holds the bend far faster and if they do spring back, it’s very predictable. For the rocker pictured above, I let the kiln dried parts live in the form for two days, they do spring back a little, but I accounted for that when I made the form.
It’s worth mentioning that I incorporate a mortise into the bending forms. This ensures the bends have a consistent relationship to the tenons.
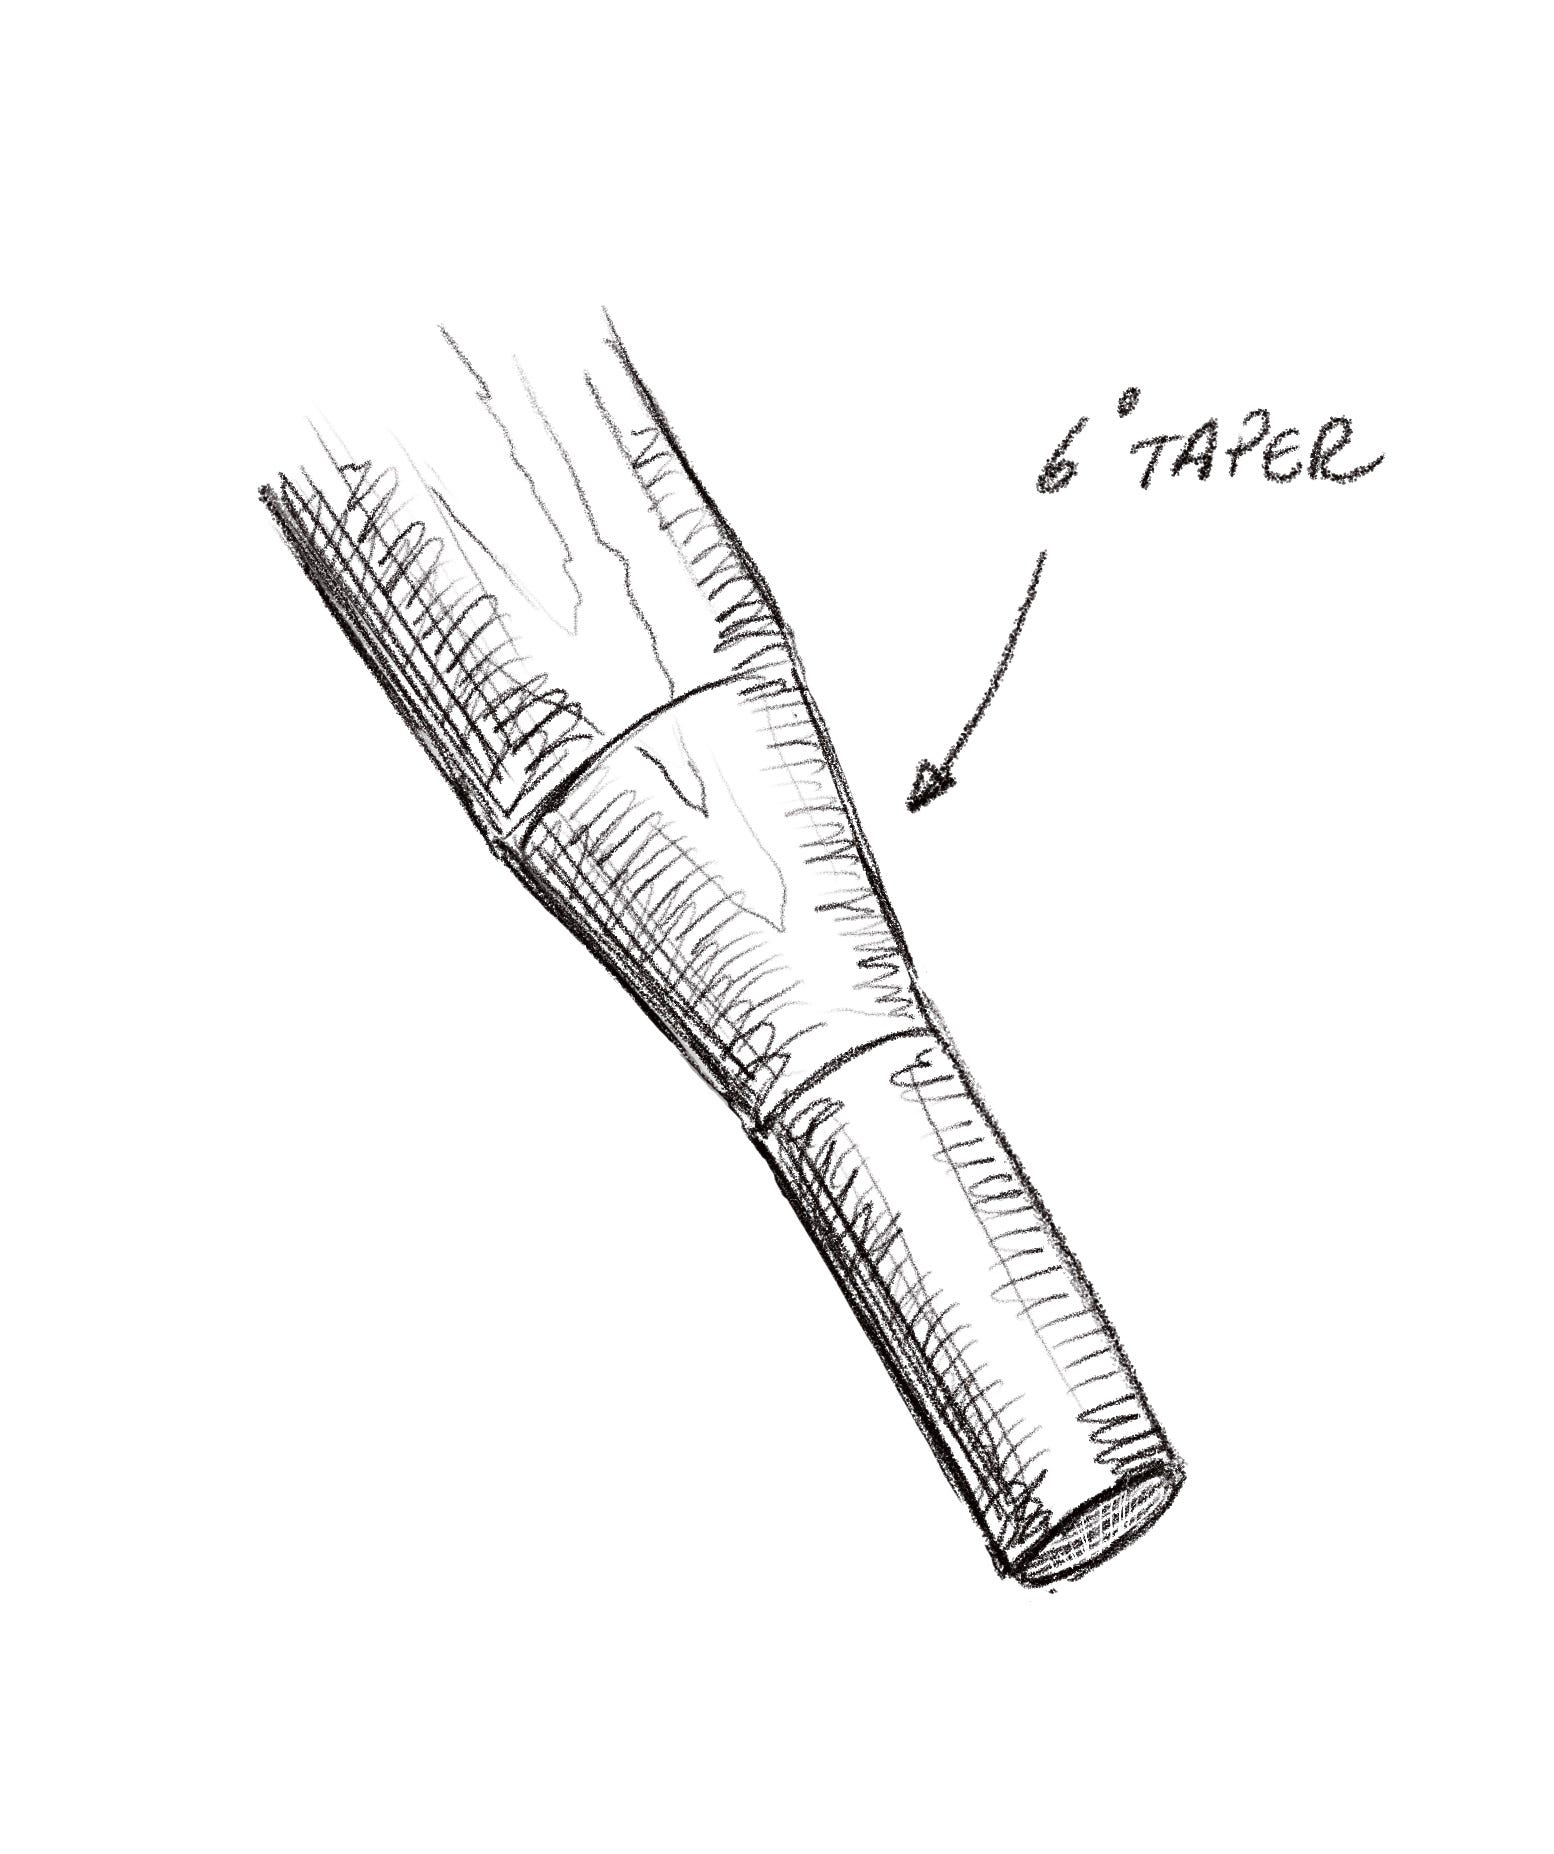
The other challenge is drilling and reaming of the bent parts. I ran into this when I made my first chair and it was a real head scratcher. With straight posts, I can nail it by drilling very accurately and then reaming with the same methods I use for reaming a leg. For these joints, I use a half tapered, half straight joint. This doesn’t require reaming very deeply and the pipe guide on my reamer keeps the taper in line with the drilled hole. Here is another post I did a while back detailing the pipe guide.
But with curved posts, you have to get the angle of the part going into the seat, but also the rotation of the part for aesthetics and geometry. This can easily go off the rails and get confusing in the process because it involves so many variables.
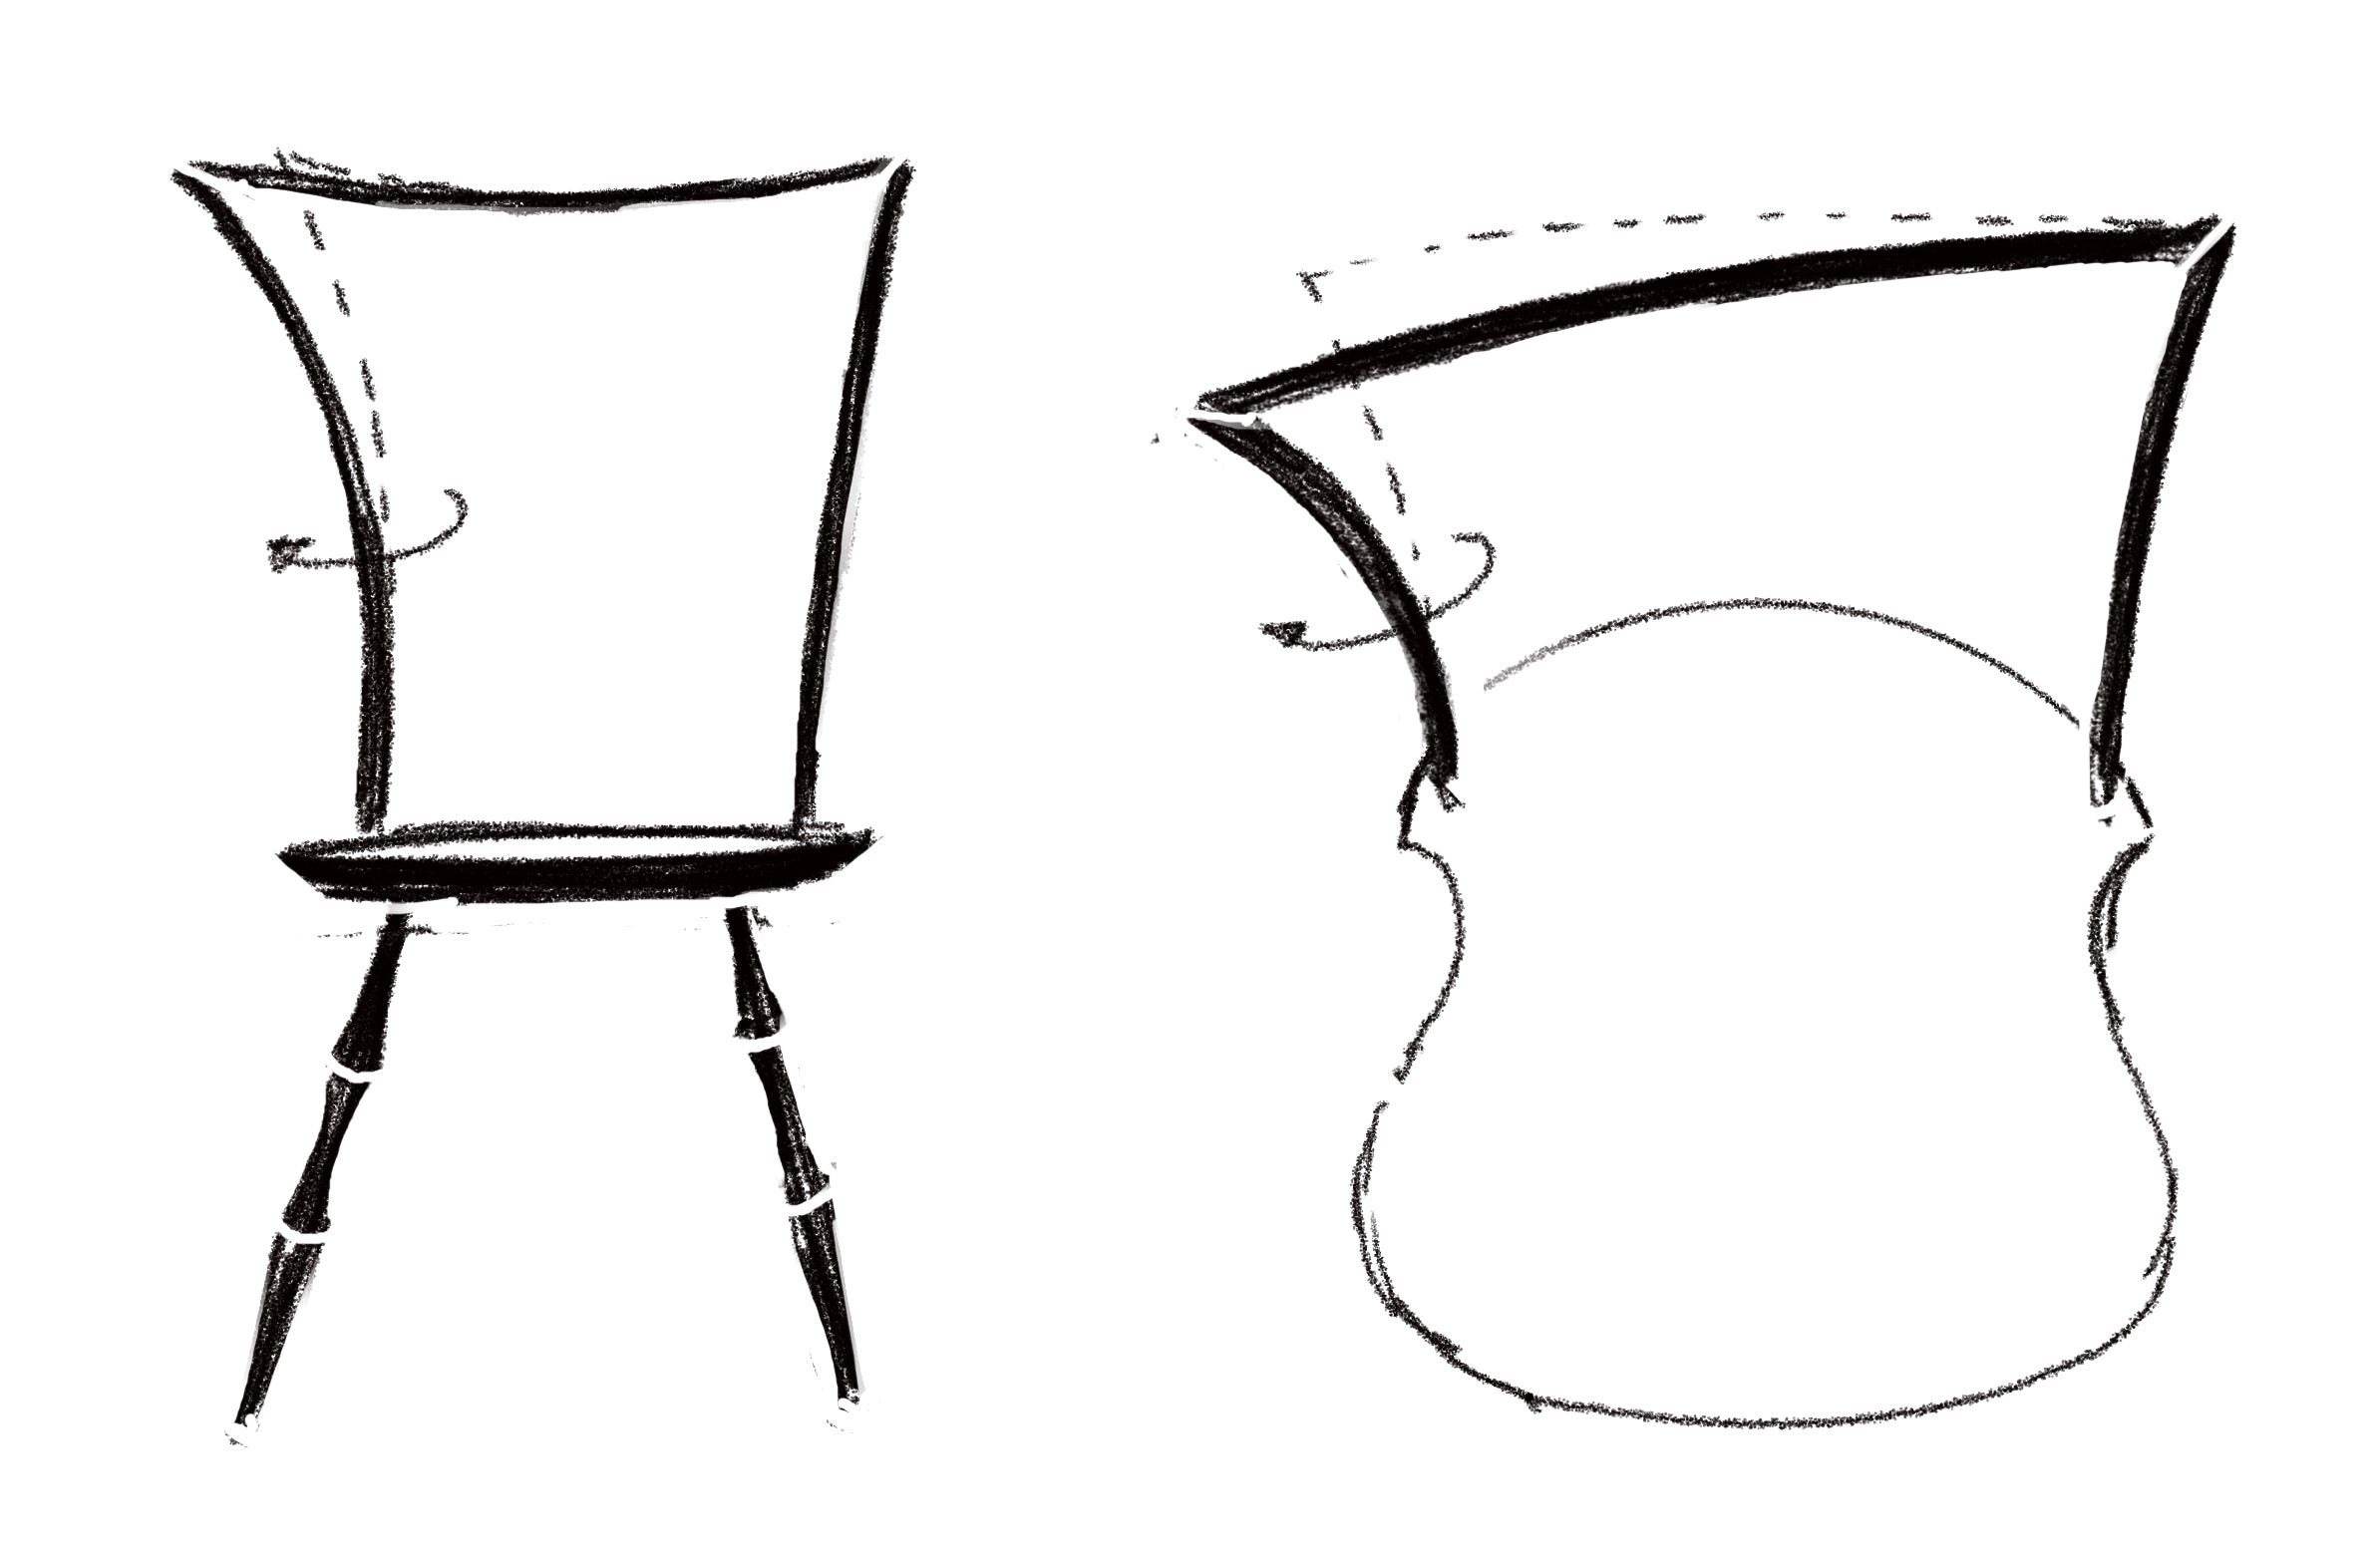
You can see in the drawing how the rotation, angle and curves all play in the postion of the top rail, which affect the way the chair looks and feels. Getting everything to play nicely can be a challenge.
Keep reading with a 7-day free trial
Subscribe to Peter Galbert's Chair Notes to keep reading this post and get 7 days of free access to the full post archives.