
The Dart
Easy Stretcher Drilling with a New Update

I’ll be returning to the Skew series next to show how to tackle vibration, but I’ve been wanting to make this post for a while. The sale on the “Temple Chair” video series is ending on Jan 31st, you can learn more about it and buy it here.
Over the years I’ve used lots of methods for drilling the mortises for stretchers. I started by measuring angles and transferring them to a separate drilling set up. Trying to lead groups of people through this was pretty miserable. In a class of 12 (hard to believe I ever did this many) there were 72 times where the students had to correctly measure an angle and then set a bevel square to that angle and then drill the correct part. That’s hundreds of opportunities for mistakes, and needless to say, there were lots of them. The undercarraige of most chairs is relatively forgiving of imperfect drilling, but I’ve never wanted to rely on that, especially when teaching. I want everything to go so well that it’s downright anticlimactic. The technique I show in my book was a huge leap, eliminating numeric measuring. It definitely made class easier.
Later, I started exploring direct drilling with extension rods and motor shaft couplers. Just put the legs in place, rotate one a bit towards the outside and drill while holding the other end at the height of the opposing mortise. It works great, especially on H stretchers which are very forgiving. But I like to make box stretchers (where all for stretchers reach from leg to leg) and they are not so forgiving. Any misdrilling tends to twist the undercarraige in relation to the seat.
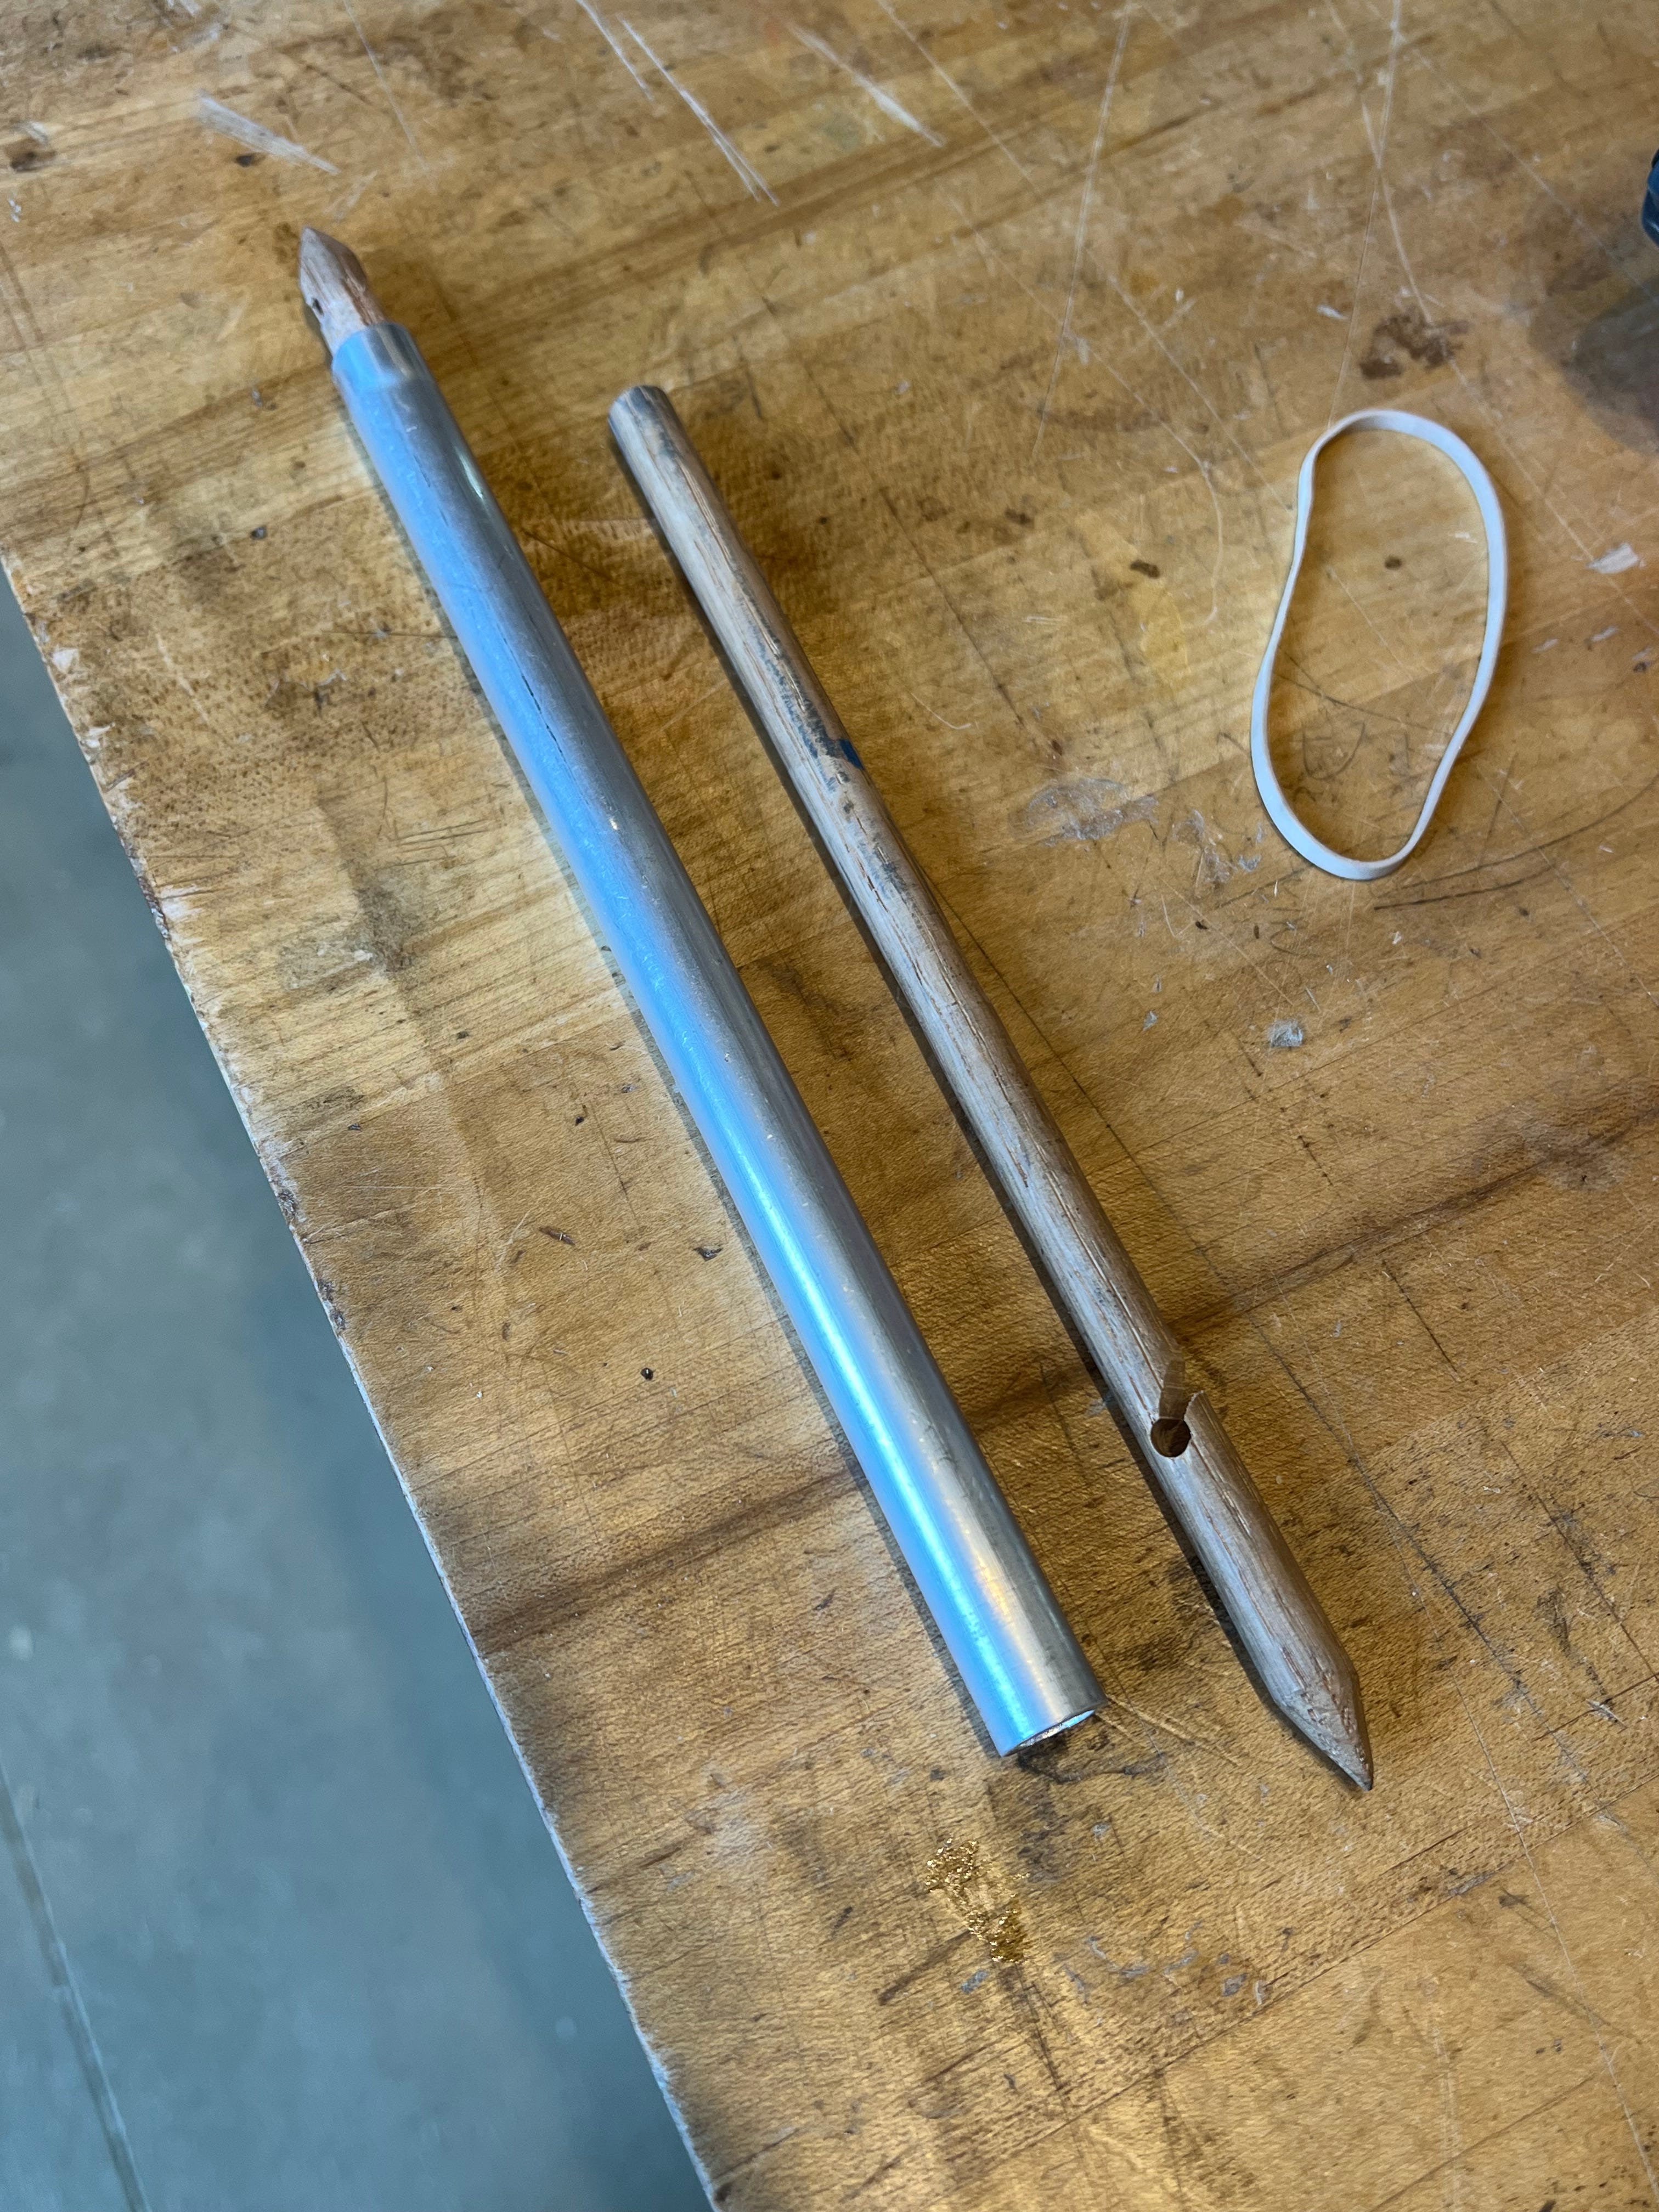
So I made a little tool called “The Dart” and it has made drilling even easier, faster and more accurate. The initial versions of the Dart had a spring to help them fit between the legs, and sometimes when setting it up, it would shoot across the room, hence “The Dart”.
But recently, I had an idea that made the Dart even simpler to make and use. I am making this post available to everyone, I really think it might help you when it comes to accurate drilling.
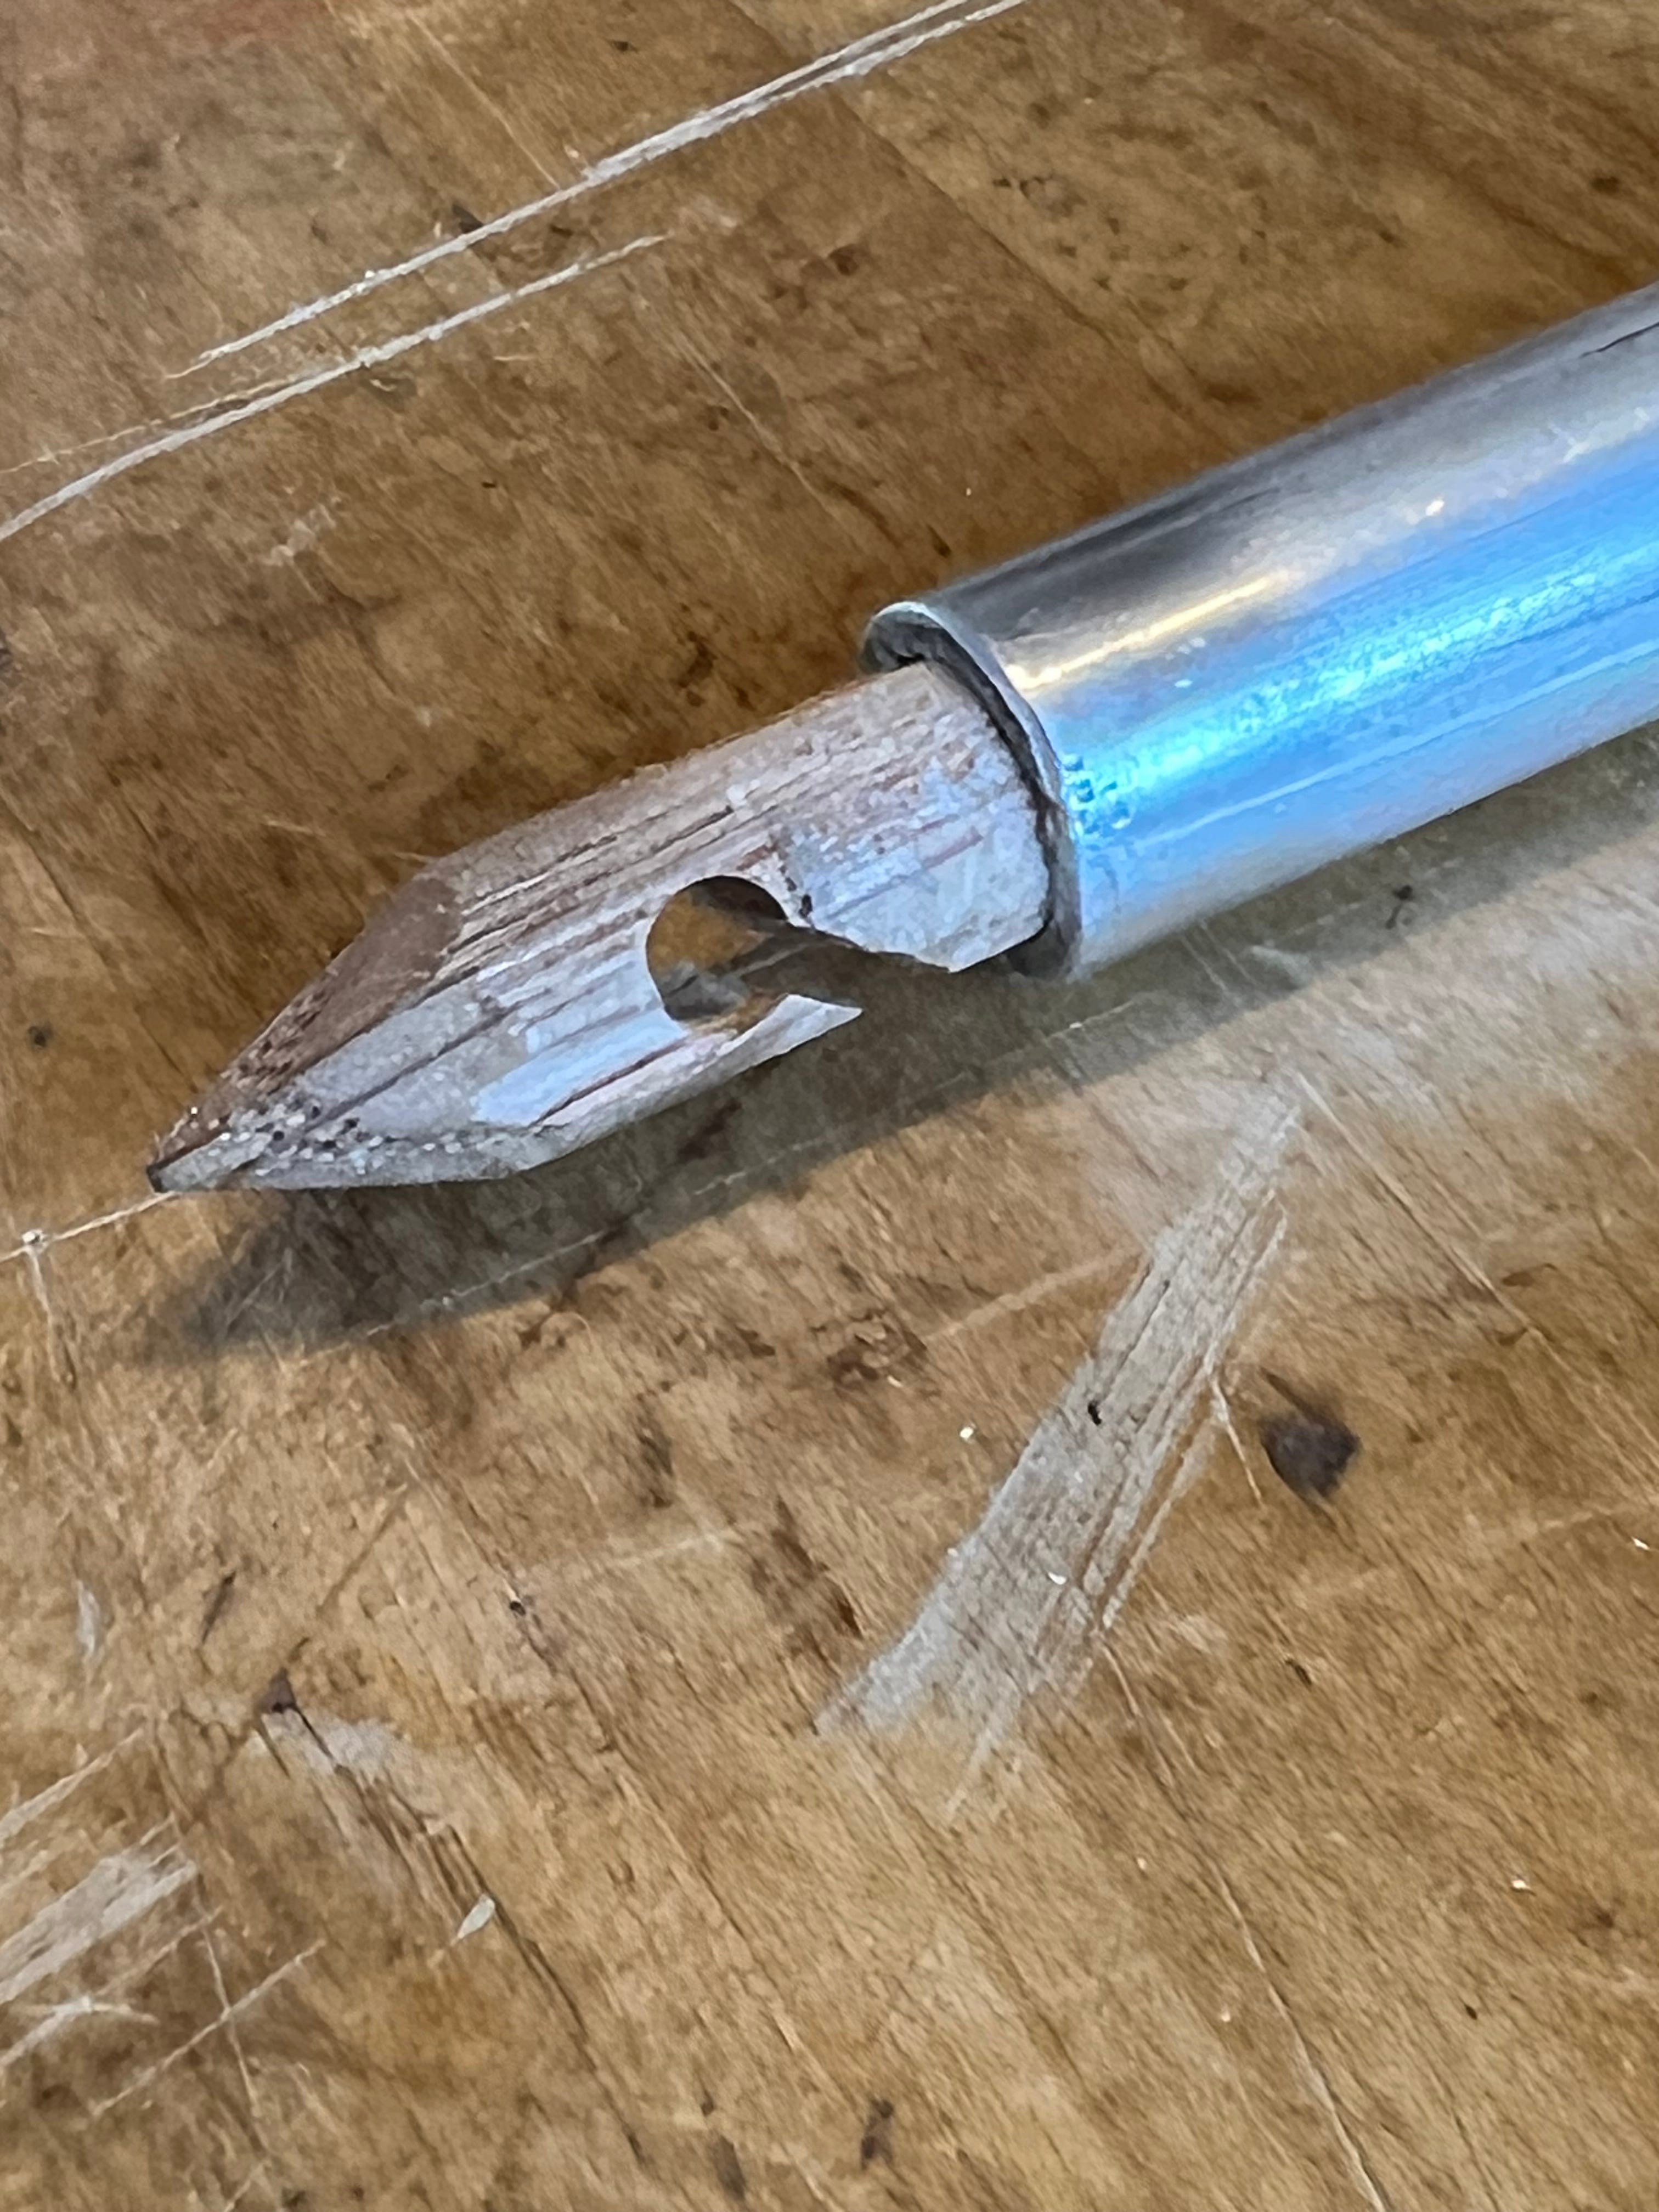
Once the notched piece of wood is in place, I add another clamp along with the spring clamp so it doesn’t move during the drilling. The short piece of dowel lodged in the dart is glued in place, the long side is loose.
To make the holes for the rubberbands, I drilled holes through the dowel and cut angled slots to the hole to make it easy to slip them in place. Here’s a close up.
If you need to make the extension for the drill bit, you can buy a chuck from Klingspor that attaches to a 1/2” rod. You can use this with any size of drill bit with a 1/2” shank or less.

Or, you can use a motor shaft coupler from Mcmaster, they accept 1/2” rod. The only drawback is they only fit 1/2” bits and larger. Here are some links for those items.
McMaster Carr Drill Extension Parts
303 Stainless Steel Set Screw Shaft Coupling for 1/2” Diameter Round Shaft
https://www.mcmaster.com/catalog/127/1346
Stainless Steel coupler is #6099K24
Or
Black Oxide Set Screw Shaft Coupling, Black-Oxide Steel, for 1/2” Diameter Round Shaft
6412K14 (less expensive alternative)
Tight-Tolerance Oil-Hardening O1 Tool Steel Rod, 0.5000” Diameter
This is awesome!
Smarty pants. Gees always coming up with the goods. 👌 Love it.